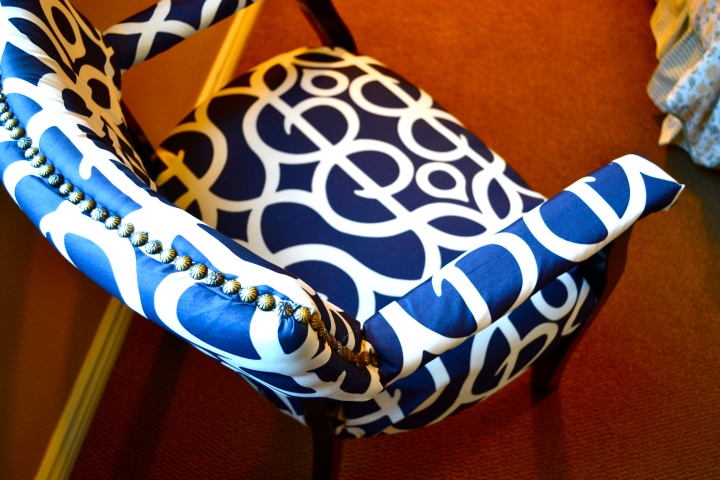
A few months ago, my mom’s trusty leather armchair began tearing. Over the course of a few weeks, the tear got so big that it became unrepairable. My mom was about to throw out the chair, when I suggested that we try re-upholstering it. I’ve seen so many design blogs that did such amazing reupholstering work, I thought “why not give it a try?” As it turns out, simple things as putting new fabric on a chair can breathe new life into the furniture. The project only took an afternoon to do, and it was so cheap! We only spent $3 on this project (the spray paint, we had everything else on hand!)
Materials:
– Furniture spray paint (we used black)
– Fabric
– Staple gun
What I learned from reading from design websites is that there is really no tutorial, as all chairs are built differently. But the steps are quite similar. Here is what we did: 1) We took all the staples and nails that held the fabric together; 2) Move the foam to the side (save for later); 3) Spray paint the furniture and let dry; 4) Staple, pull fabric, repeat!
The old chair actually had nail trim on it that we saved. We ended up using some of it to cover up the staples we had on the top of the armchair.
Collecting the nail trims…
Mama hard at work taking the chair apart. Oh! This gives you an idea of the chair before.
The repurposed nail trim.


it would be a dream if i could jazz my chairs up like tht!! looks awesome!
LikeLike
Samiya, it is actually incredibly easy to do (with the help of a friend!). I highly recommend for you to give this a try. My one tip is to allow room for mistakes: using extra fabric so you don’t run out, using nailhead trim to hide ugly staples, etc. Good luck!
LikeLike
That fabric really makes that chair. Beautiful!
LikeLike