

I’m so excited to reveal our finished floor-to-ceiling bookshelves in our living room! It bears repeating, but home takes time. Sometimes, a lot of time! This room has gone through some really insane changes over the past two years, but none more than getting these custom bookshelves!

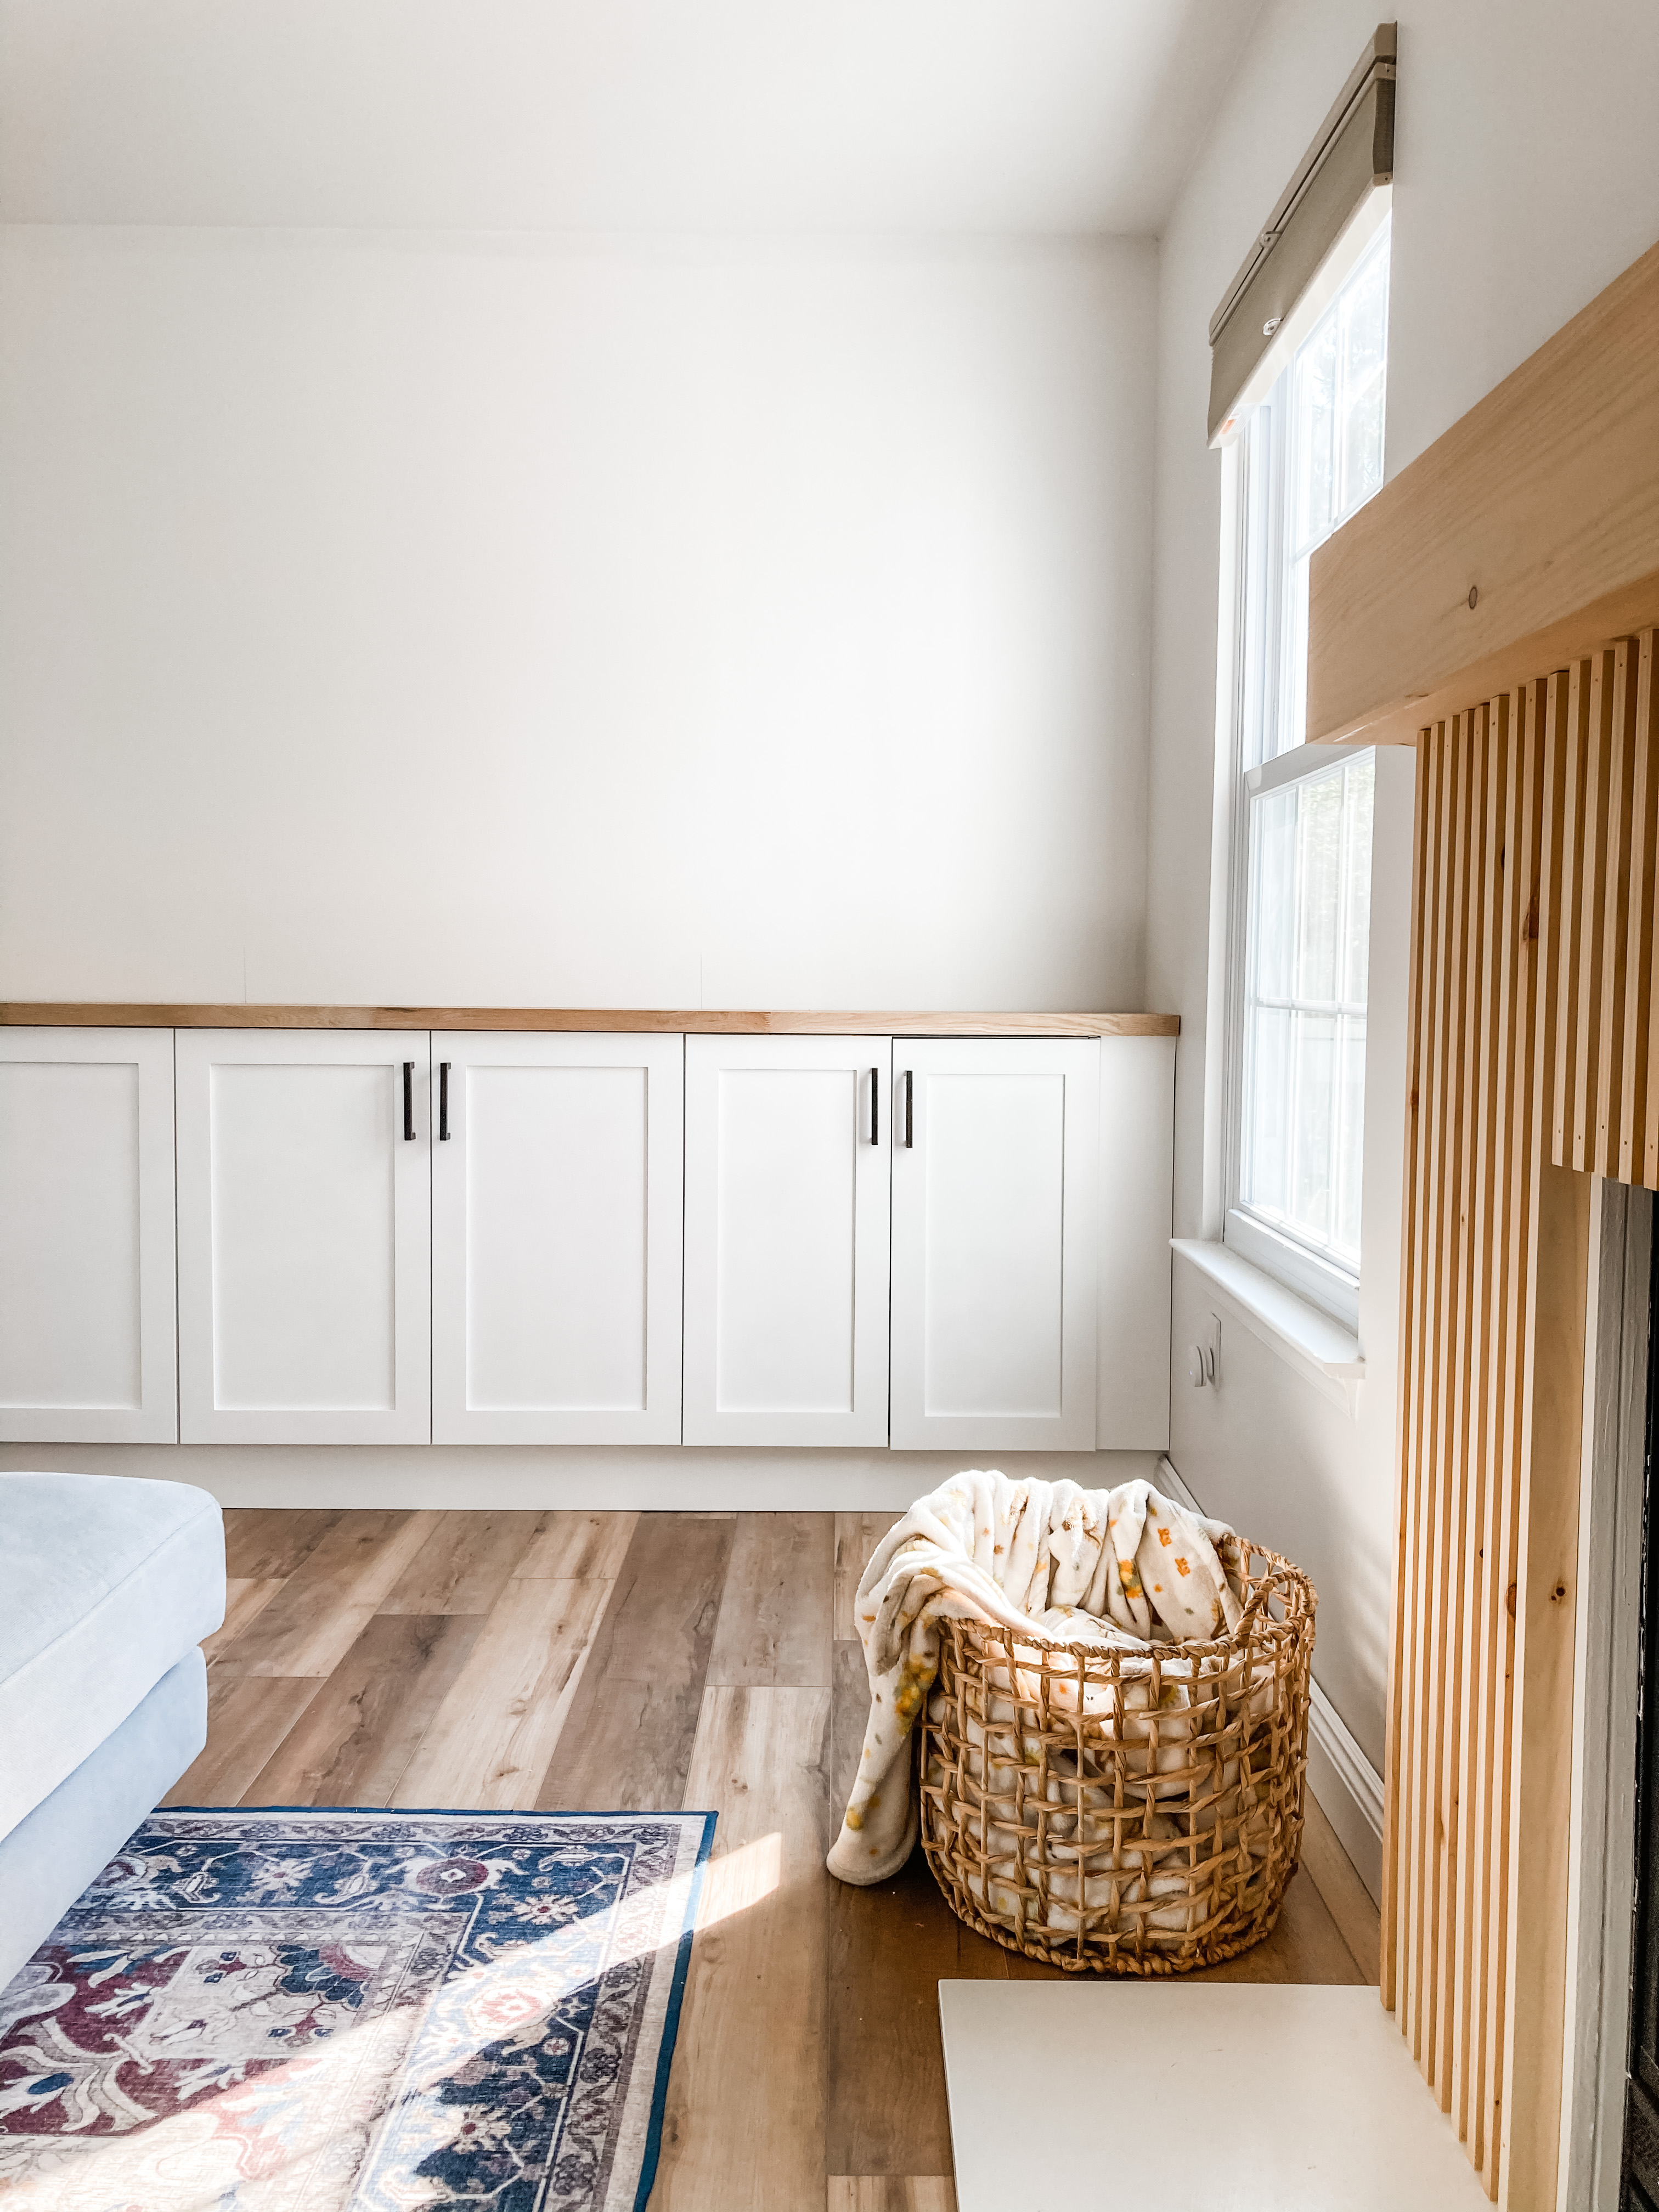
Last fall, Ian and I got four IKEA Sektion cabinets and made them the base of the bookshelves. We knew we wanted hidden storage for unsightly but commonly-used items. Then, we ordered this beautiful oak countertop from Lumber Liquidators, cut it down to size, and attached it to the top of the cabinets. Then, I was tasked to finish the bookshelves myself. I had never built a custom bookshelf before, but I figured …. how hard could it be? Turns out, it wasn’t very hard! It just takes a lot of planning and measuring.
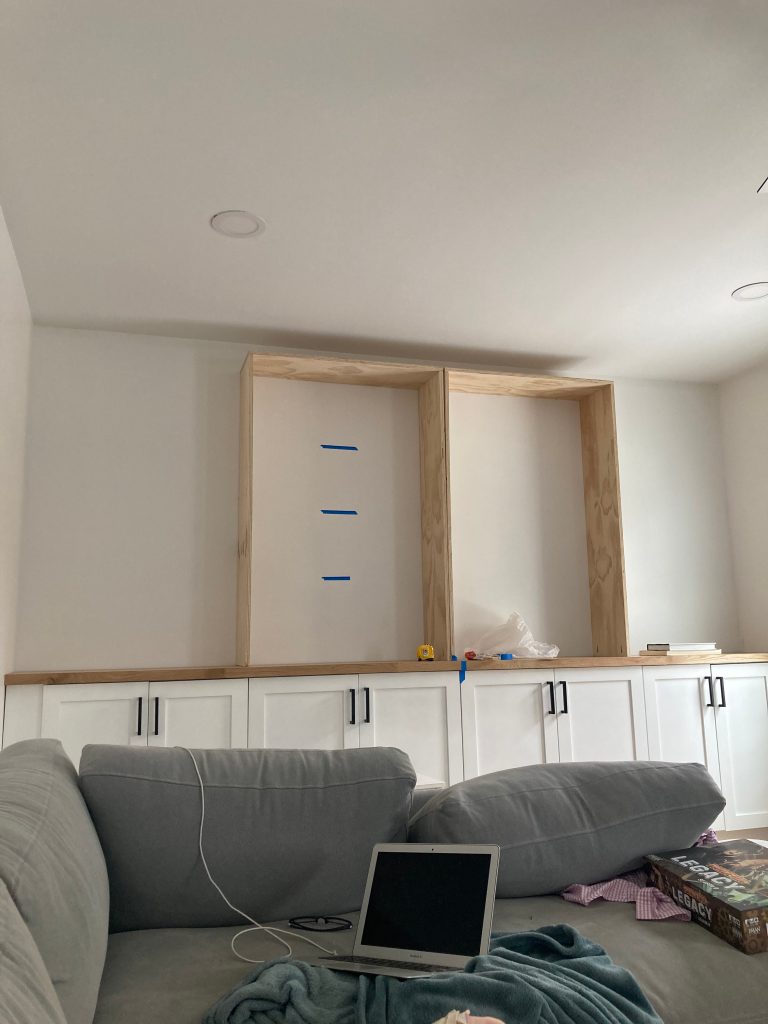
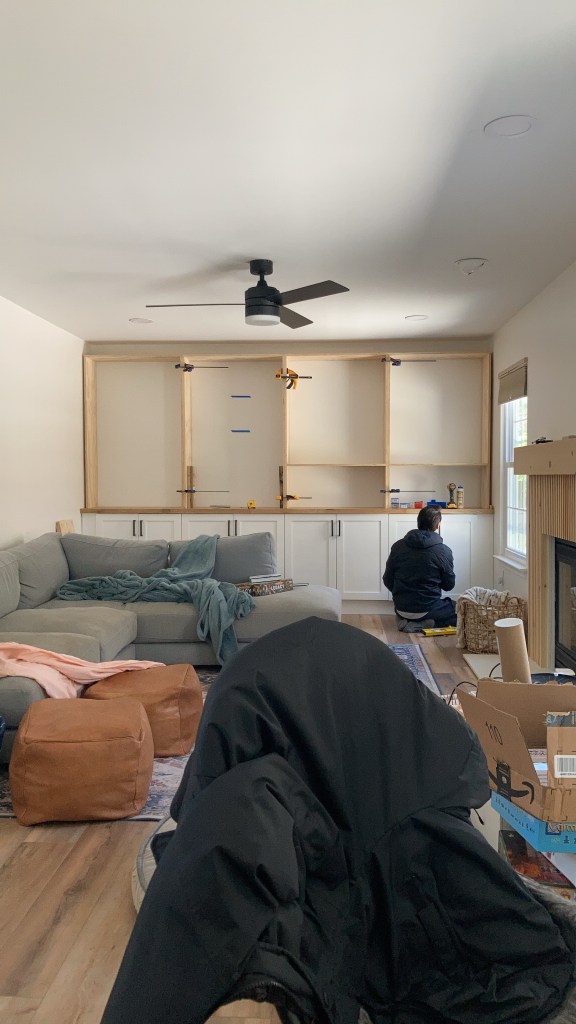
First, I built 4 separate U-shaped structure that served as the skeletal bookshelves. I knew I wanted a header up top, so I left a few inches of gap for a trim piece. Then, I decided on the height of the shelves, and opted for a taller base shelf and shorter shelves on top. I used the Kreg Jig to make pocket holes for all my joints. Using scrap wood, I cut down some spacers and placed each shelf on top of the spacer, before screwing it into the structure. Each shelf was attached one-by-one in place. This entire skeletal build was build completely out of 3/4″ pine plywood. Once everything was built and positioned, I attached it to the countertops as well as the ceiling supports, so they’re not going anywhere! Then, I finished the piece up by adding trims all around. To save money (because lumber prices are still really high!), I opted for using pre-primed MDF for the trims. It gave a very clean look that made it look very professional. To finish off the raw edges of the plywood, I opted to use a paintable edge banding and ironed those on. The last thing I had to do here was caulk and paint.

One thing I would do differently again, if I could do this over would be adding a back to the bookshelves. Because I didn’t add a back, the back wall served as the backing. However, I should’ve learned by now that no walls in a house is ever going to be completely straight. So I ended up having to use a ton of backer rods and caulk to fill in all the gaps and make it look very seamless. Adding a thin 1/4″ backing would’ve made my life a lot easier.
Overall, this project took about 7 working days (spread out over 6 months, haha). 1/2 day assembling and installing the cabinets, 1/2 day painting the doors, 1/2 day installing the counters, and the rest of the time was building the shelves. My design shifted multiple times during the 6 months of planning these shelves, but now that they’re done and we’ve enjoyed using them for the past 3 months, it feels like this was supposed to be here all along. Up next will be continuing styling it until it reaches a happy equilibrium of form and function. Although I think some styled bookcases are beautiful, they are not practical at all for people who actually own a hearty collection of books. This will take some time, so I’ll be here over the next few months slowly curating the bookcase and moving books around to find the prettiest way of displaying all of our books and objects.

