

Over the course of the past week, I’ve been doing a lot of DIYs around the house. First, I repainted my room! I wish I’d taken a before photo so you guys can see the drastic difference! But the picture below should give you an idea of the color my room used to be! It was this sandy-brown that my mom chose when we first moved in. It was incredibly hard to match furniture with, as it also had strands of orange in the paint color. Finally, my mom conceded and let me re-paint my room to colors of my choice. I chose shades of sea foam green/blue. Since my furniture before were brown or white, I didn’t have to change any of my furniture.
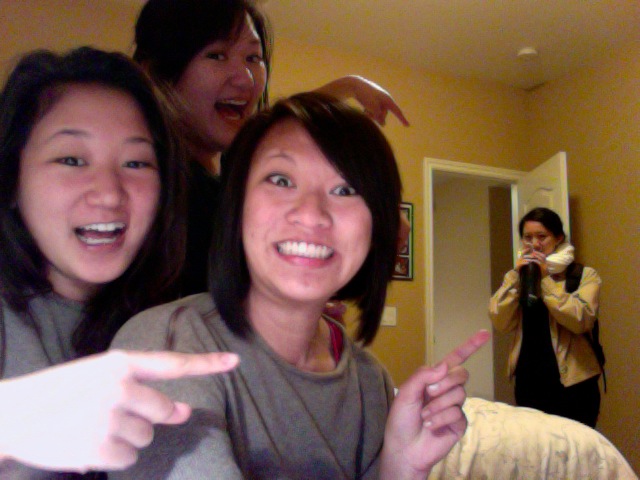
Oh here are my best friends. This is embarrassing. Oh well, they don’t read my blog. Moving on. The second thing I did for my new bedroom was making an upholstered headboard. I’ve always wanted a headboard, but they are so dang expensive! Upon reading so many design sites talking about how easy and affordable it is to make your own headboard, I decided to give it a try. It took only two hours (including getting the material!) and I am in love with the results. My last step to my bedroom re-do will be adding some accent artwork on the walls. I’ll take pictures of the whole thing once I’m finished.
A lot of design websites out there make their headboards that are meant to be hung on the walls. Nothing wrong with that. BUT, my mom hates drilling large holes in her precious walls. So I had to come up with a headboard that could stand on it’s own (or with the help of a bed pushing against it). Here is a rough plan of the lumber:
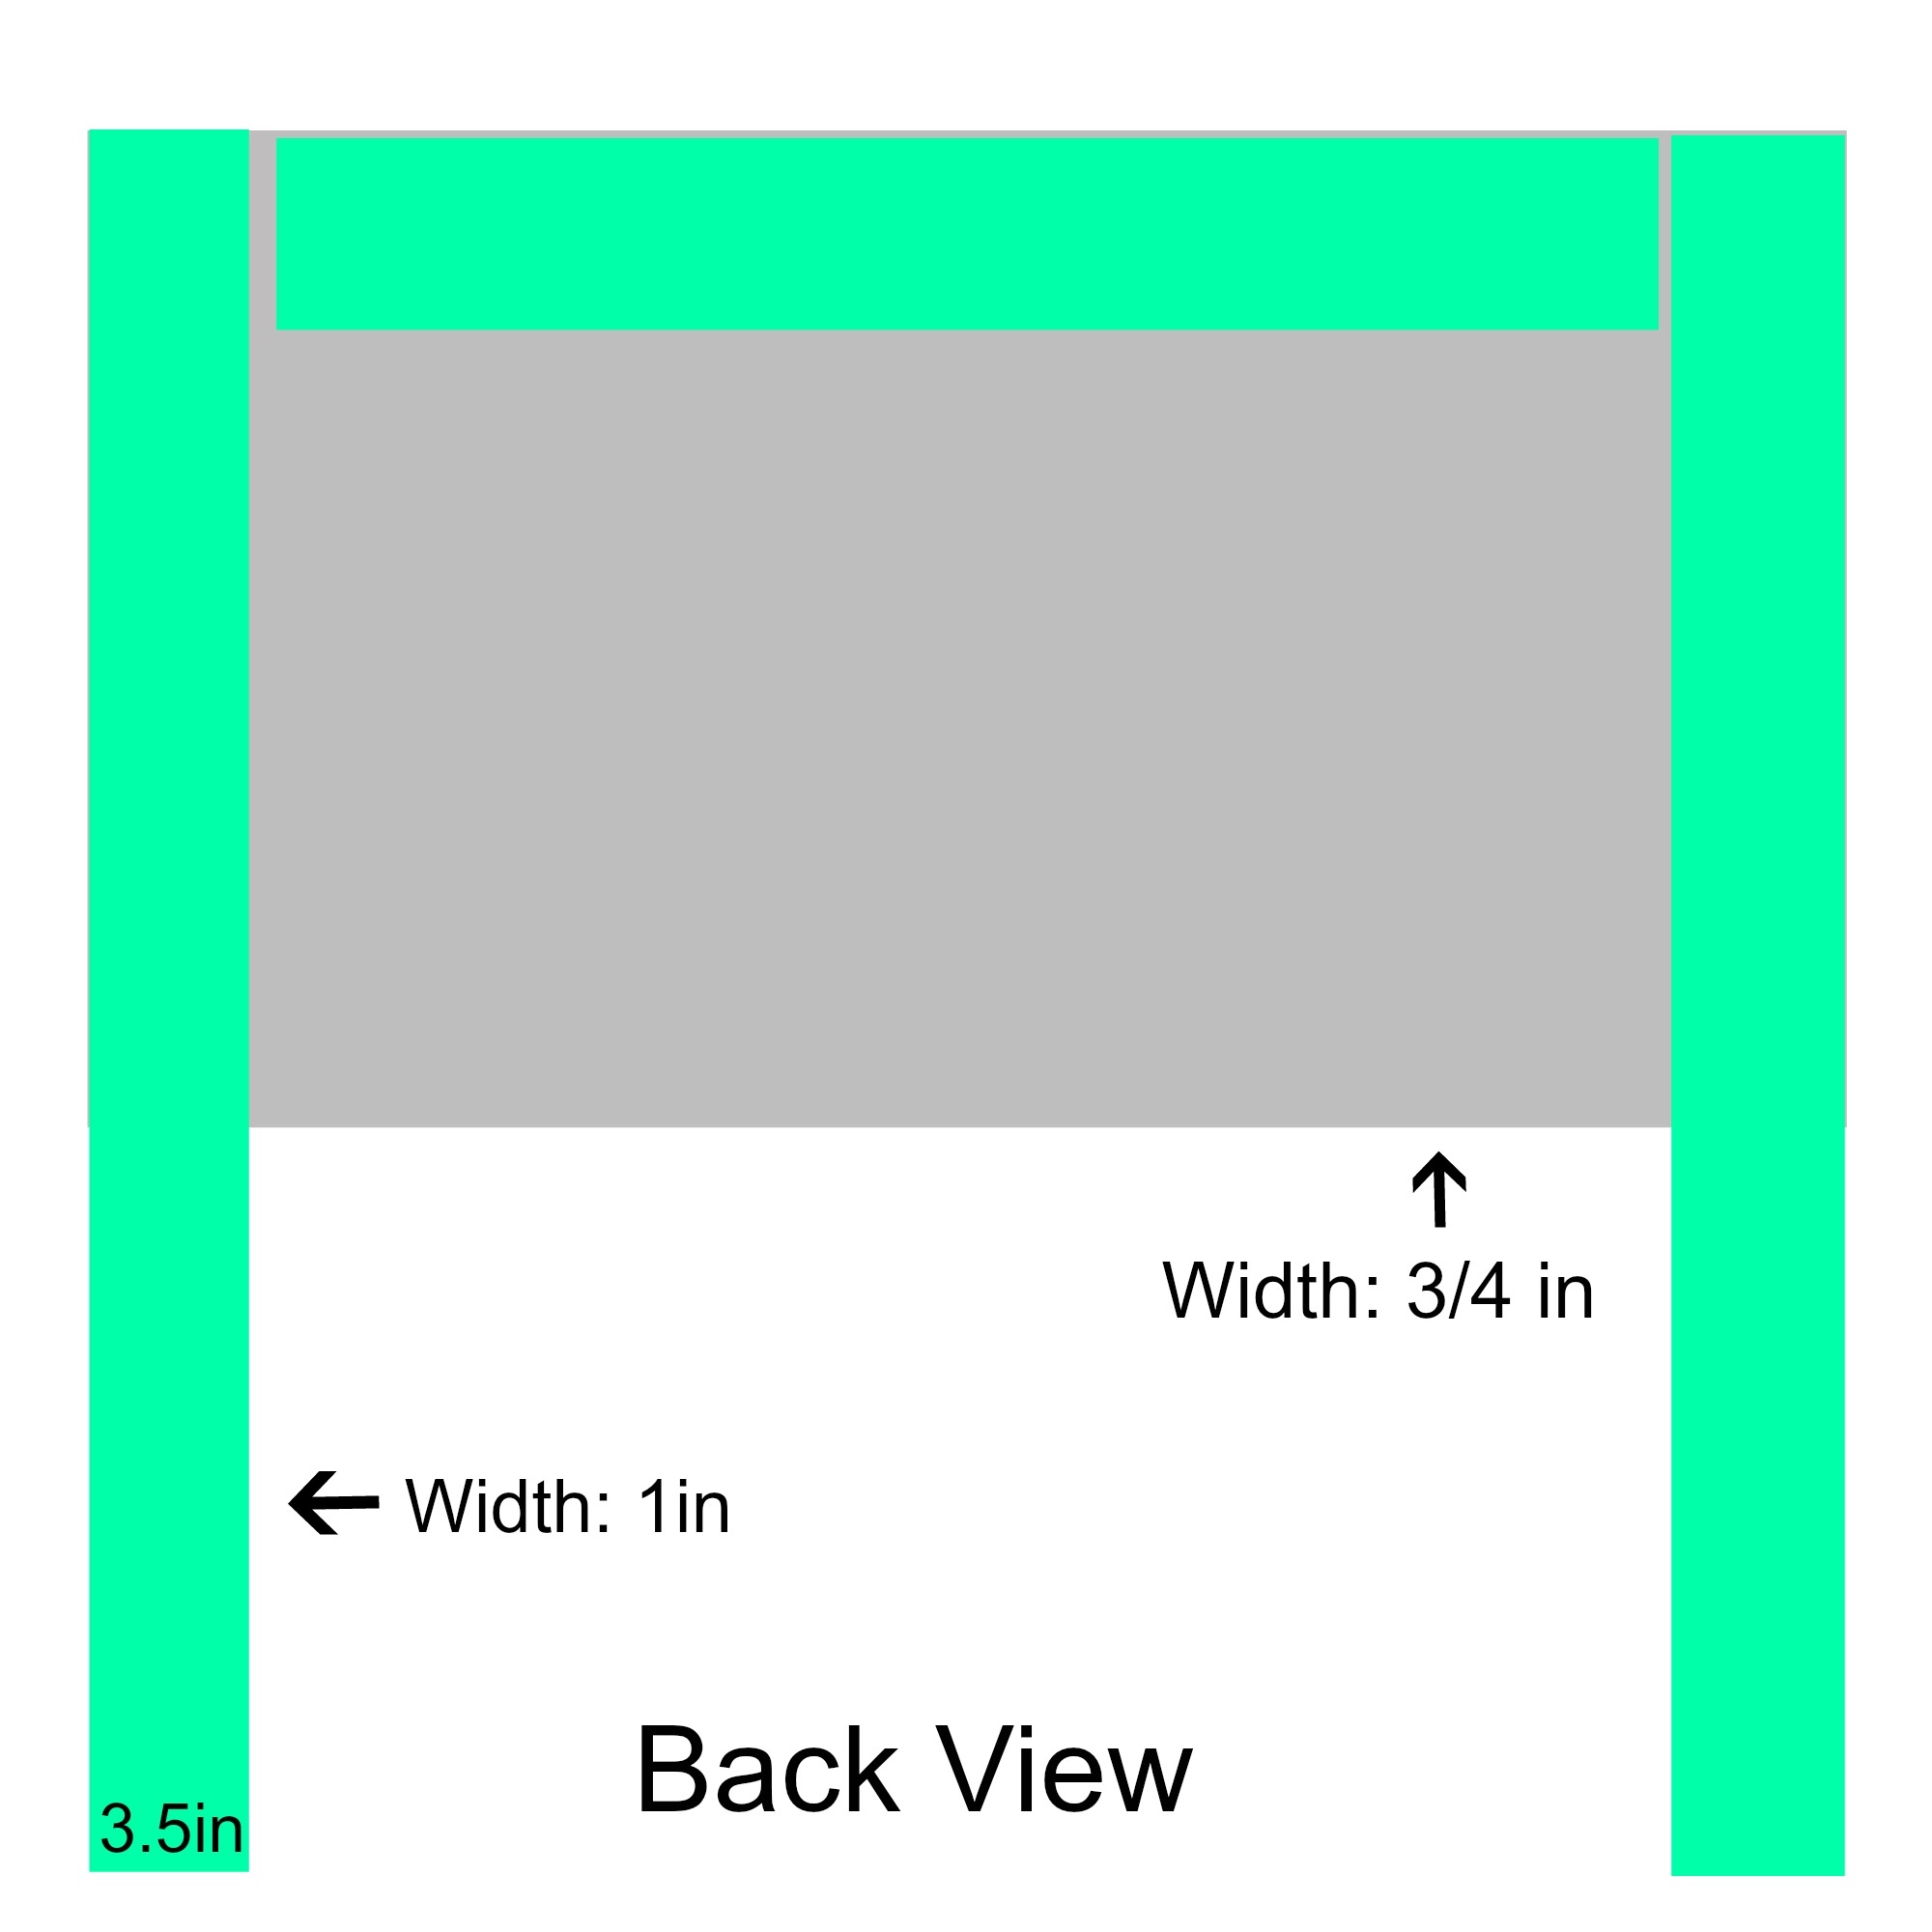
I only gave out the width measurements of the lumber since all beds are going to be slightly different sizes (in accordance to the bed frame). But I hope this is self-explanatory: the gray rectangle is the plywood which will serve as the headboard, and the green rectangles are the planks that will serve as structural support.
I got all my lumber from Home Depot (they will cut the wood down for you for free, and you can keep the leftover wood for other projects). For all the upholstery stuff, I got from WalMart. Originally, I wanted to do deep tufts. But upon seeing this fabric, I decided that it would look better without tufting. So a tip for lazy people who don’t want to drill holes: buy fabric with a distinct pattern! Oh, and you might be wondering what the total cost of my project was … drumroll please. Only $50! I tried to save money in all aspects. I bought the cheapest but still durable plywood to work with, curtains instead of yards of fabric, and mattress topper instead of actual foam.
Materials:
– Lumber
– Fabric (I used one panel of curtains!)
– Foam (I used one full-size mattress topper)
– Quilt Batting
– Foam/Vinyl Adhesive
*I had hammer, nails, and staple gun on hand.
Steps:
1) Measure, measure, measure! Make sure you have all your measurements worked out before you get your materials. The last thing you want to do is getting ready to work and then realizing that you don’t have enough of this and that. Make sure all your wood is sanded down nicely.
2) Lay the plywood down on a working surface (I did it on my garage floor). Lay the three supporting planks like the picture above. Using 1in nails, nail approximately 8-10 nails for each plank. When you are done, flip it over.
3) Cut the mattress topper so it fits the headboard. I was making a full-sized headboard and used a full-size mattress topper, and I was able to do two layers of the foam padding. Once the foam padding is down, use the adhesive to make sure they stay in place.
4) Lay the quilt batting over the foam. Gently flip the headboard over again so it is facing down. Gently pull the batting away from the center, making sure there are no creases or wrinkles. Using your staple gun, staple the edges of the batting on the planks on the backside.
5) Using the same technique you did for the batting, do the same with the fabric.
6) If you have leftover batting and/or fabric, you can really make your legs look pretty by upholstering them too!
Let me know if you are going to attempt this project. I’d love to see your results!
