
I often feel like grandmas are living vicariously through me. One of my hobbies is knitting. My favorite time to knit is while watching TV/movies or at the gym. Yup, you can see me on the elliptical machine, getting my sweat on … and also getting my knit on. Last summer, I discovered loom knitting, and it completely changed the way I knit. I realized what a huge time saver it was. It is also extremely easy to learn, and I’d highly recommend loom knitting for anybody who wants to start knitting and wants a fool-proof method. One of the perks of loom knitting is that I don’t have to count rows, which makes it great when I’m watching TV and am easily distracted.
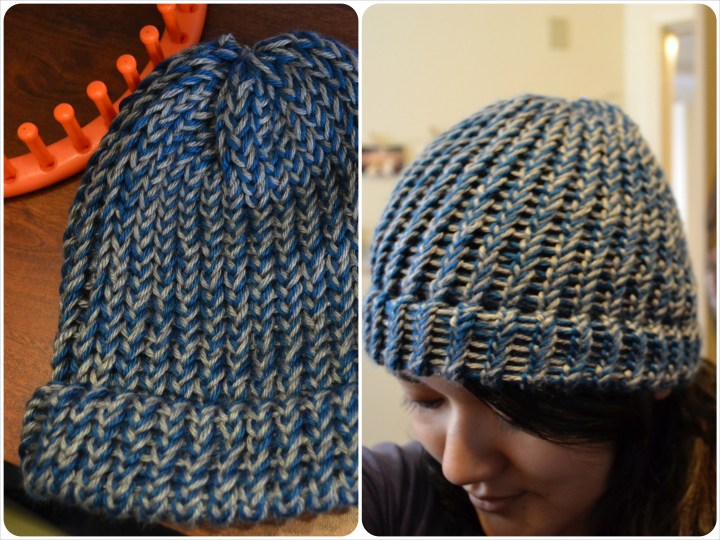
I promised one of my best friends I’d knit her a beanie, despite the fact that she lives in sunny California. Taking that into consideration, I chose yarn that is thinner, and I doubled up on the yarn. I also chose a ultra-soft yarn so it’d be super comfortable to wear all day.
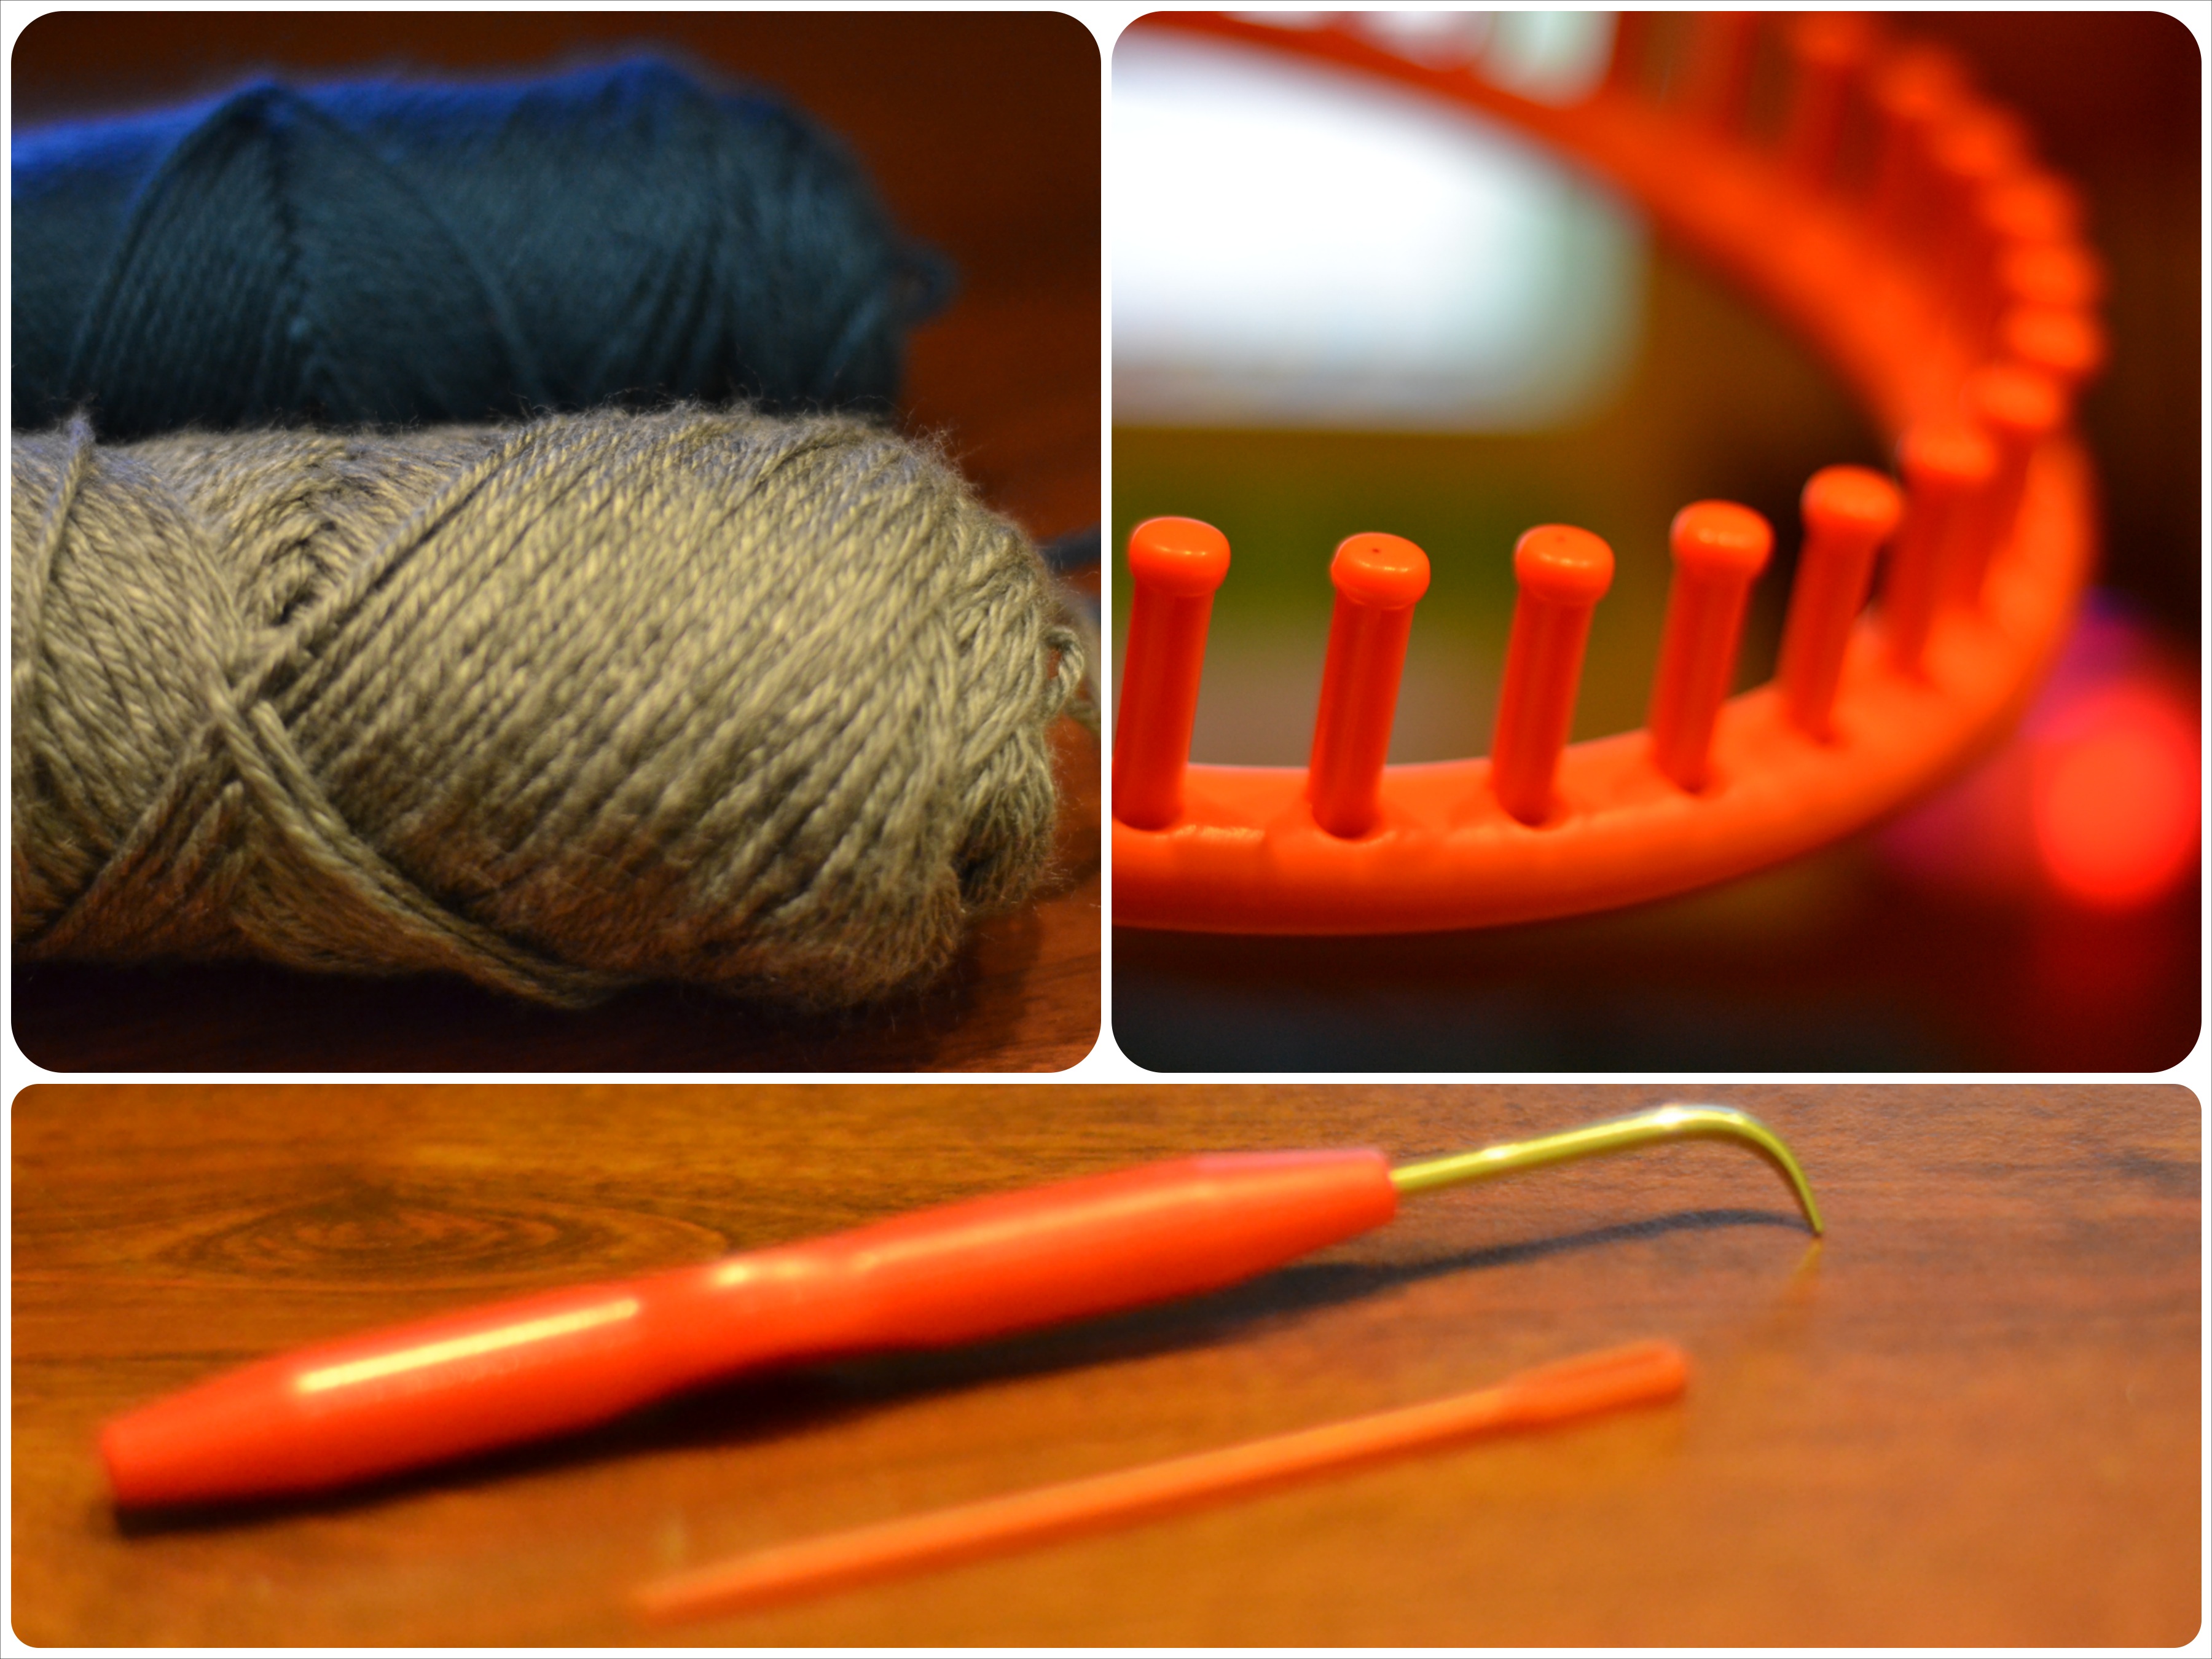
First, gather your materials. For this project, I used two light worsted yarn (look for the number 3 on the packaging). I doubled the two colors so there is a speckled effect. You’ll also need a round loom, yarn needle, and a yarn hook.
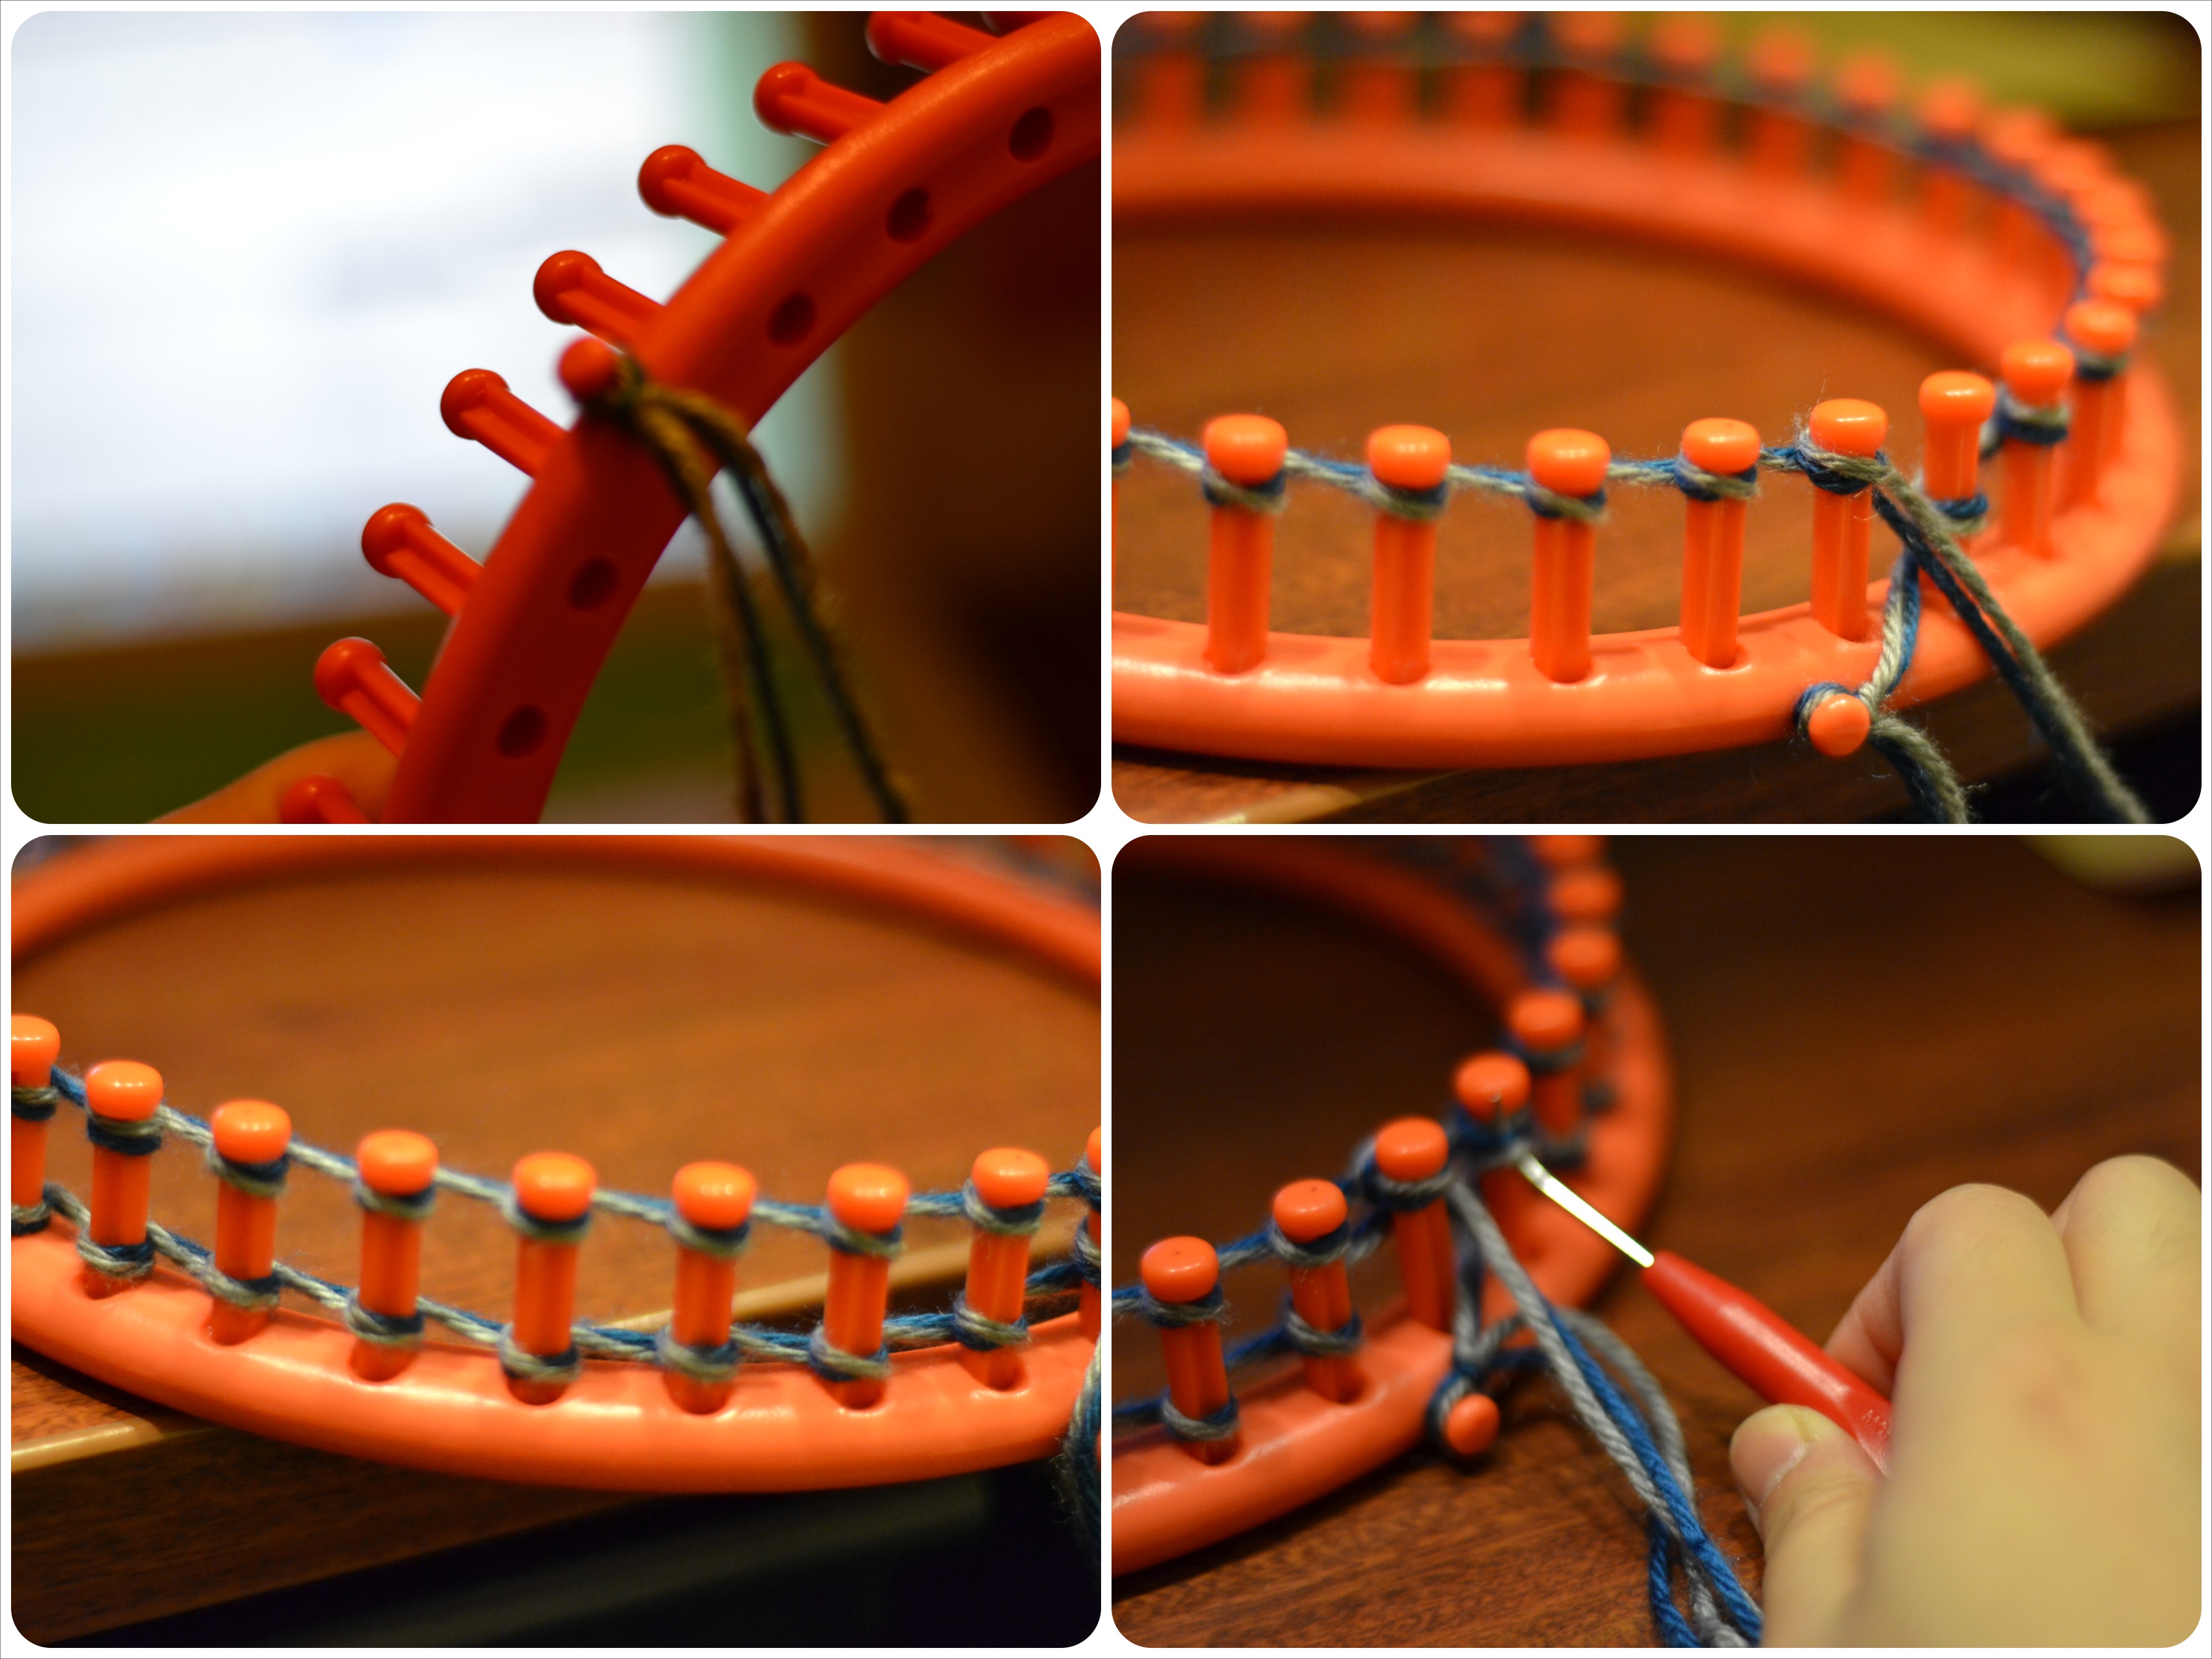
You’ll need to make a slipknot and tie it to the side peg on your loom. Then, take the yarn and wrap around each individual peg, working counter-clockwise. when you have wrapped around each peg for the entire loom, press all the loops down. Repeat that step again. After you wrapped around each peg (you should have two rows of loops), you will take your yarn hook and hook the bottom loop over the top. When you do that, you should be left with only one row of loops. Yay! Now you’ve finished the first row. Now press that row down, and repeat!
 After around 15 rows, it’s time to decide how you want the beanie to look on the bottom. If you would like a brimless beanie, it’d look like the image on the top, you see how it curls at the bottom? If this is how you’d like your beanie, ignore this step and keep looping! If you would like a brim, you are now going to take the bottom of what you’ve knit and turn it in the loom. You’ll find at the ends there are loops that will correspond to each peg. Loop it over each peg (like the bottom image). Then, just like before, use your hook to hook the bottom loop over the top loop. After that, continue knitting as you did before.
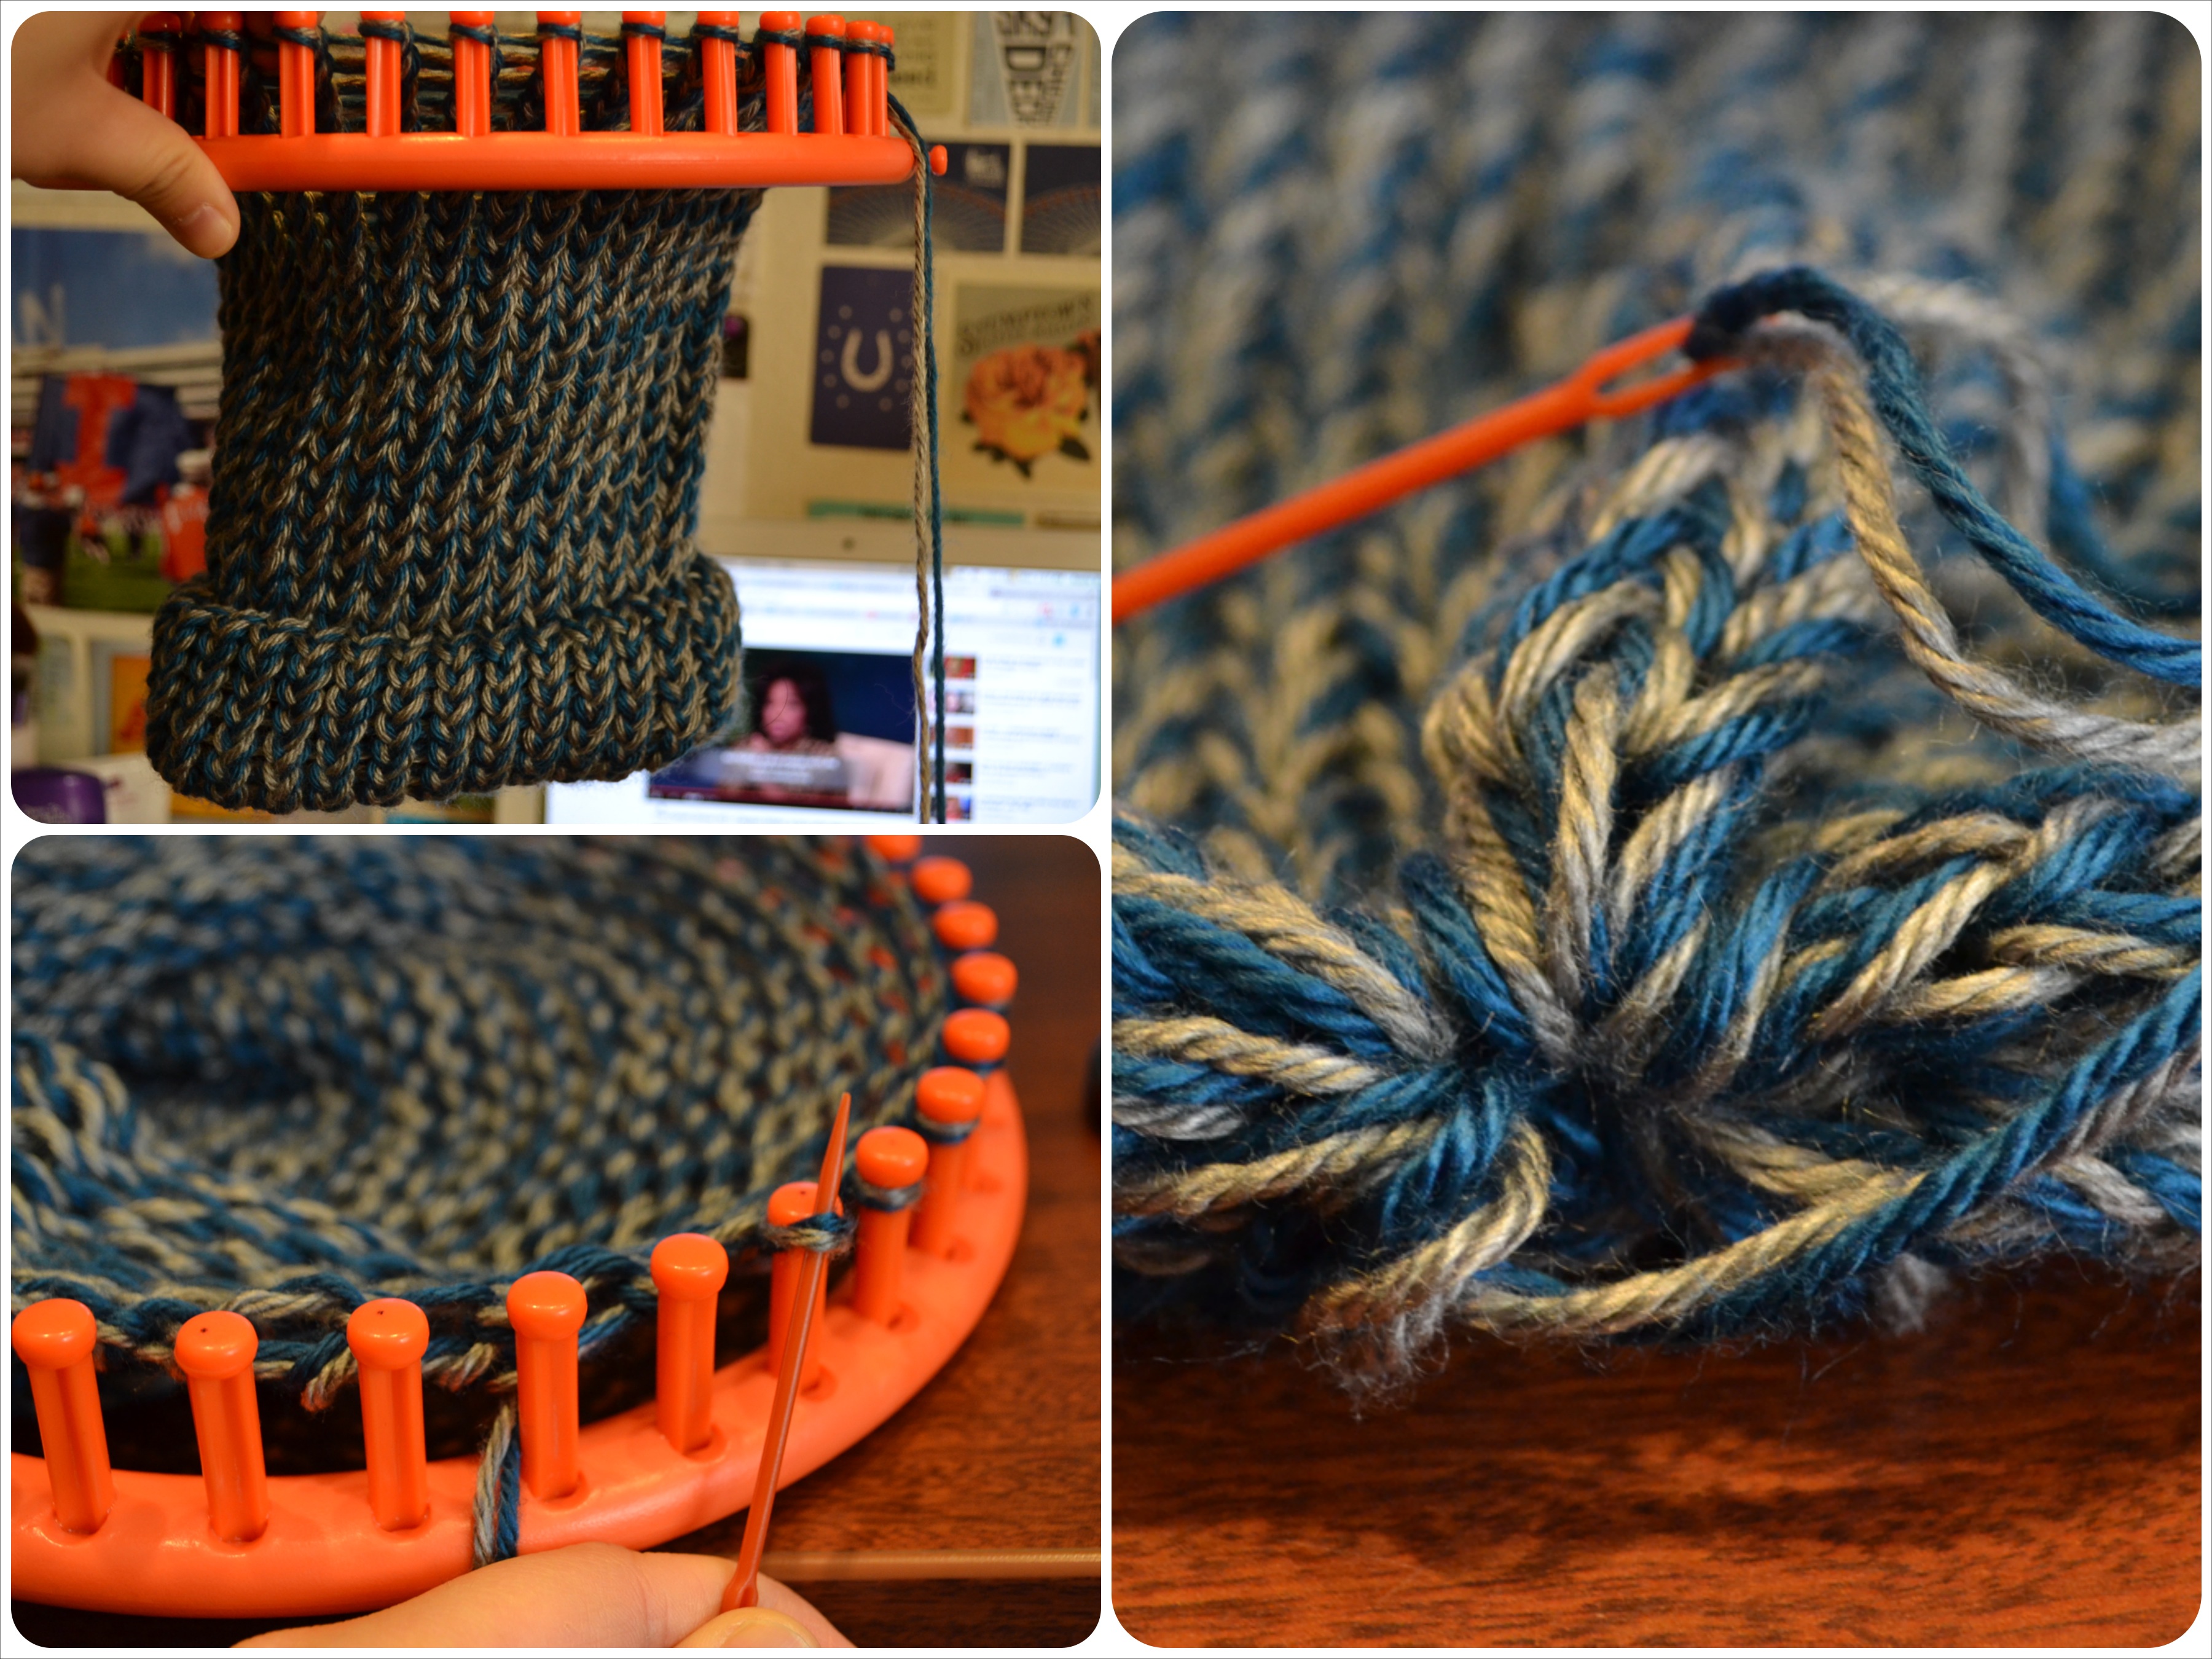 Knit another 25 rows or so, depending on how long you’d like your beanie to be. Then it’s time to top off! You’ll cut your yarn leaving about 12 inches. Thread your yarn through your needle. Then you will use your needle to take off the loops off each peg. I recommend working on a flat surface, as your beanie will start flopping around. When you finished taking off the last loop, pull on the yarn and tighten. The beanie should cinch together.

Now, I like to use the extra yarn and weave through the top a few times to ensure that it is tight. Make a knot and cut the excess yarn off. Ta-da! This projects typically takes me roughly 1 hour or so. It’s definitely a good project as an introduction to loom knitting!
