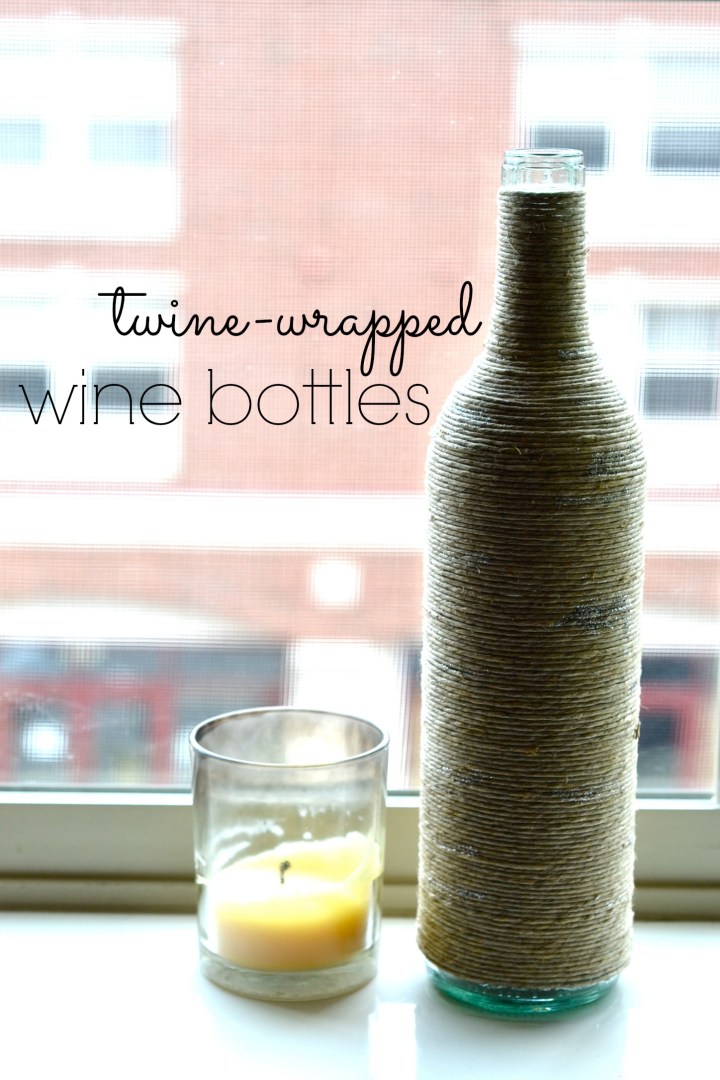
It’s been a while since my last DIY! My roommate and I are moving out in a few weeks and since I’m taking a lot of decorations with me, I thought it would be a nice gesture to make her some new ones for her new fancy bachelorette pad!
I’ve seen these DIY twine bottles floating around on Pinterest, I have even seen them at furniture boutiques. They are pretty darn easy, and with the right technique, it should take no more than 15 minutes per bottle.
Materials:
– 1 empty wine bottle
– twine (try to get the waxed kind)
– glue (optional)
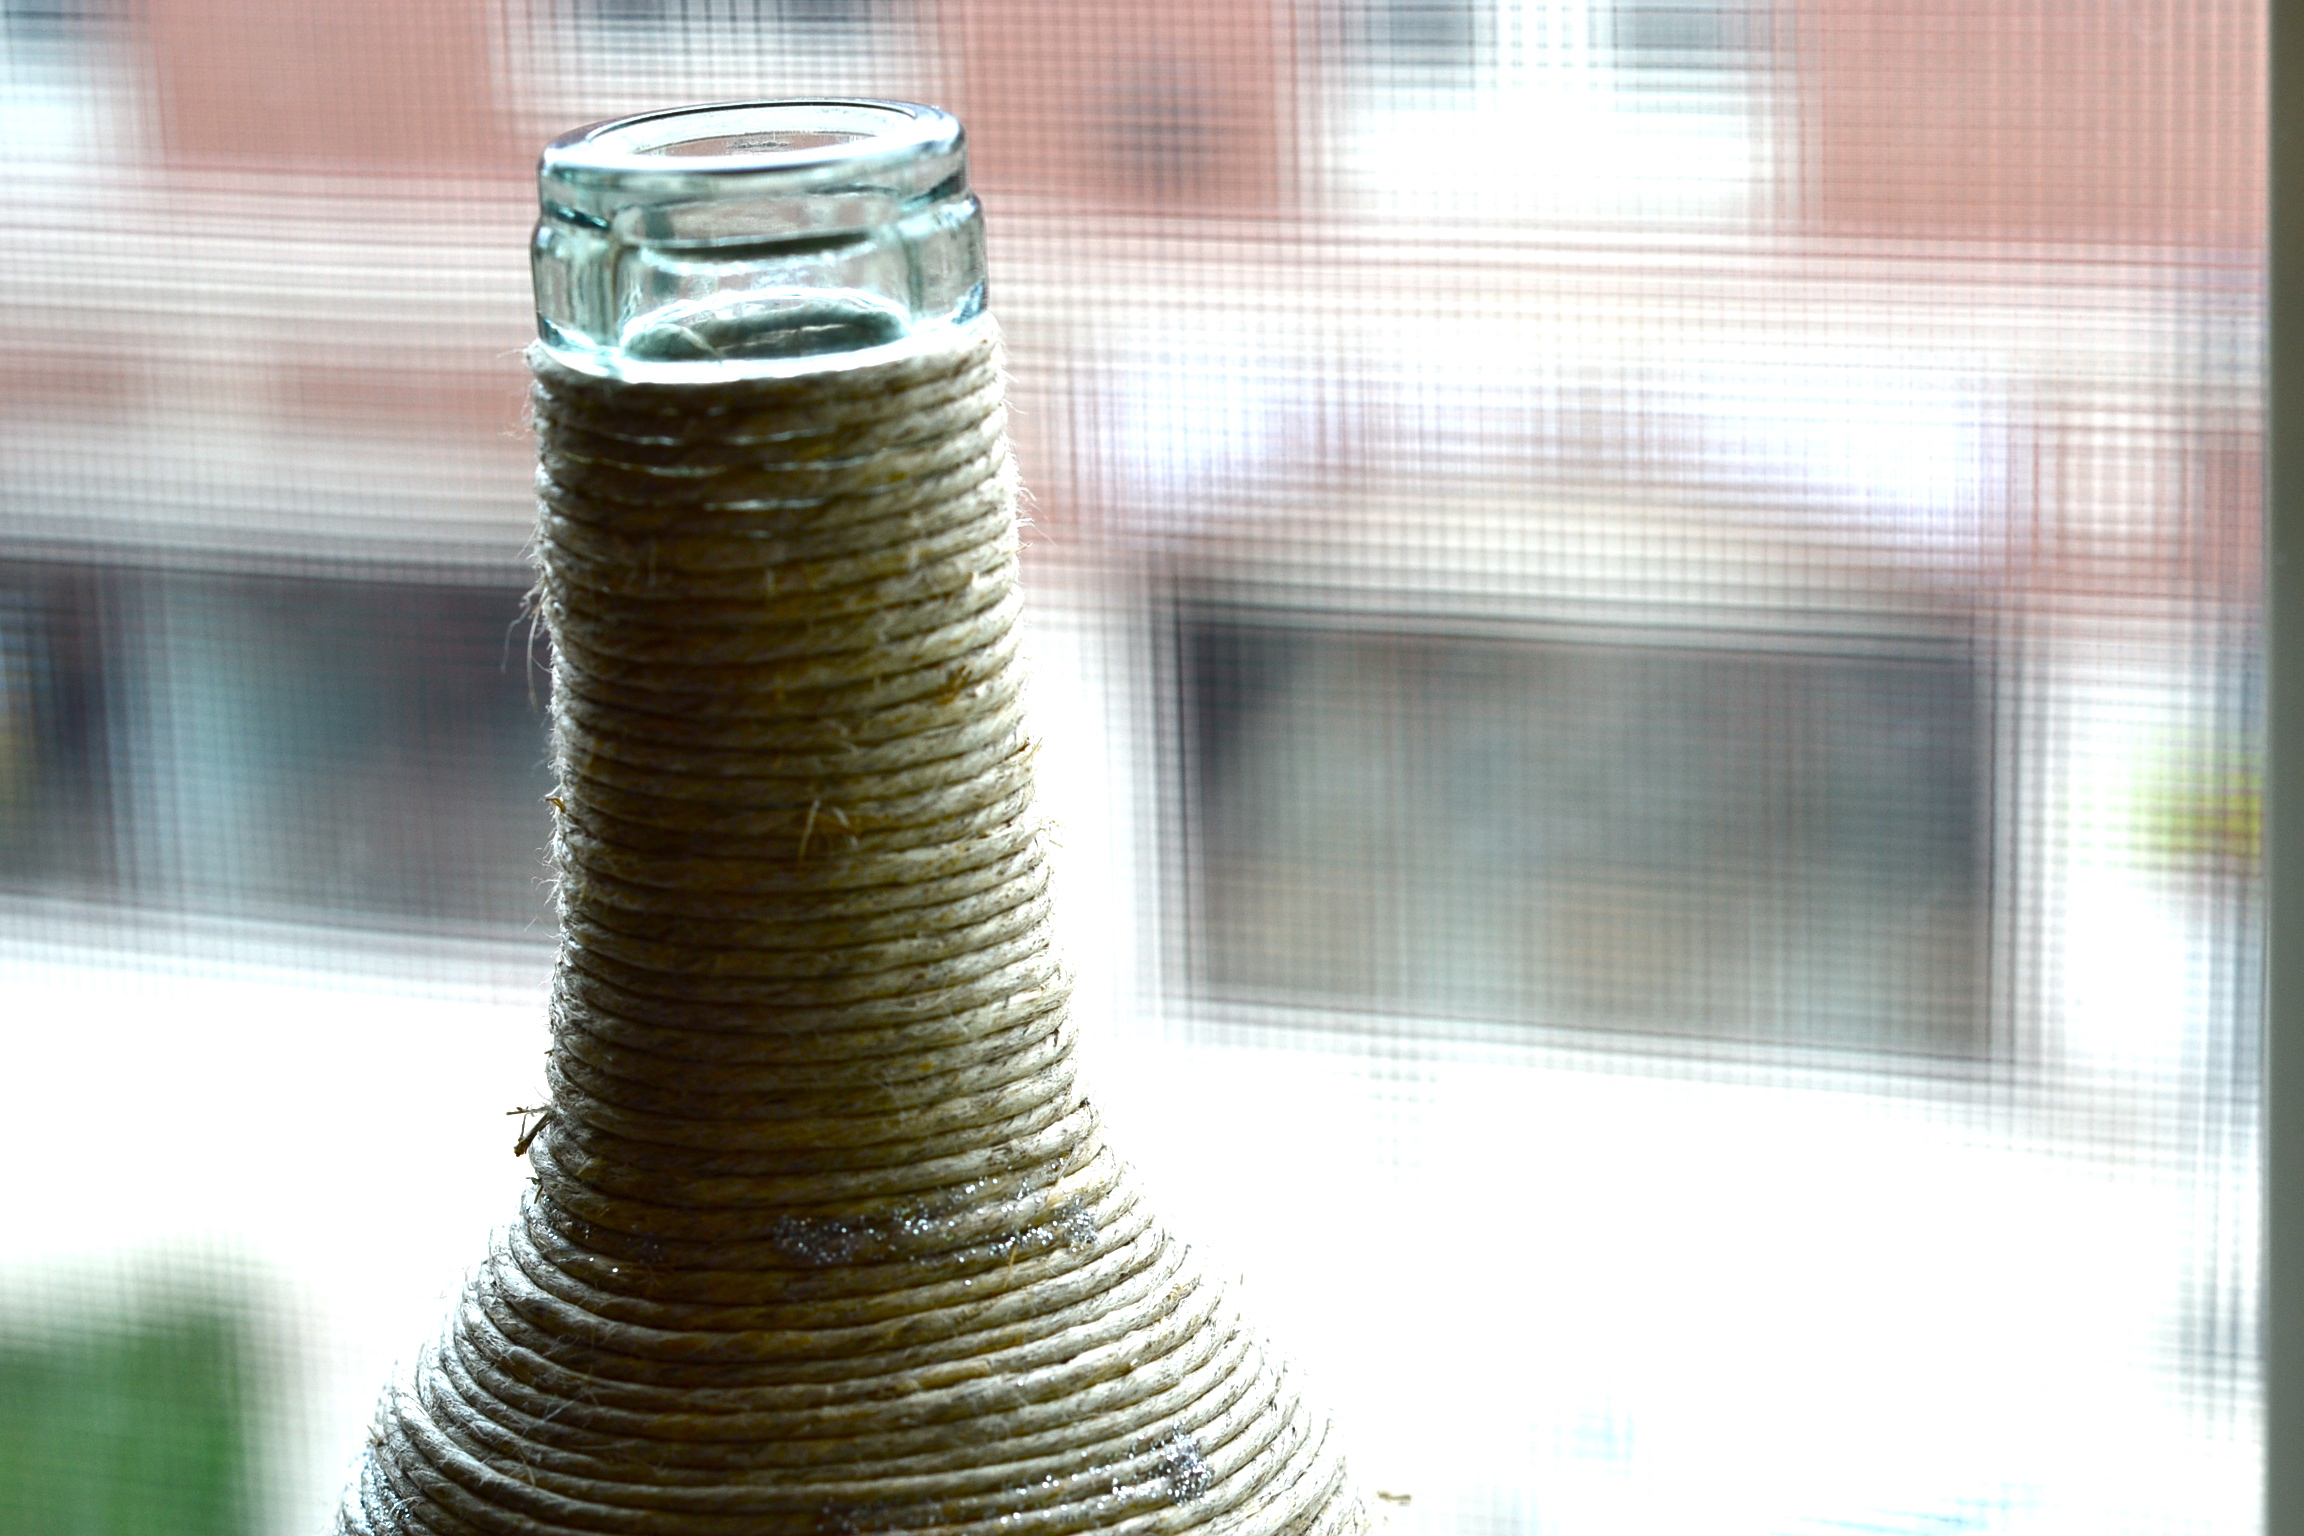
 Glue is really not necessary. All you need to do it to start the twine from the top of the bottle. The easiest way is to tie a tight deadknot on the top, and start circling down. Make sure to wrap over the end twine from the knot. Gently push up as you go. Around the part where there is the curvature in the wine bottle, it will seem a little bit difficult to wrap as the twine might unravel. Don’t fret. If you don’t feel secure doing this, dot some glue as you wrap the twine to ensure security. When you get to the bottom of the bottle, make another deadknot, glue the ends if needed.
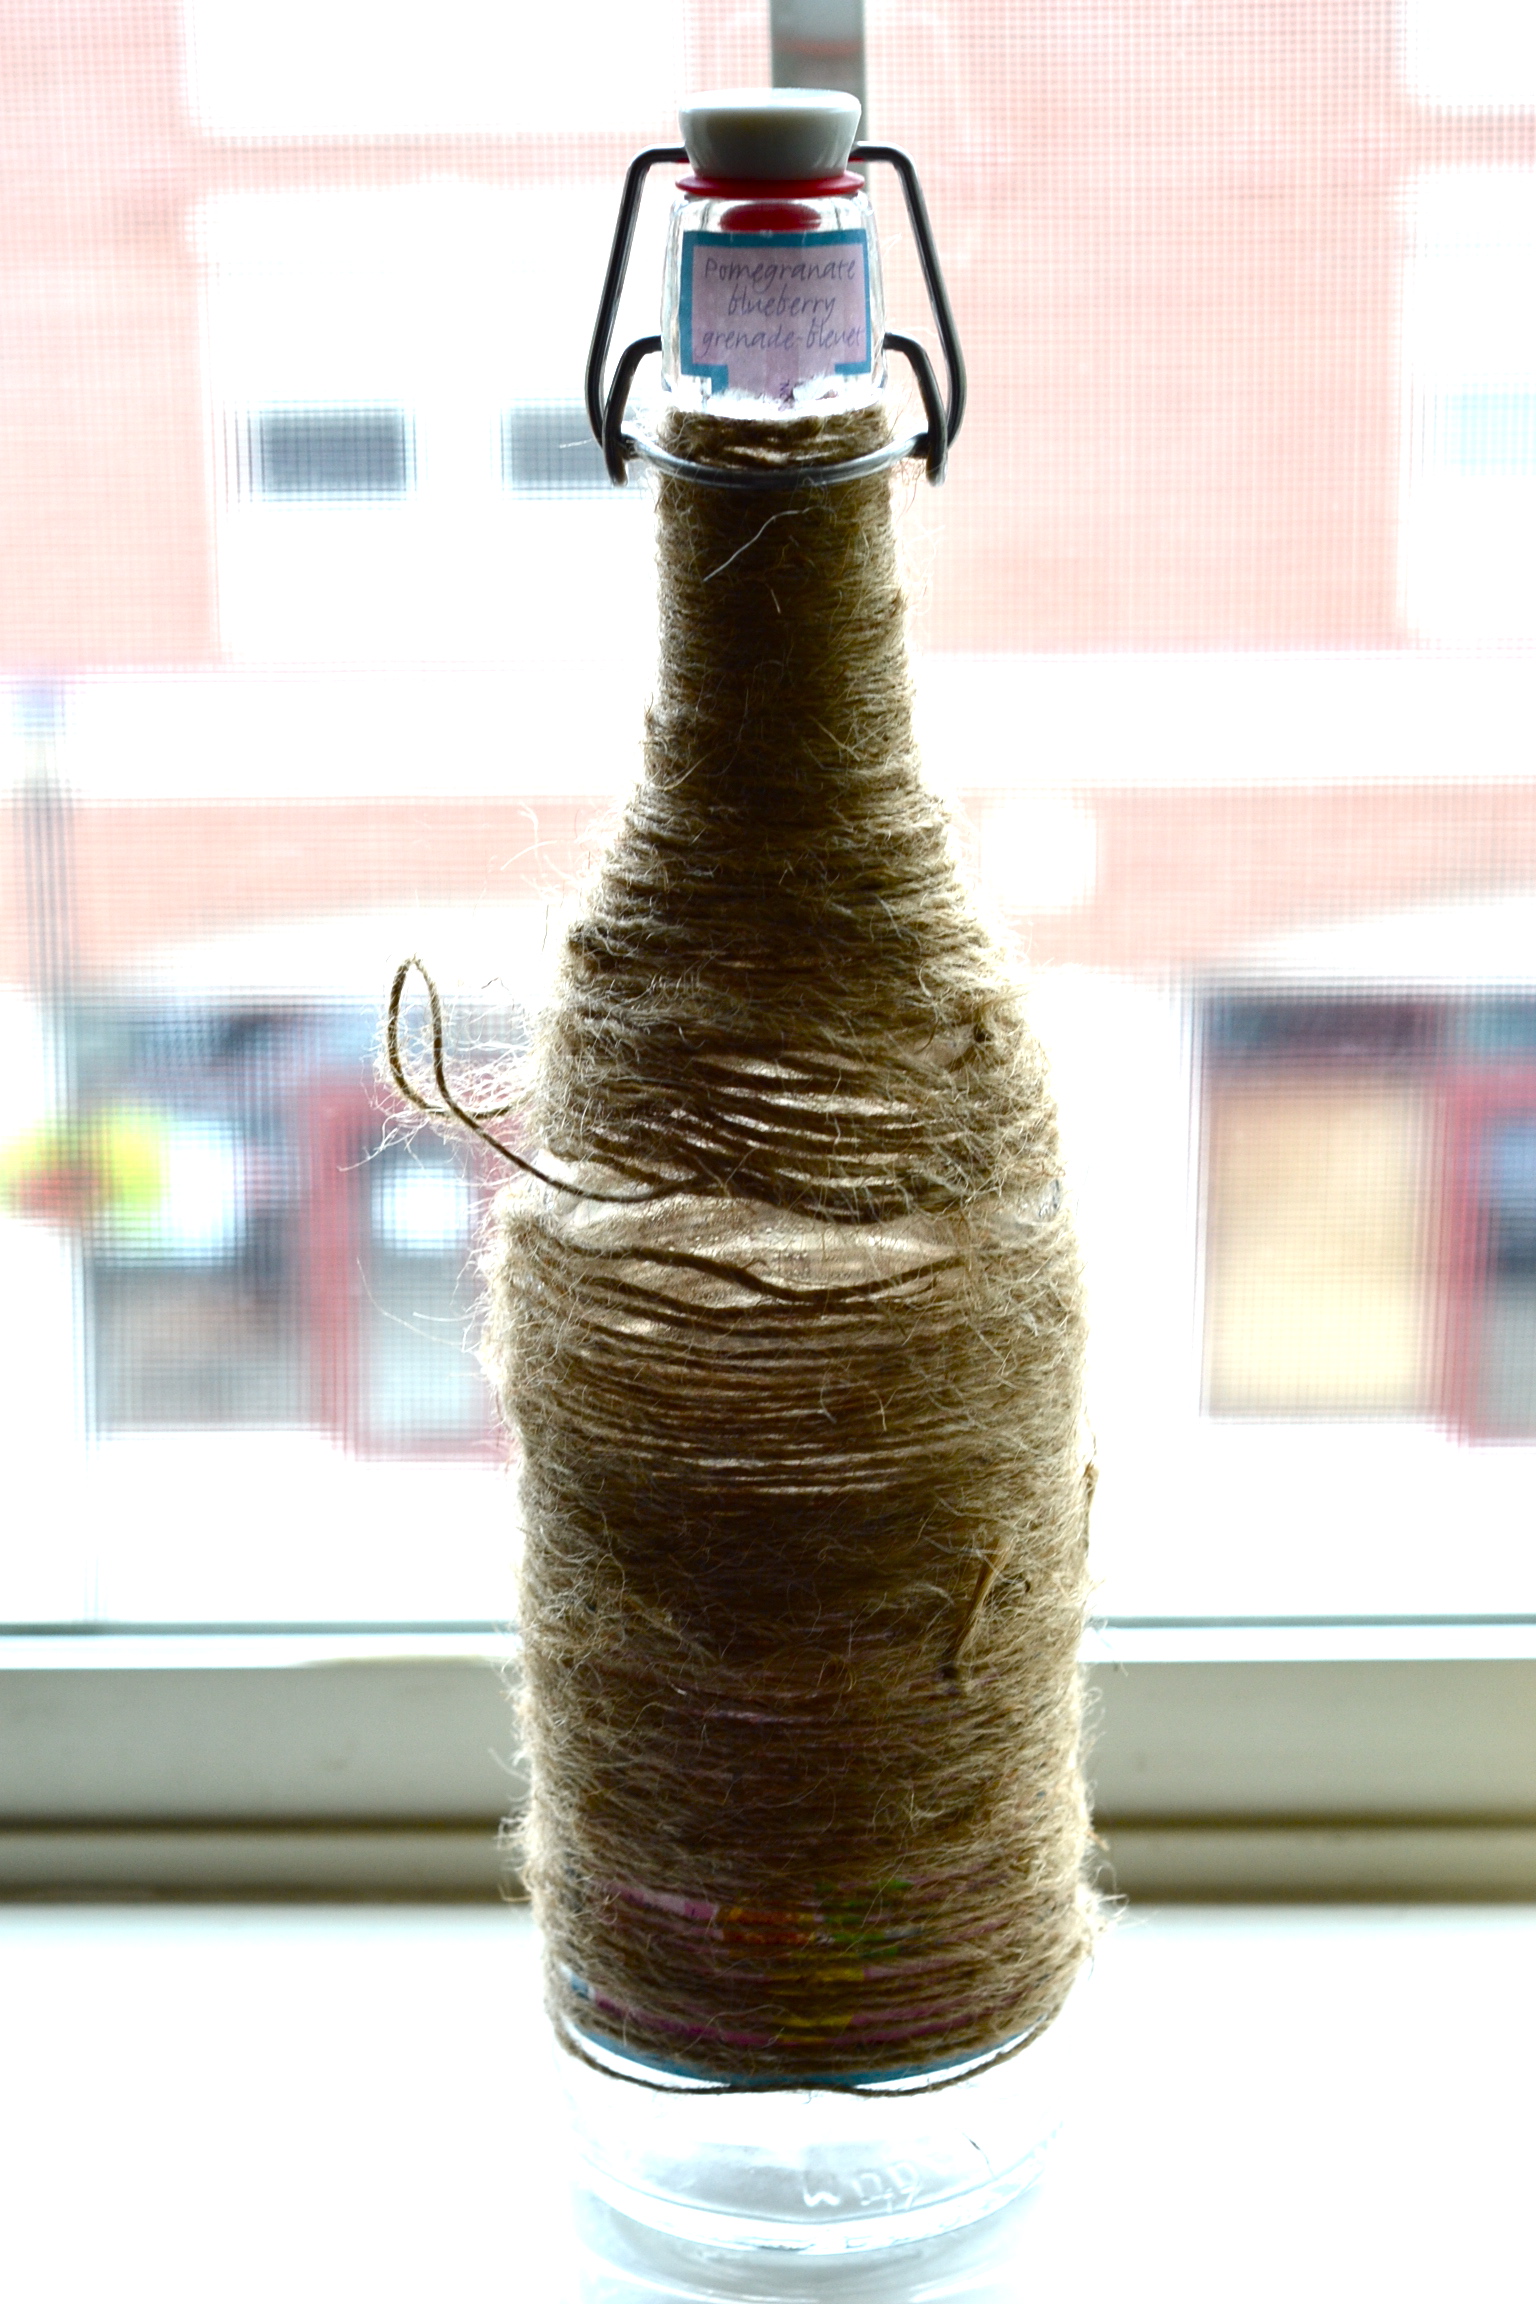
Make sure you don’t get the fuzzy-looking twine, make sure to get the waxed twine. I tried making one with the fuzzy twine and this was the result. If you can only find the fuzzy twine, make sure you use lots of glue!
My roommate loves sparkles and glitter, so as a finish, after I finished wrapping the bottle, I used silver glitter glue and dabbed random spots. This serves as an adhesive gel and also a subtle accent. I hope you guys enjoy this super easy DIY!