
When Ian and I were renovating our old house, Squirrel House, we were working mainly out of a small one-car garage (that actually doesn’t really fit a car). The garage was super dingy, had minimal lighting, and just wasn’t super conducive to getting work done. To be fair, we were also horrible at organizing that garage. So whenever we wanted to do a project, it’d take us 15-20 minutes just to gather all the tools before we could even begin. That whole environment sometimes just really made home renovation less fun and a bit of a buzzkill.
So when we bought the new house (Squirrel Estate), we were blessed with a 2-car garage (that actually can fit 2 cars). We were so excited to begin dreaming about how we were going to utilize part of it as a workshop. We built a huge workbench (a little bit more on that another time) and started using half of the garage as our workspace (the other half will actually park a car. The tricky thing was that even though we see ourselves DIY-ing forever (because a house is never really “finished”), we predict in about 5 years, Squirrel Estate will get to a “happy place” where we’re not firing up the power tools every weekend. When that day comes, we’d like to give both of our cars some love and park both of our cars in the garage. So because of that, we built a really budget-friendly workbench that we can either sell on Craigslist or donate when that time comes and we can switch to a more portable system. However, where are all of our tools and paint cans and what not going to go?
Because we like to think far, far ahead into the future, we actually thought about that. So I thought about creating a pegboard wall, so we could really utilize the vertical space (our garage has 9 ft ceilings) and things could get stored away neatly.
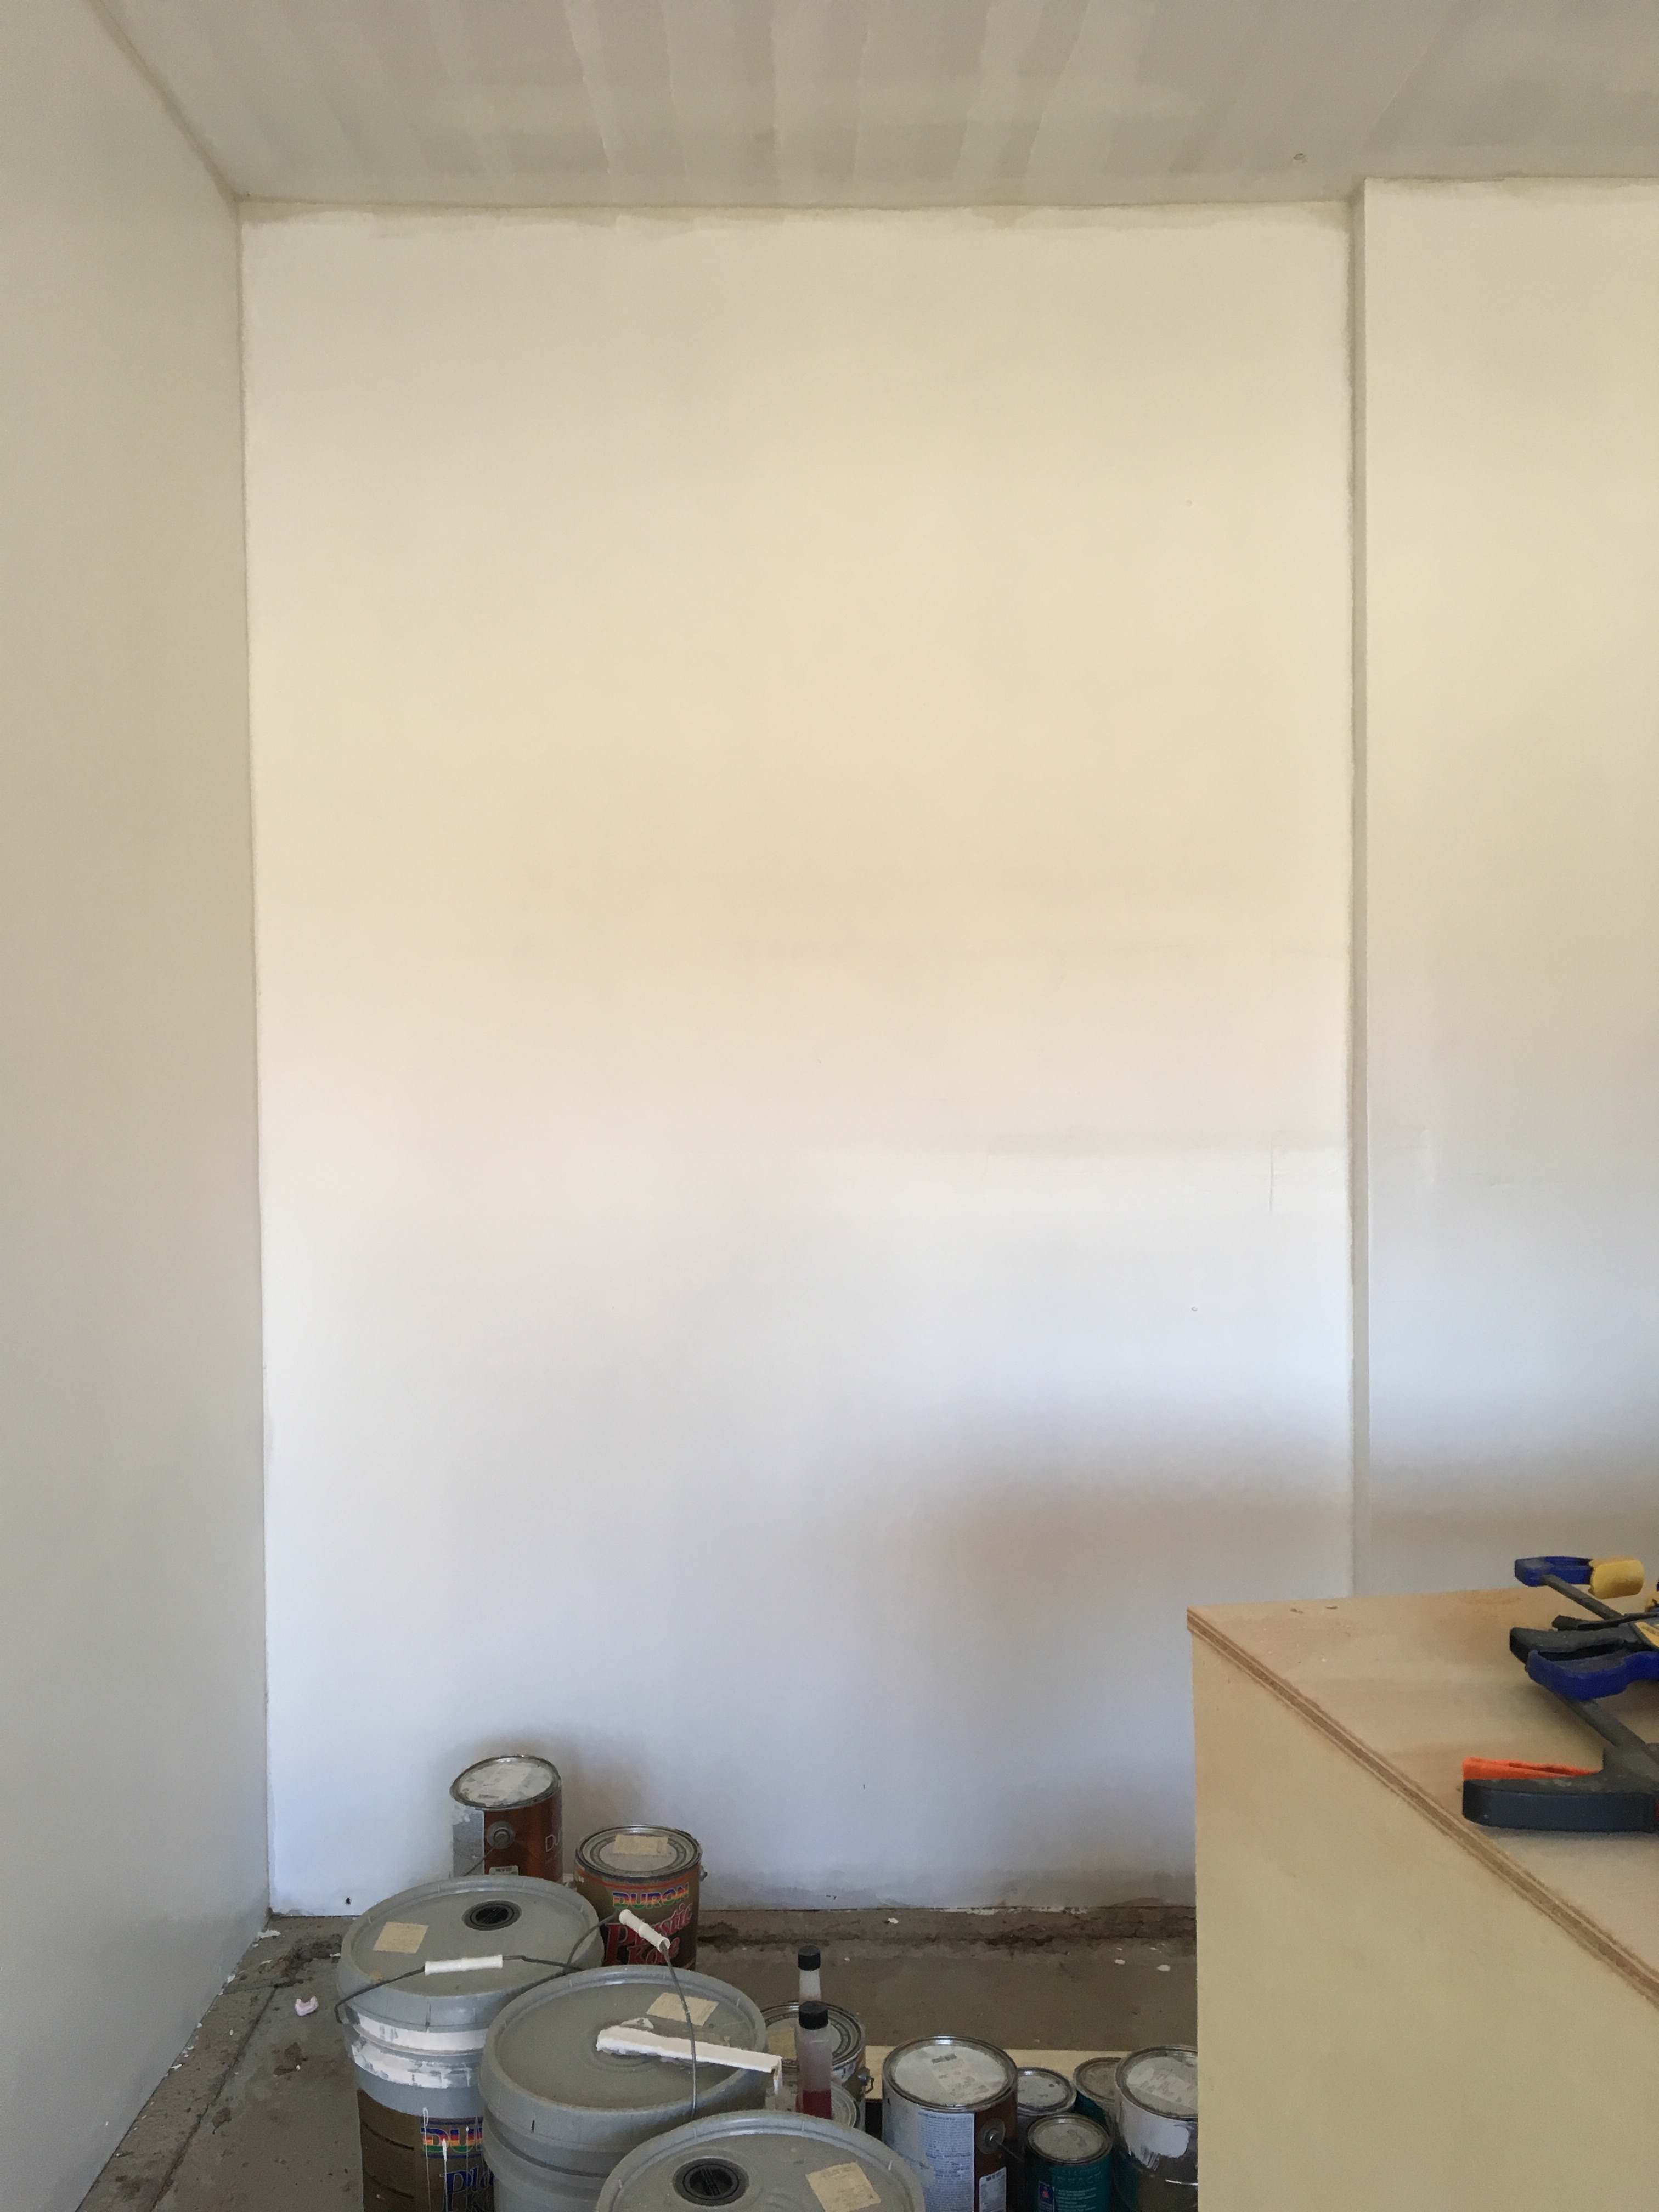
Our garage is an interesting shape. It’s not a traditional rectangular-shaped 2-car garage. On the left-hand side, there’s a little recessed “cubby” part that goes in 4 inches and is about 70 inches wide. I immediately thought this would be the perfect space to make my pegboard wall.
I scoured the internet for sources of a pegboard wall that was both functional and really cute! I love DIY and making things but if I’m going to have to look at it all the time, I also want it to look good. When I came across this beautiful garage pegboard wall by Ugly Duckling House, I knew I had to replicate it. Some things that I did differently – Sarah built her garage pegboard wall from a large wall, so she framed it out by starting from building the pegboard and working her way out to the sides. Because I was using this recessed cubby space, I had to work my way in.

Here are all the supplies I used
- (4) 6-ft 1×3 furring strips ($6.72)
- (2) 10-ft 1×6 ($25.24)
- (3) 6-ft 1×6 ($14.44)
- (2) 8-ft 1×2 ($6.06)
- (1) 4×8 primed pegboard ($19.48)
- Pegboard organizers ($12.98)
- Storage bins ($10.99)
- Wood screws
- Construction adhesive
- Paint
It cost me $71.94 to build the pegboard frame and shelving, and another $23.97 for the pegboard hooks and the storage bins. This brings our total to $95.91. Which I think is a total win to be able to do this in a few short hours and be able to organize all of my tools and parts.
Here is how everything went down:
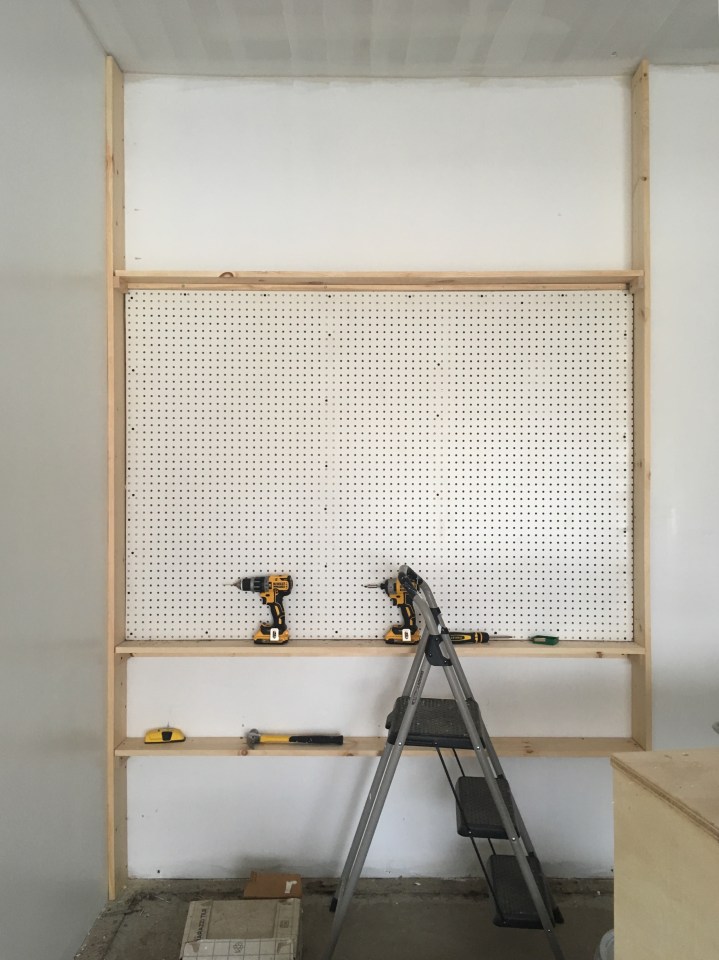
- Cut the 10 ft 1×6 into the correct length (for me, it was 108 inches). Using 3-inch construction screws, screw the 1×6 into studs on both sides.
- I wanted to make sure the shelves had a lot of support, so I added 1×2 to to the bottom and sides to the bottom 2 shelves for additional support. The side pieces I cut 4 inches, and the long strips were 70 inches. I also screwed these 1×2 to studs to the height I wanted the shelves to be. The first shelf was 18 inches off the ground and the distance between the first and second shelf was 15 inches.
- Cut the 6-ft 1×6 to the correct length (~68 1/2 inches). I put the board on the 1×2 supports and screwed it into the 1×2. Repeat for the 2nd shelf.
- Cut the furring strips for the pegboard to be attached to. Since the pegboard was 4ft by 8ft, I had Lowe’s rip it down for me (I already measured the wall prior to going to the store), so I didn’t need to make any cuts. Make sure the framing for the pegboard has supports in the middle. For me, my framing had two additional vertical supports in the middle. Screw framing into studs.
- Run construction adhesive all along with the framing of the pegboard, attach the pegboard and press gently. Use 1/2 inch screws to attach pegboard to framing while adhesive dries.
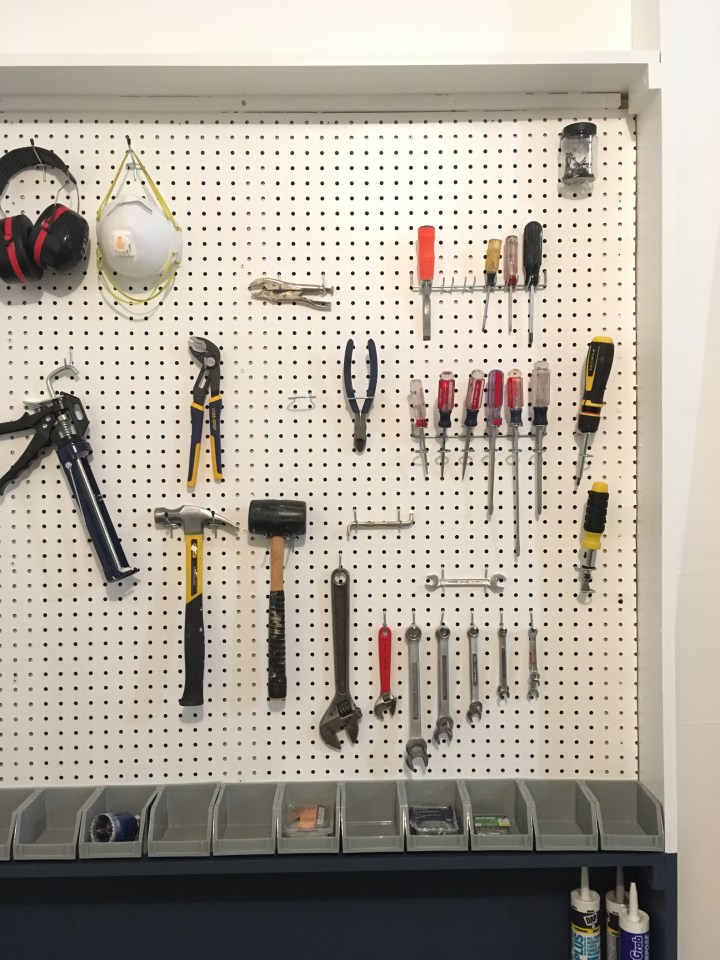
- When adhesive is dried, paint! I loved what Sarah from Ugly Duckling House did with the duo-tone look, so I wanted to mimic it. I chose Behr Ultra Pure White for the top part and Benjamin Moore Newburyport Blue for the bottom (it was what I had on hand already). Both paints were in the satin sheen, so it’ll be better to protect against scuffs and scratches. I gave everything 2 generous coats of paint.
- Organize with storage bins and pegboard accessories!