

After a year of renovations, I’m happy to be able to say that the closets in the main bedroom are done done. We worked with what we got for a little bit, and then started renovating it bit by bit. Since it’s a purely cosmetic renovation, a lot of other renovations took precedent, like laying flooring or painting.
I worked on both Ian and my closet on and off for a few months, and I’m soooo happy to finally have a place where we can feel great about getting ready in the morning.
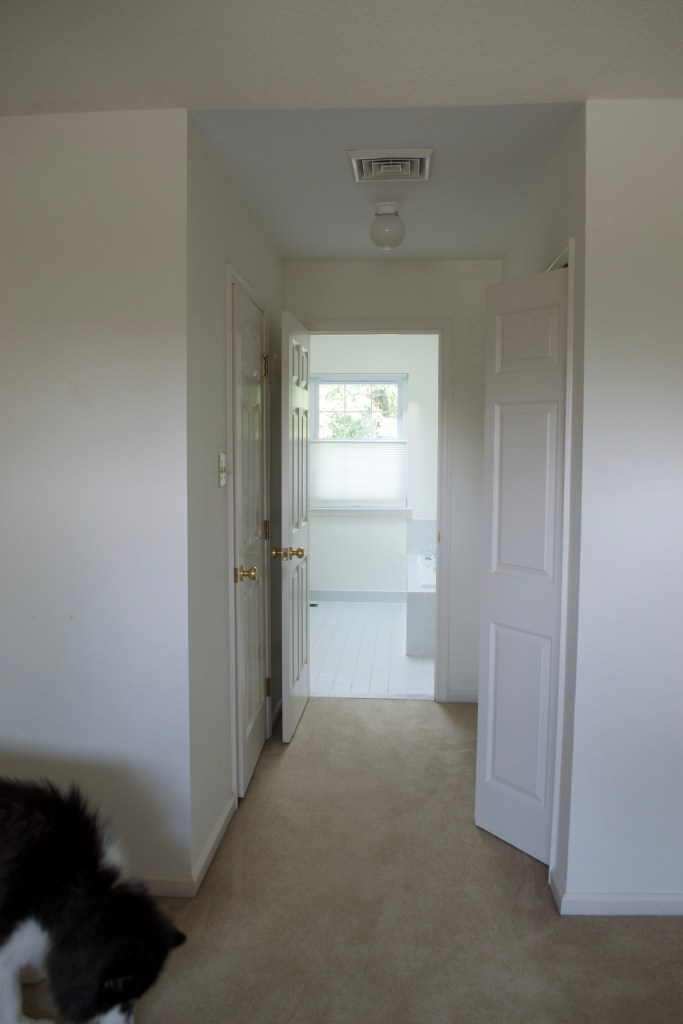
In our bedroom, when you turn the corner, it divides into three zones. On the left is the walk-in closet (which is now Ian’s closet). On the right is my closet. And straight ahead is the en suite bathroom. Since Ian’s closet and mine are in “separate zones”, I’ll put his closet transformation in a separate post (part 2).
My closet had these bifold doors and a metal shelving on the inside. I talked in a previous post about how all the doors were driving me crazy with how they kept swinging into the hallway and into one another. So to solve that problem, I decided to take off all the closet doors.

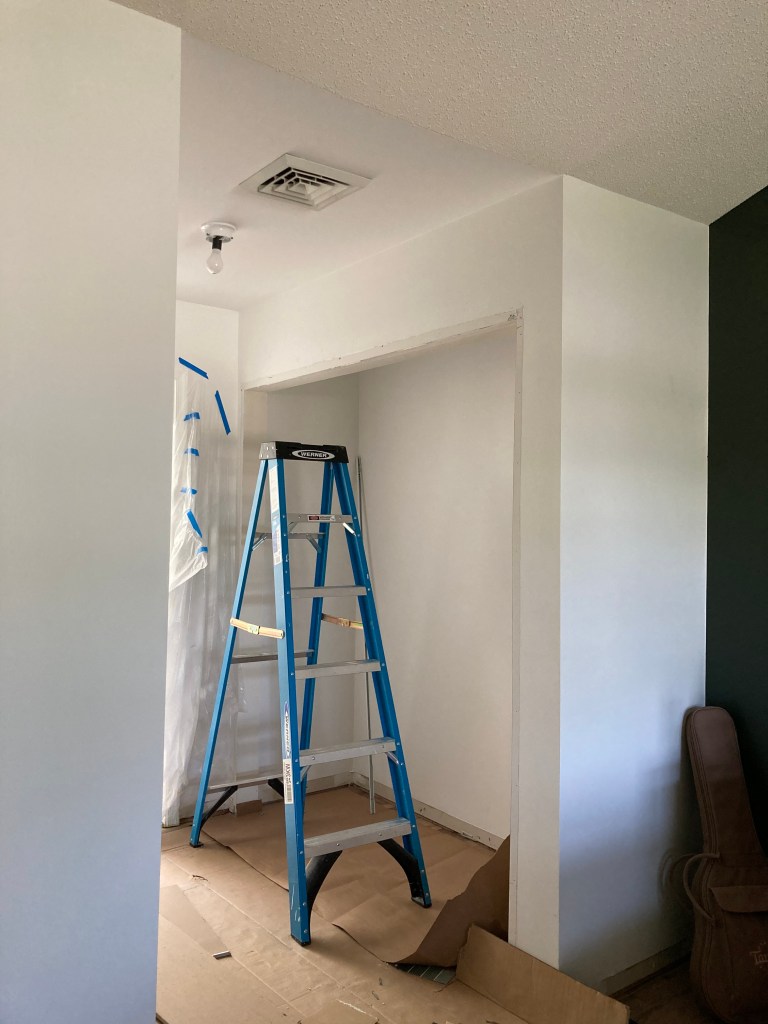
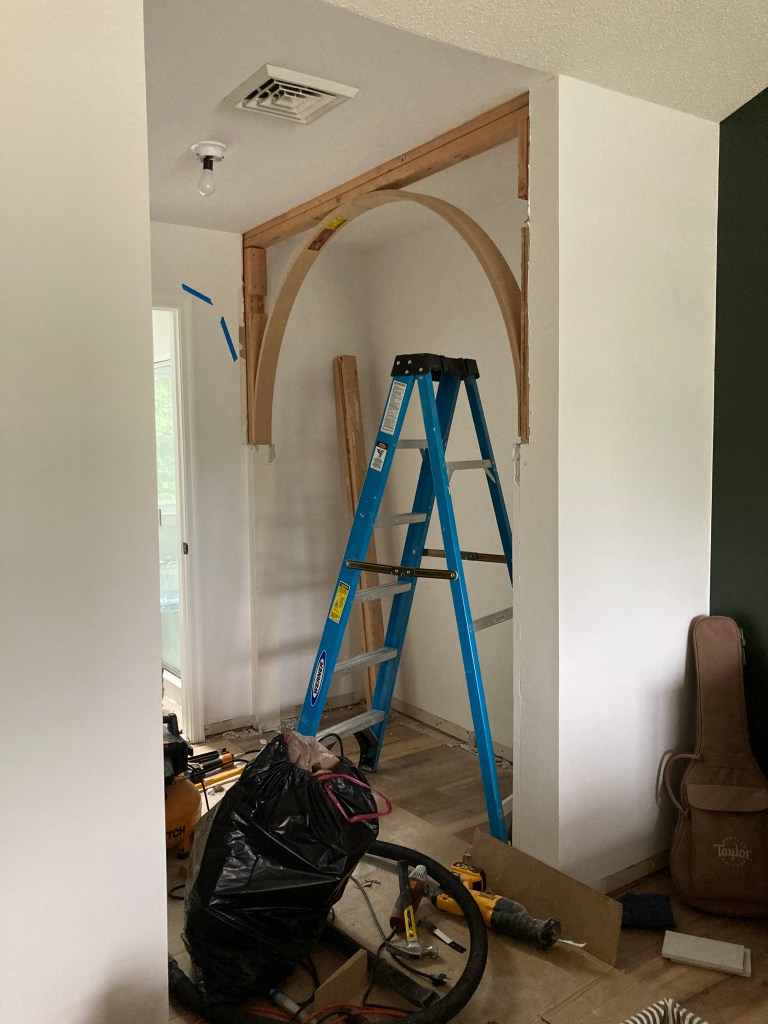
Once I took off the closet doors and the metal shelving, I was stumped at what to do with my side of the closet. Since I had already converted Ian’s doorway into an arch, I thought I could replicate that look on my side. I looked for inspiration for large arches, and came across this bunk bed designed by Sarah Sherman Samuel. It made so much sense to me on how I could adapt the bunk bed idea to my closet. I could have a large arch opening, with curtains attached on the inside so if I ever really wanted to hide my closet, I could closet the curtains and it would still look really aesthetically pleasing.
I ordered a custom arch from Archways & Ceilings and got to work. Since I wanted as much height as possible, I removed the header before attaching the arch. I didn’t expand the width of the opening at all, since I liked how I have a little nook of about 5 inches on both sides, as it could serve as a home base for the curtains.
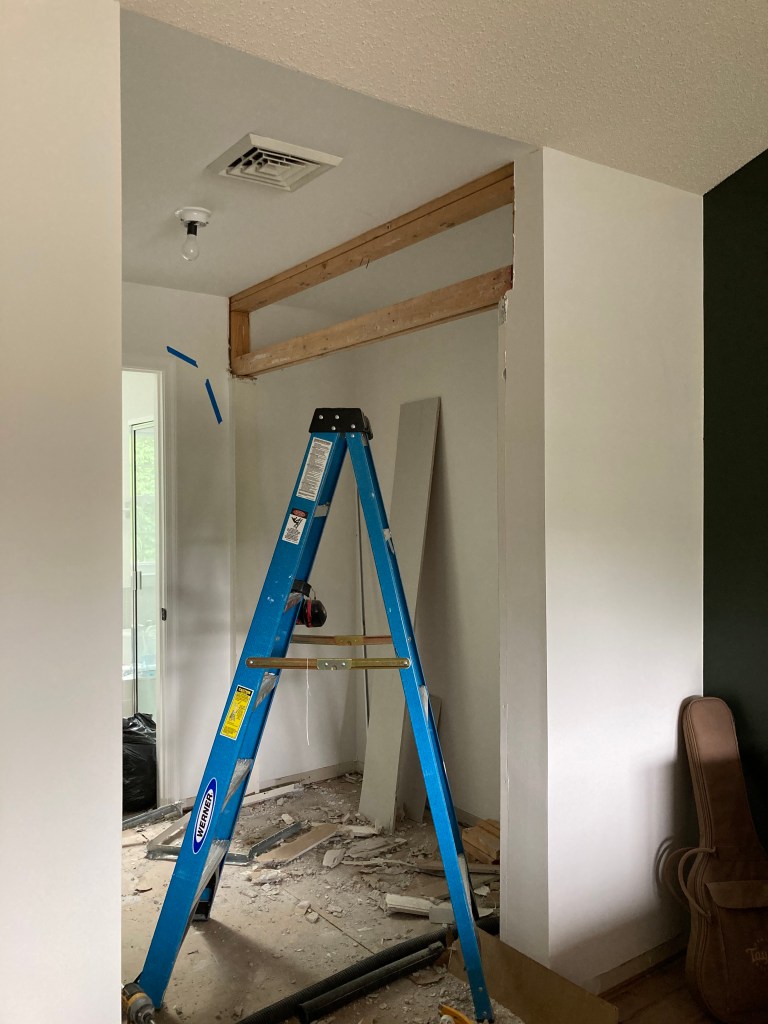
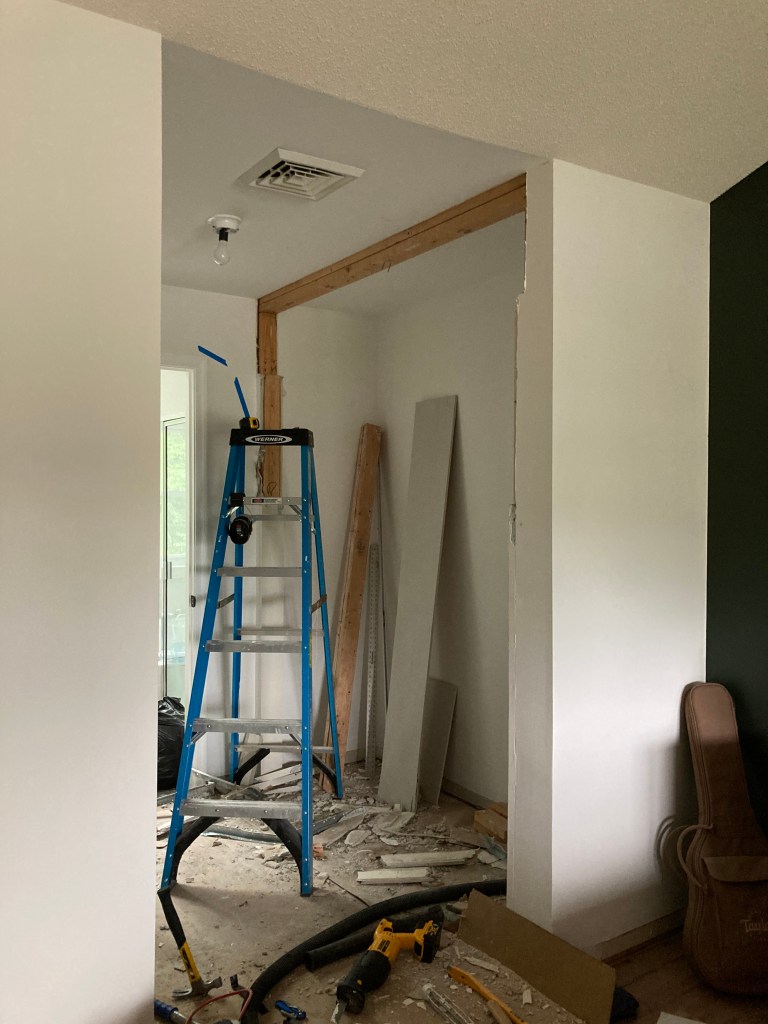
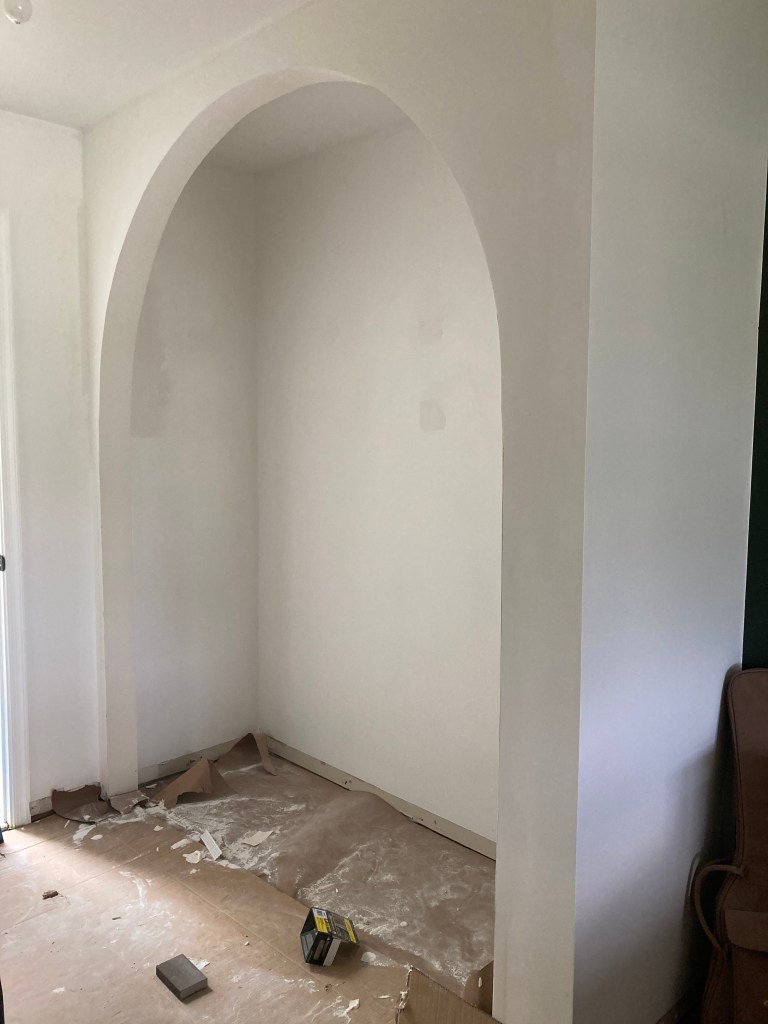
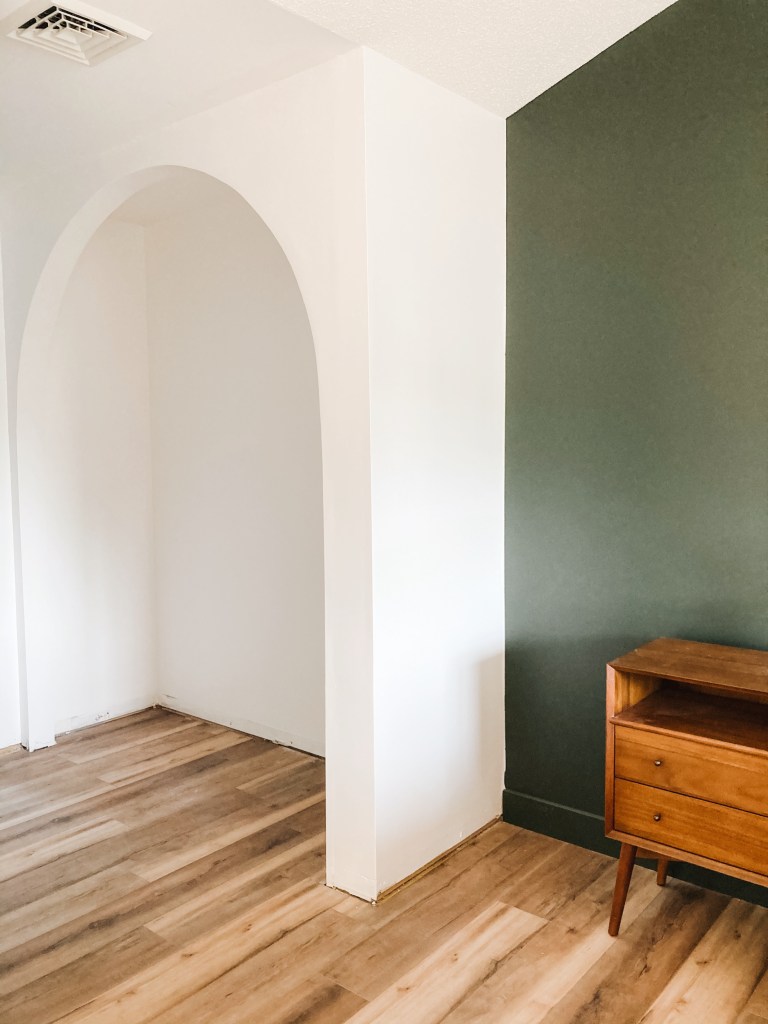
After attaching the arch, I hung drywall, mudded, painted, and I was left with a pretty looking arch! I installed our new baseboards and was ready for the closet to take shape. I ended up buying the Malm dresser from IKEA because I love the simplicity of it. I bought these 4 inch wooden furniture legs and attached 6 of them to the bottom. I had to create a little 2×4 base on the bottom of the dresser in order to attach the legs, though.
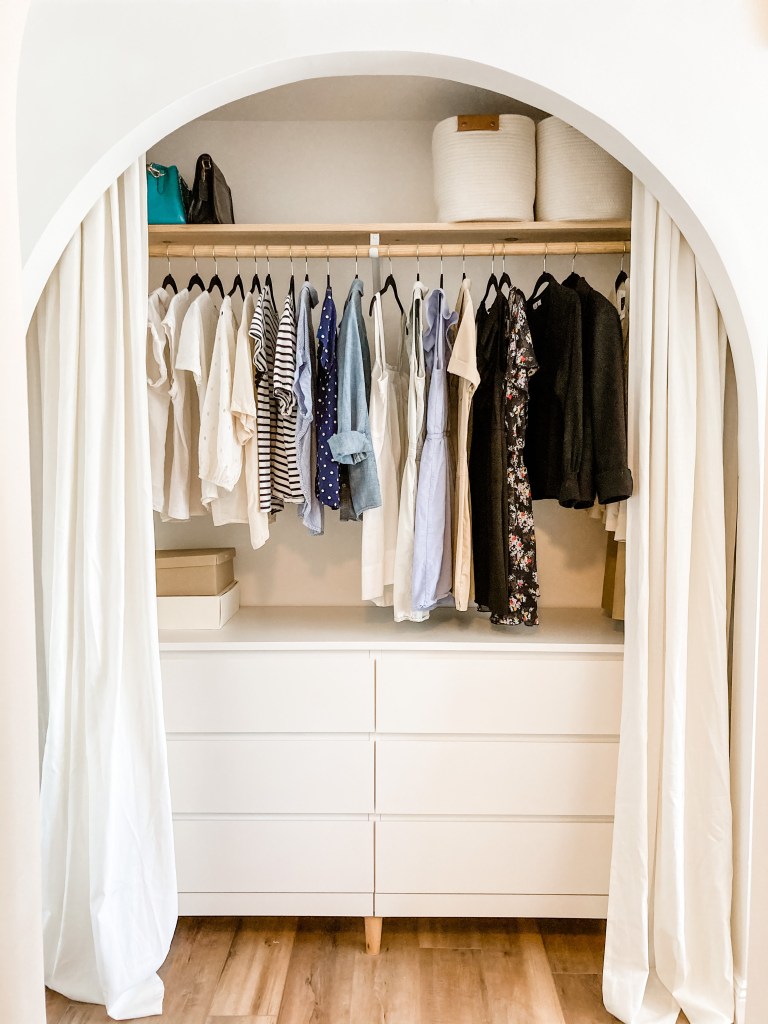
I then attached curtains (from the inside), and made my own shelving with brackets from Lowe’s, a piece of 1×12, and an unfinished curtain rod. Once it was all done, all there’s left to do is move my clothes over and enjoy my new closet!

This is gorgeous. I’m fascinated by your arch. How on earth…?
LikeLike
ZgEaFeMXyCOlz
LikeLike
lvqkExFrL
LikeLike
I love this – I’m going to try it. Thank you so much for including instructions and photos. The only part o don’t know how to do is the dry wall – can you please explain how to make the arch in the dry wall? Thank you .
LikeLike