
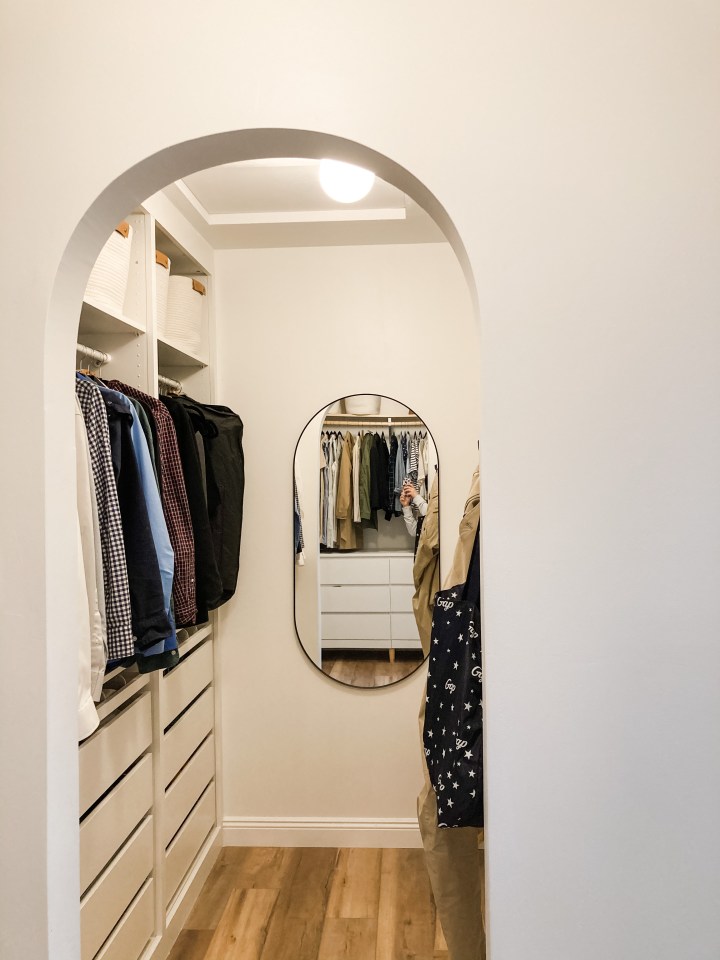
Last week, I shared my closet transformation, so this week, it’s high time that I share Ian’s portion of the closet. Since Ian has more clothes, he opted for the walk-in closet. A few months ago, I wrote about how I converted the doorway into an archway. His closet looks super custom and looks like we spent a ton of money on it. But after all the bills were tallied, his closet came in around $850 (for all the closet components, the paint, the trim, the archway). I think that’s a pretty good price tag, considering the average custom closet starts at around $3,500 and can go upwards of $20,000 or more if you go real fancy with accessories.

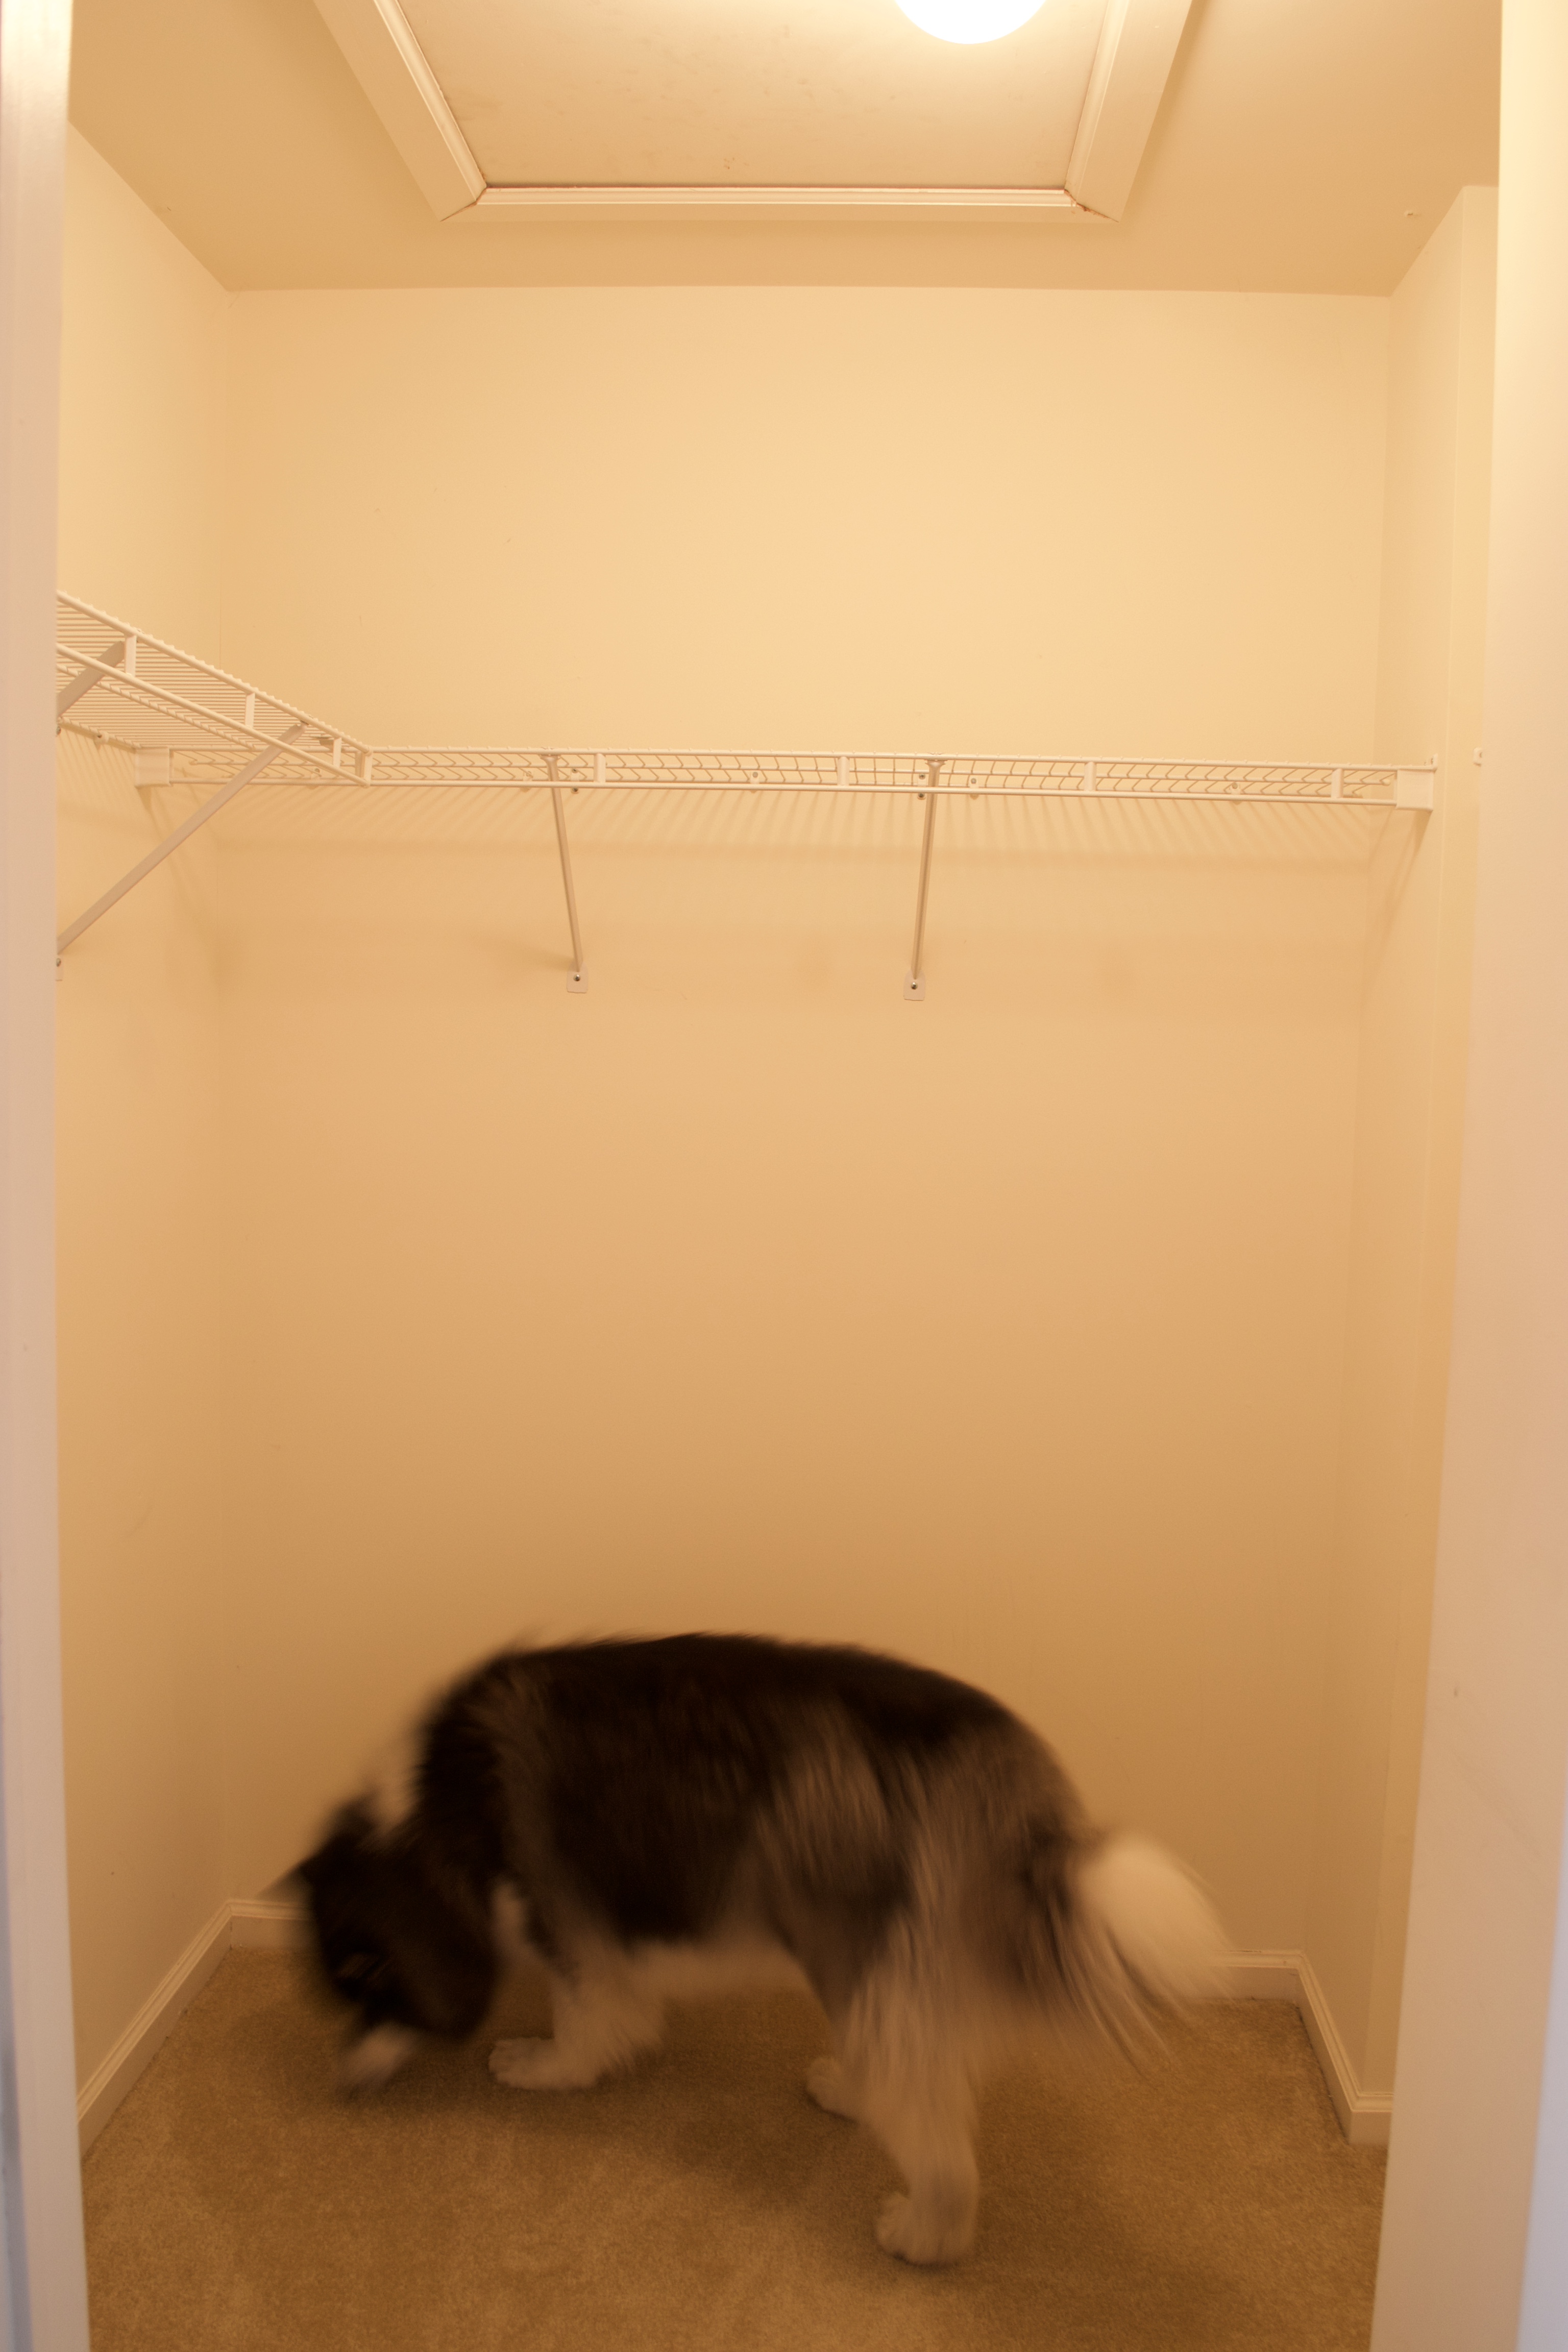
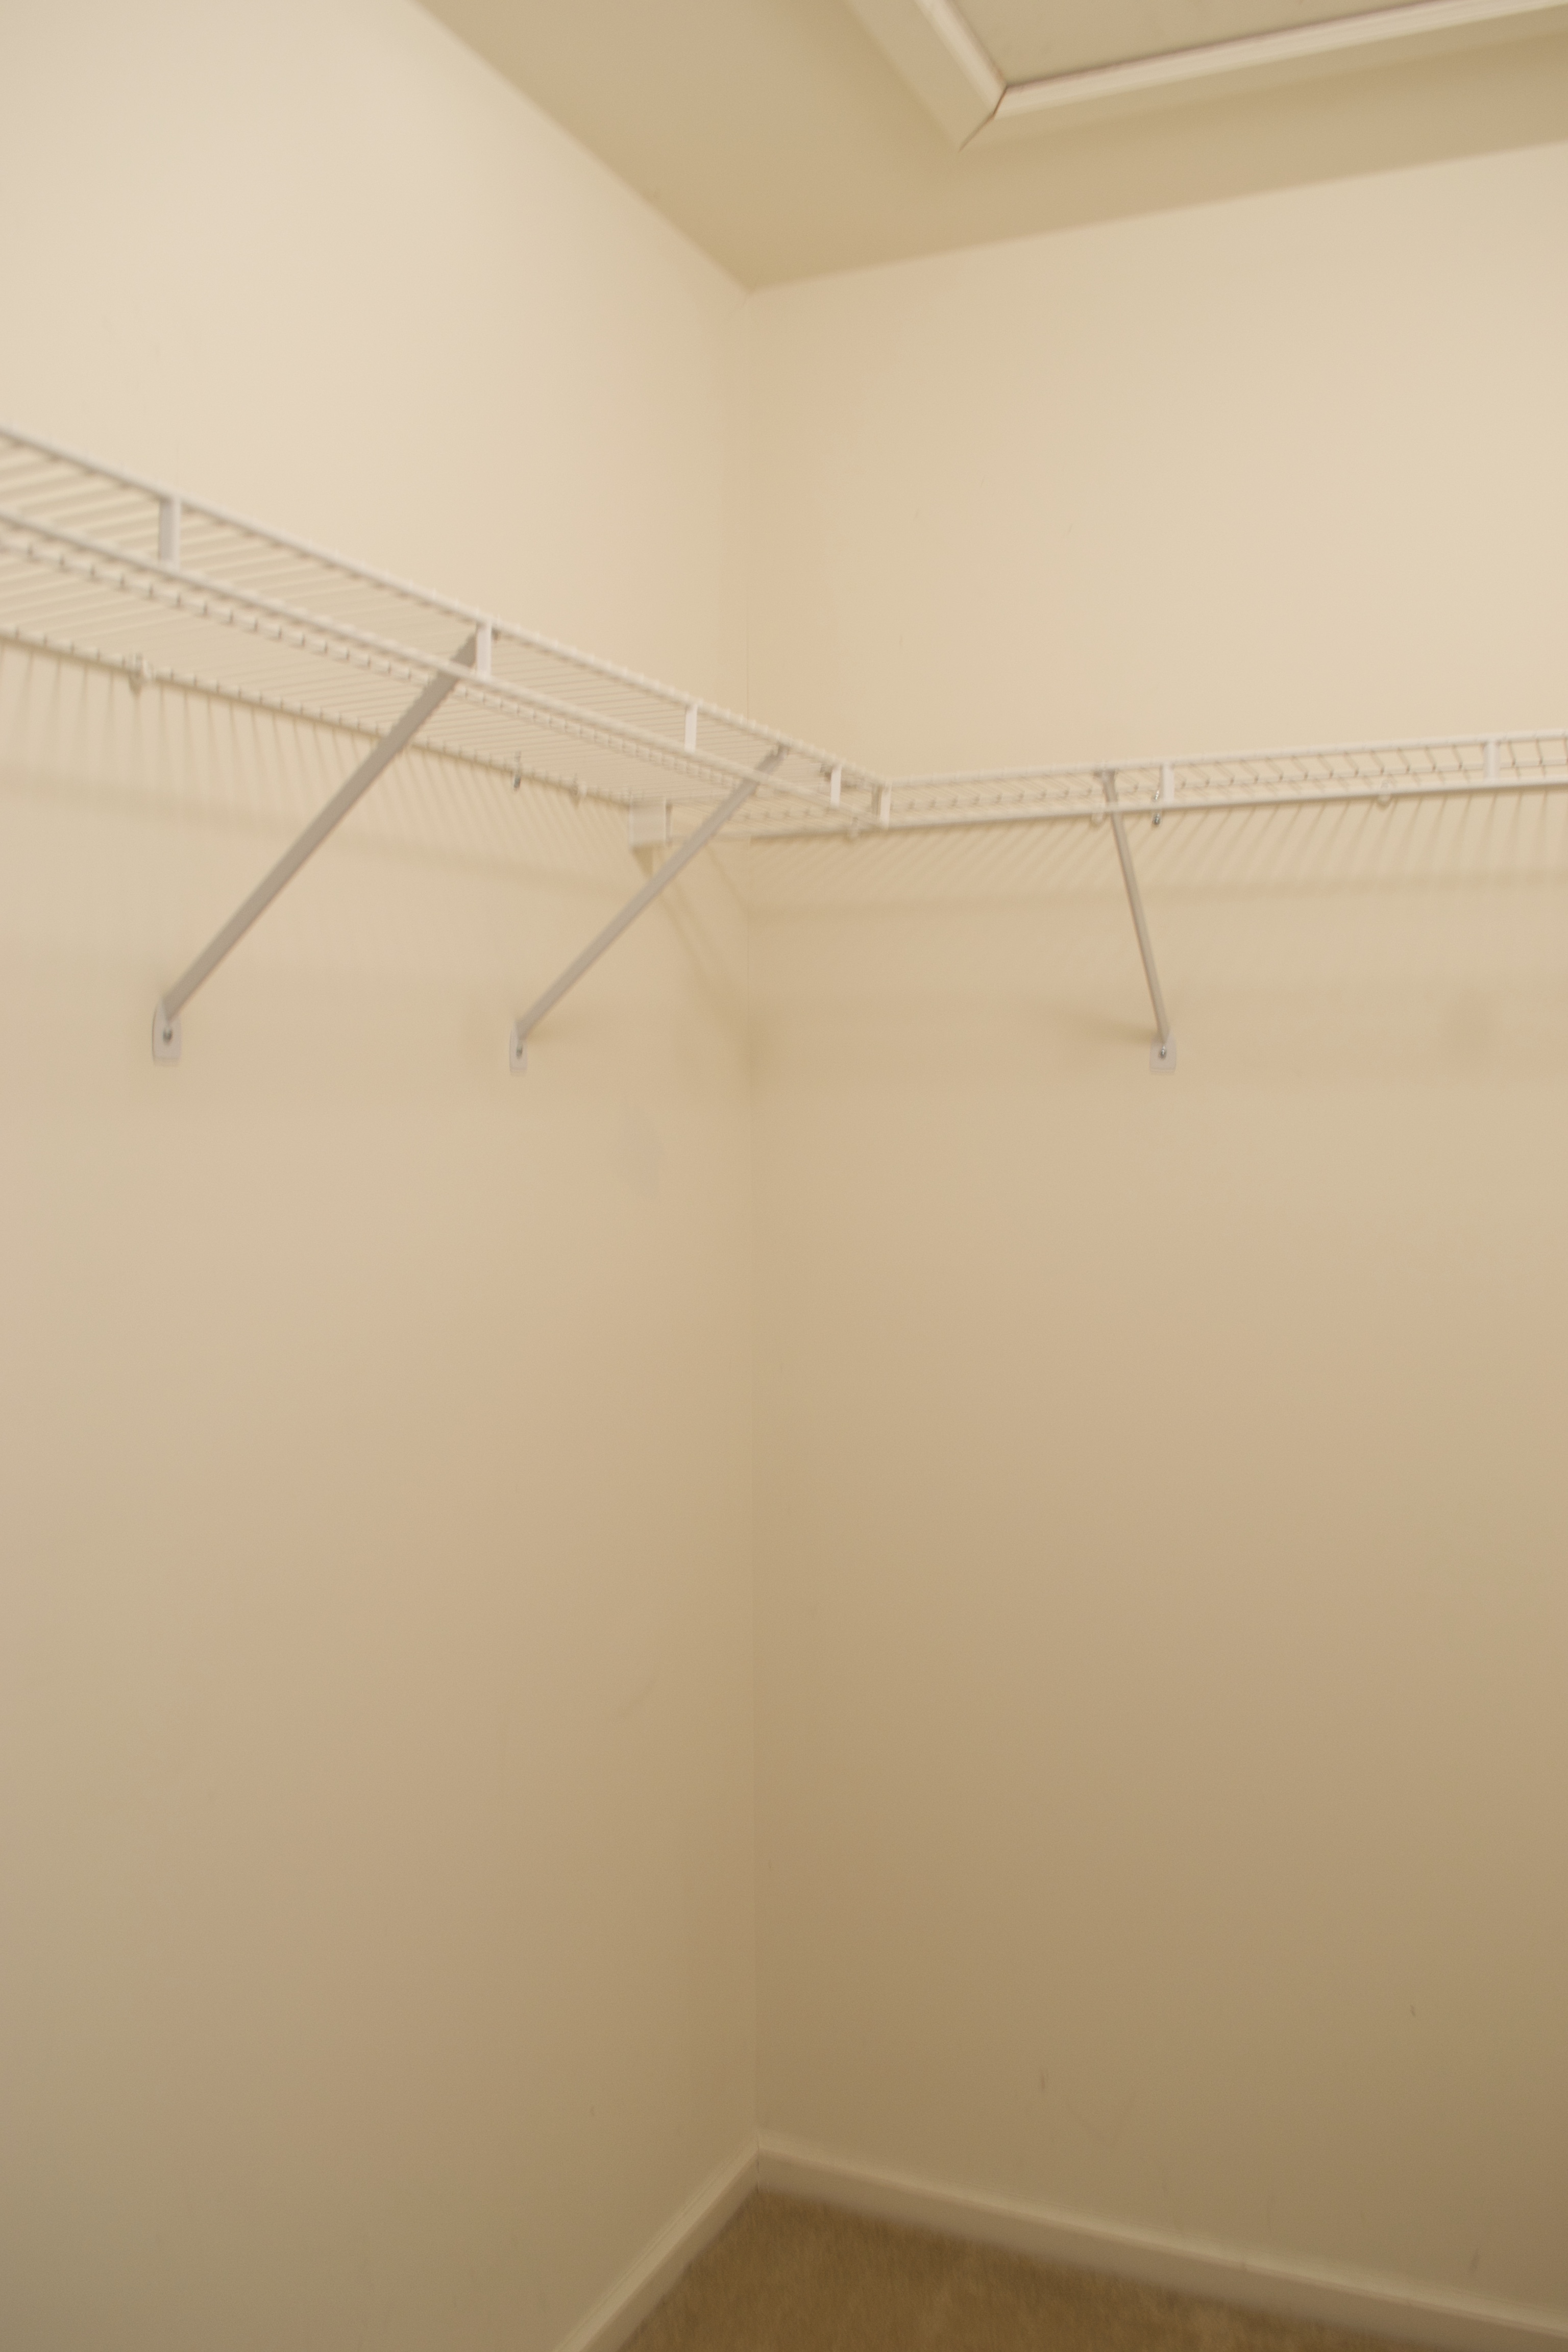
The walk-in closet looked like this when we first purchased the house. It was really bare and just had metal wire shelving. The right side had a strange bump out, but we couldn’t bump it out even more to make it a perfect square because there are HVAC stuff running through his closet.
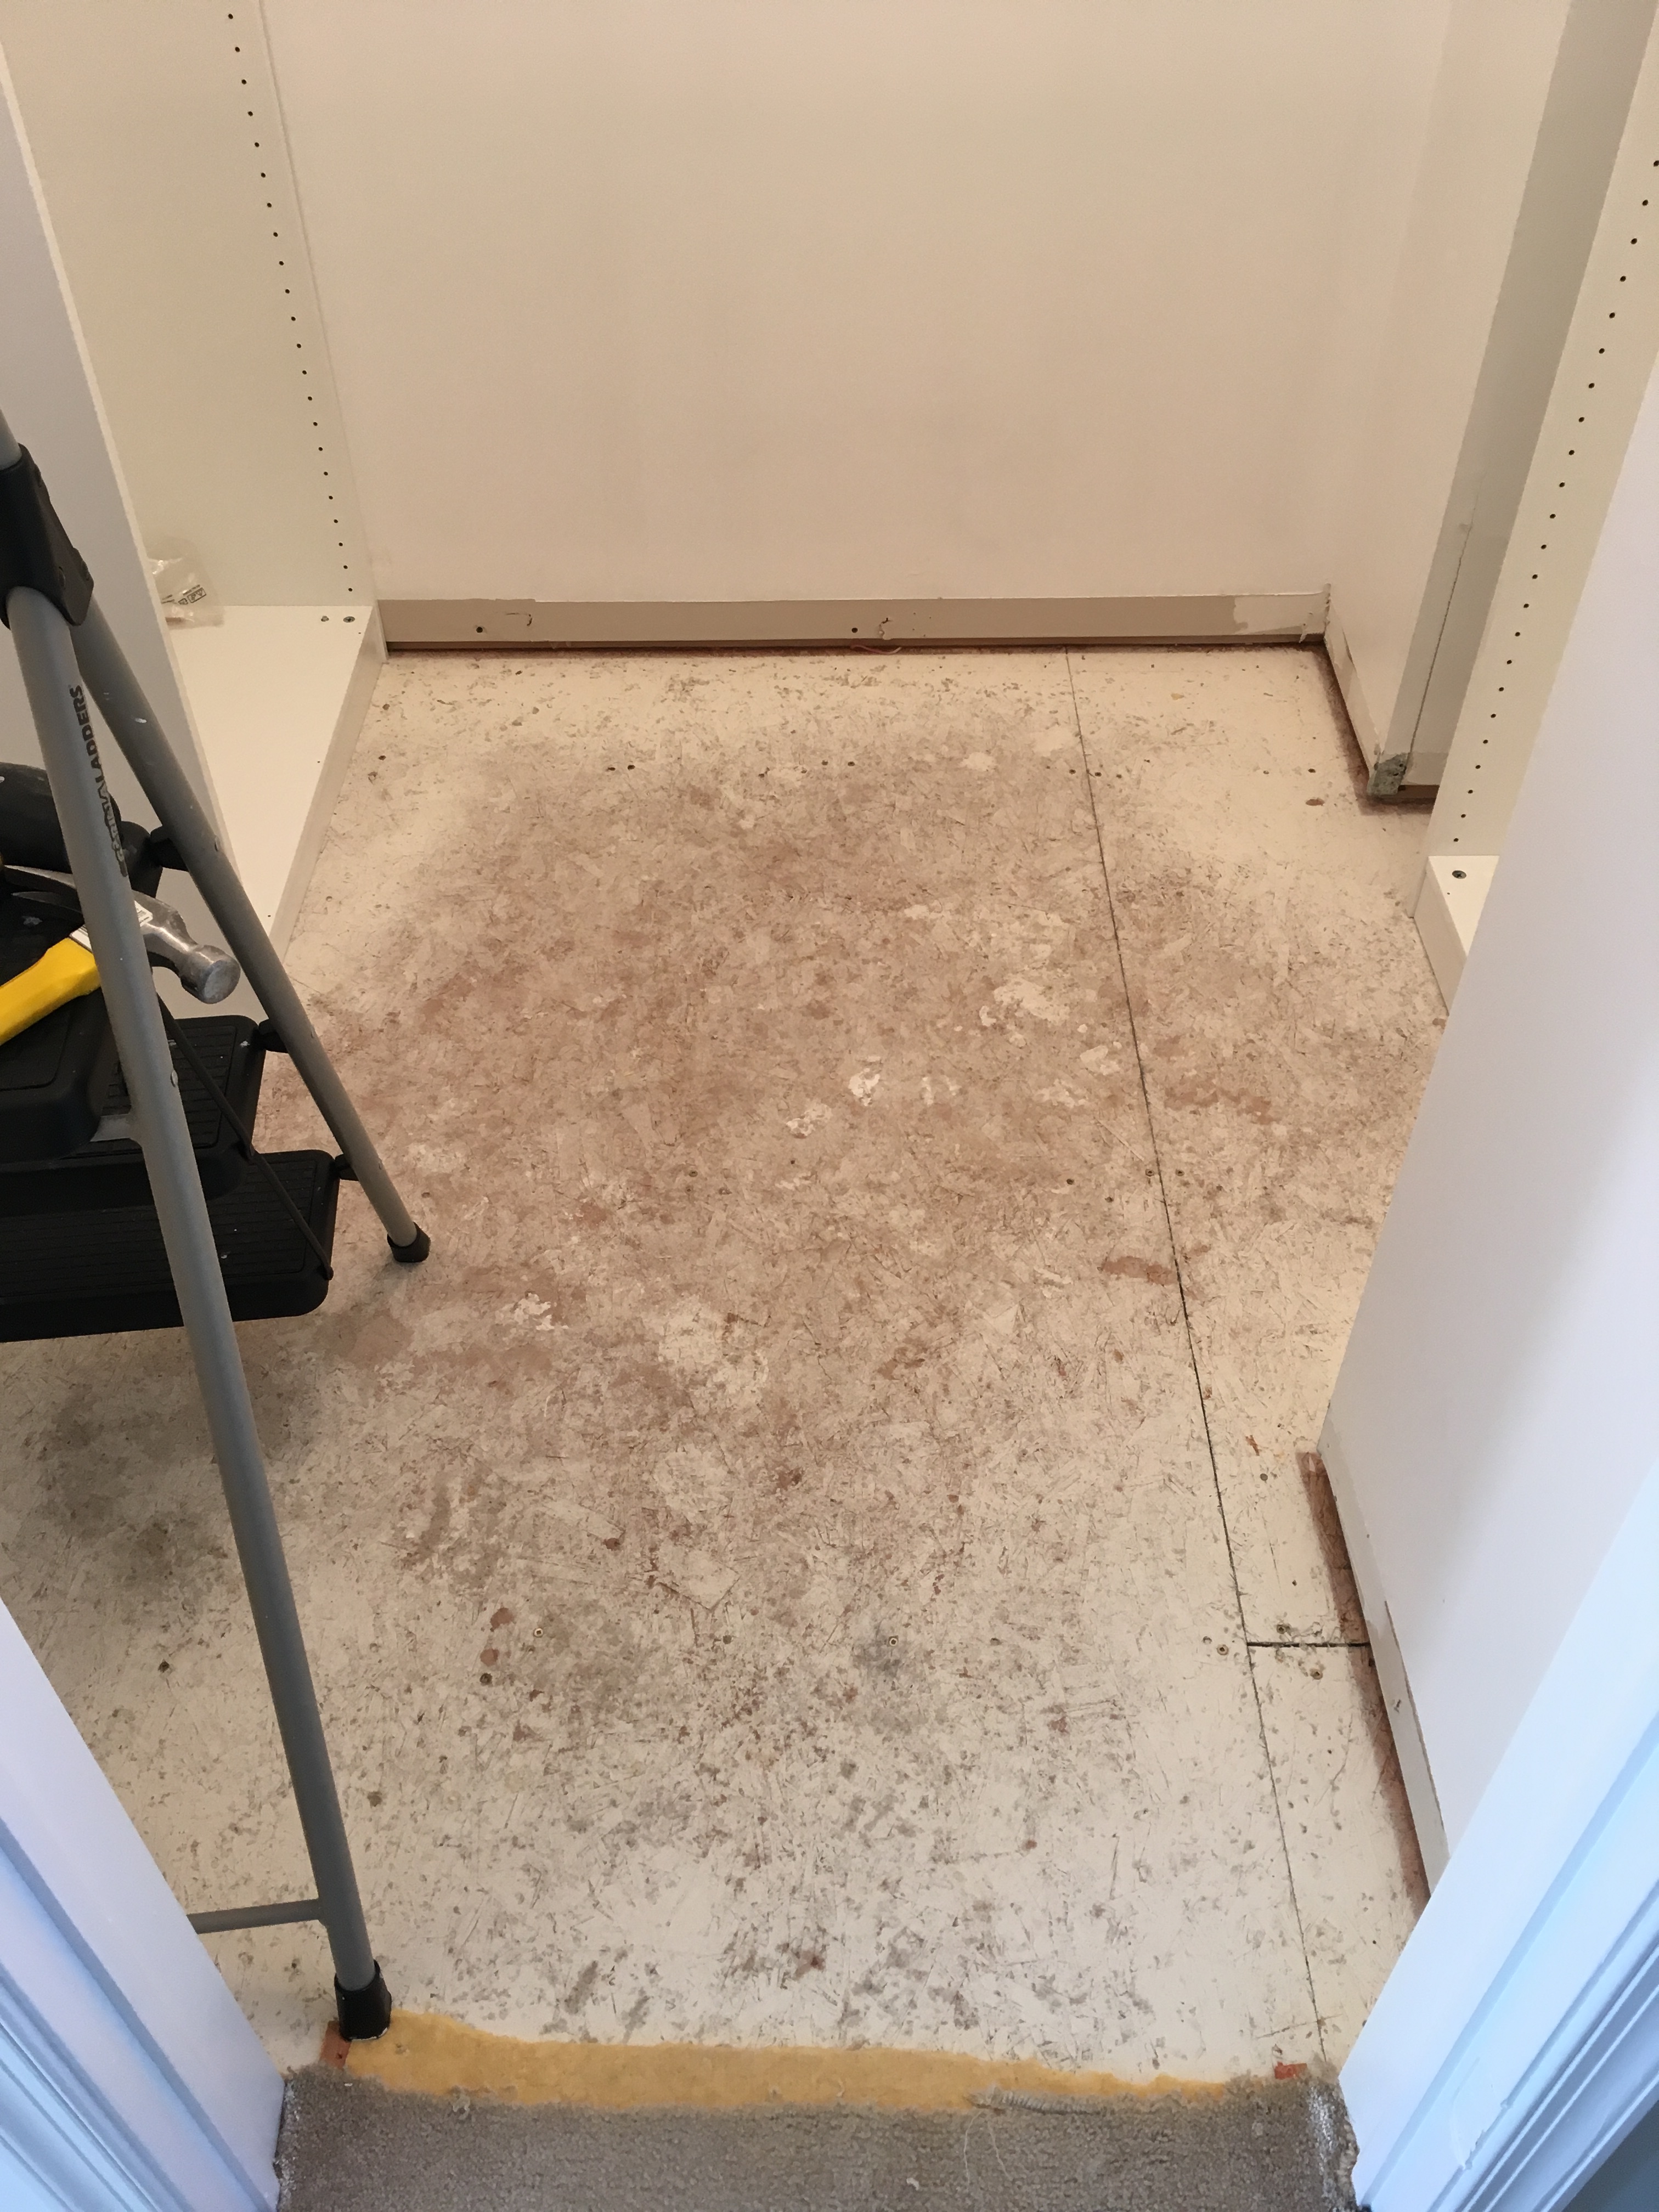
So in the spirit of keeping things affordable and keeping the existing floor plan, we got to work by first demo-ing everything in the closet. We took out the carpet, the baseboard, and the wire shelves.


Then I gave everything a fresh coat of paint and planned out the closet on IKEA’s PAX planner. On the PAX Planner, you can figure out what configuration you want based on the clothes you have. For example, Ian folds most of his clothes, so we gave priority to having lots of drawers instead of hanging space, since he only hangs his dress shirts. The cool thing about the PAX system is that the closets come in 3 different widths (39.4″, 29.5″, or 19.8″), and there are a variety of drawers and shelves that fit all three widths. The PAX system also come in 2 different depths (13.7″ or 22.8″). Theoretically, if you wanted to add hangers, you need to buy the 22.8″ depth PAX system, but since the wall to the doorway is under 20″, we had to hack the PAX system and use the 13.7″ depth. I talked to the sales associate at IKEA, and he said they typically don’t recommend hanging clothes on the 13.7″ depth system because it can become a tipping hazard. So how we skirted around this was bolting the closet system to the wall at various parts (especially near the top). We also trimmed it out and that also helps keep the closet safe and tip-resistant!
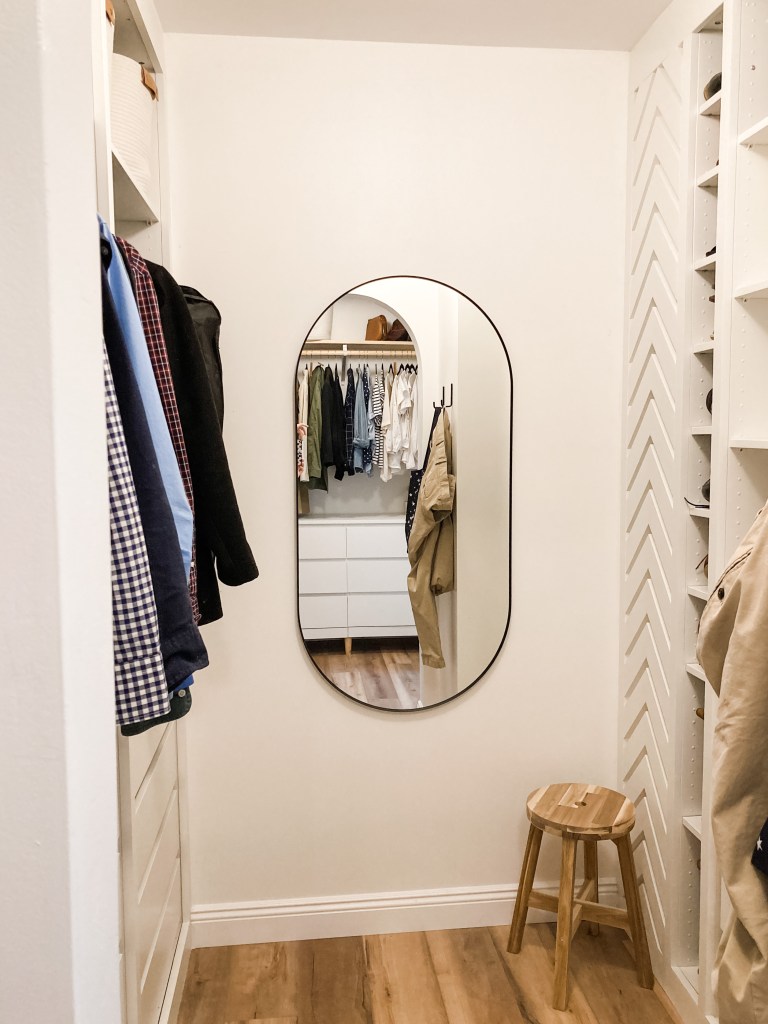
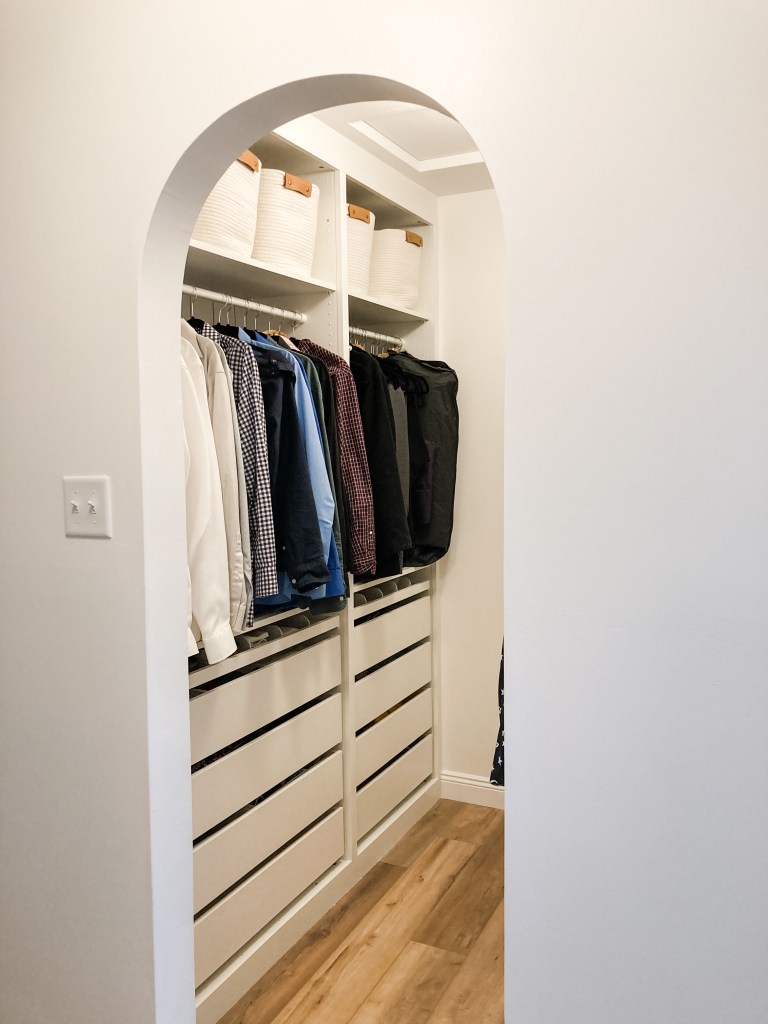
We decided to divide Ian’s closet into two zones, so when he walks into his closet, he’s greeted by a large mirror, and has wardrobes on the left side and right side. On the left side, we opted for two wardrobes (39.4″ and 29.5″) and on the right side, we opted for 1 wardrobe (29.5″). The left side is really self-explanatory. After we built the wardrobes and mounted it to the wall, we trimmed it out using 1″ pine boards from the hardware store. I color-matched the IKEA PAX color by bringing in a drawer front so the trim is exactly the same color as the wardrobe.
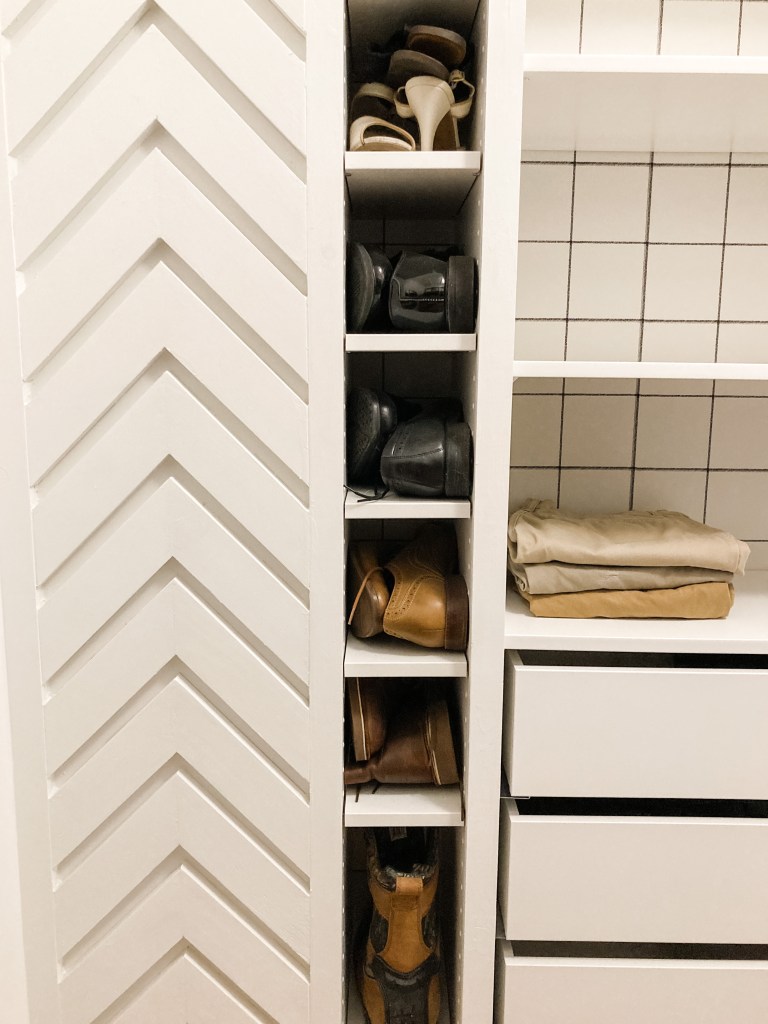
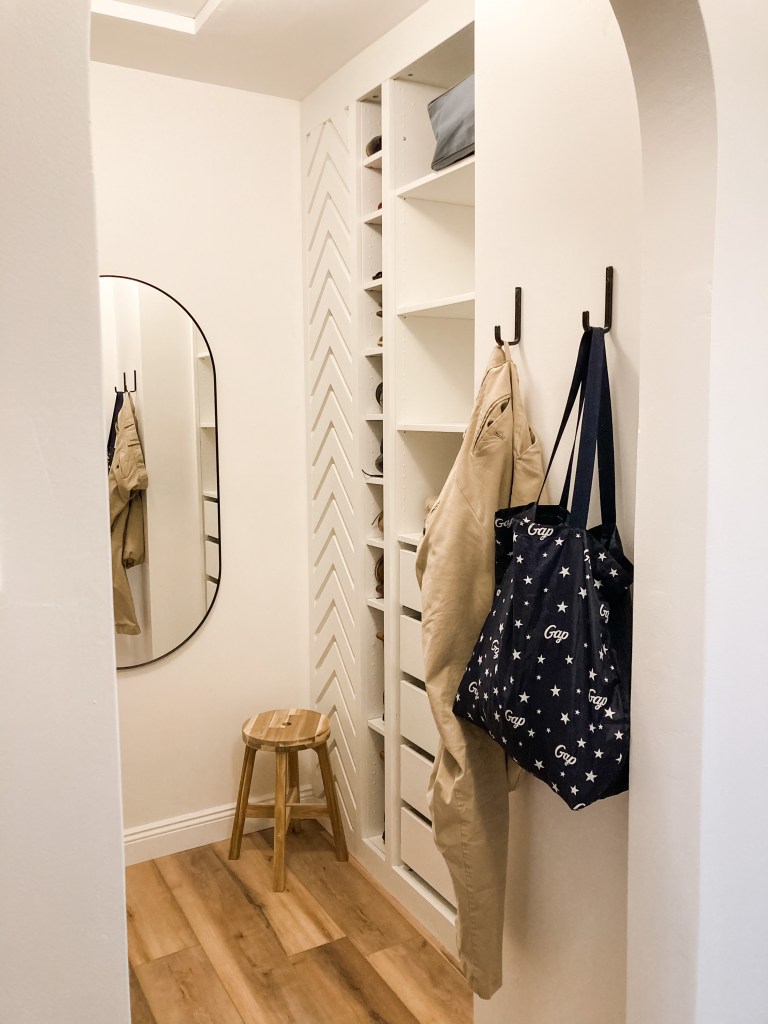
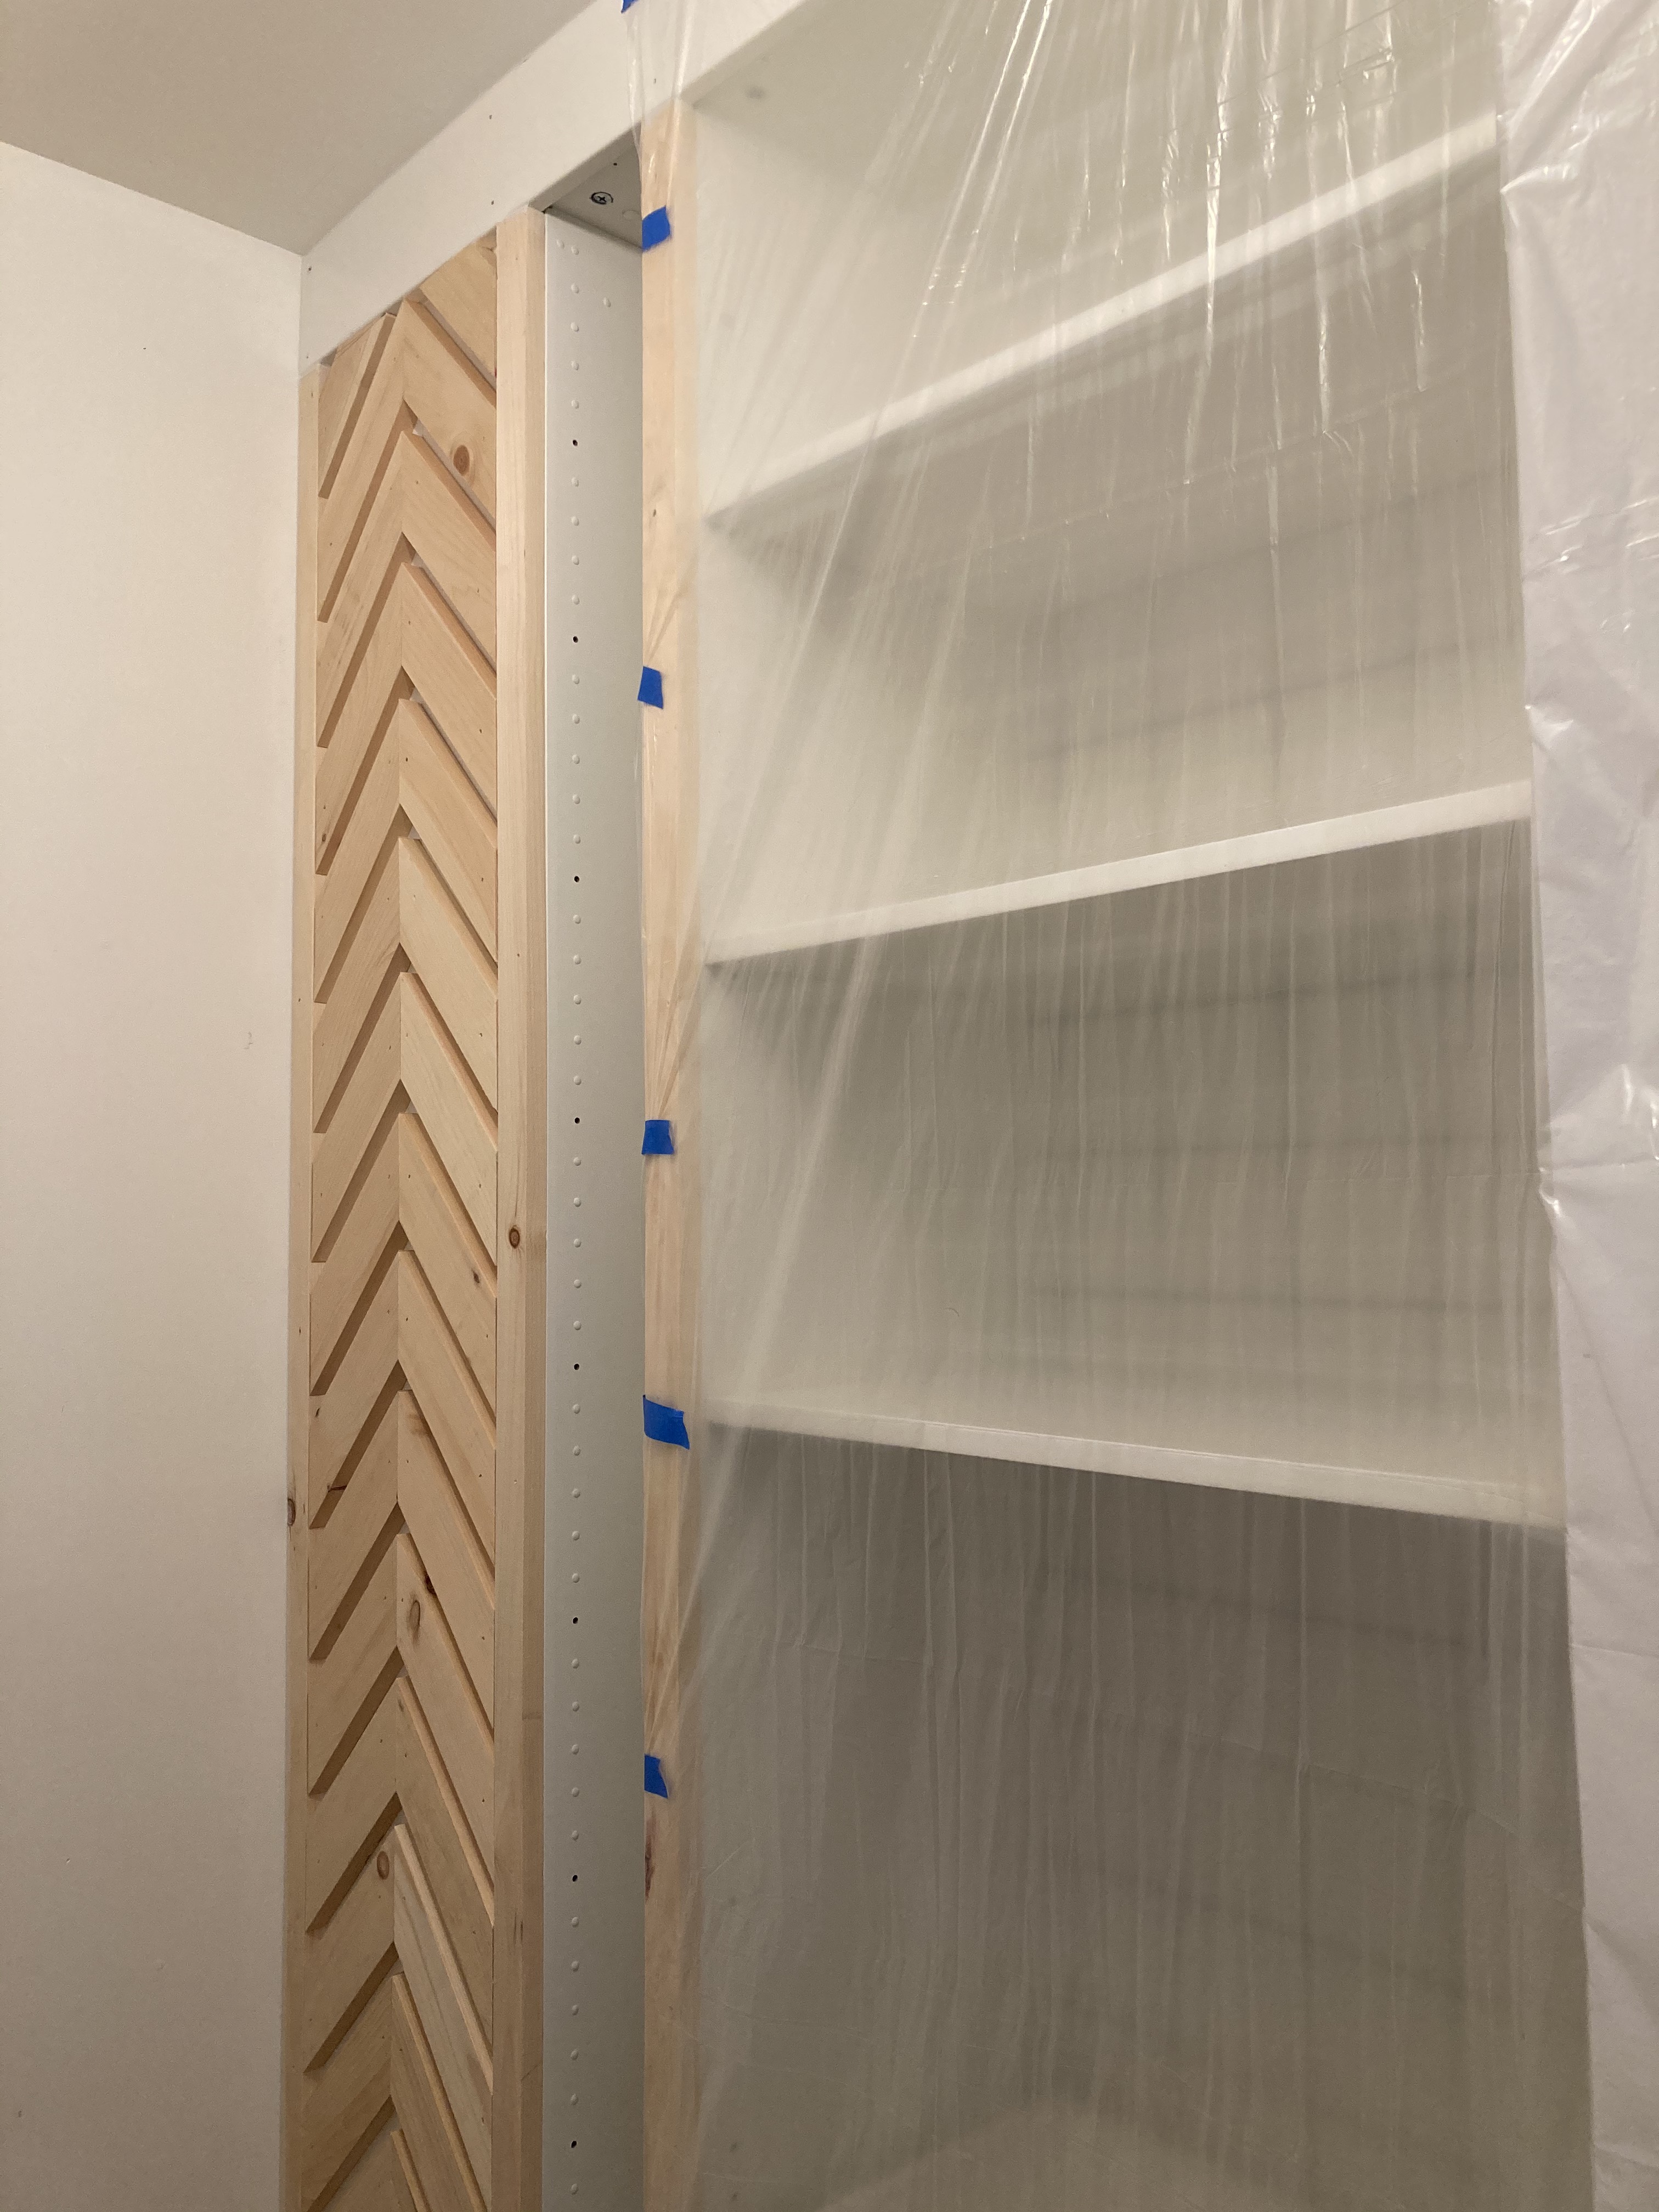
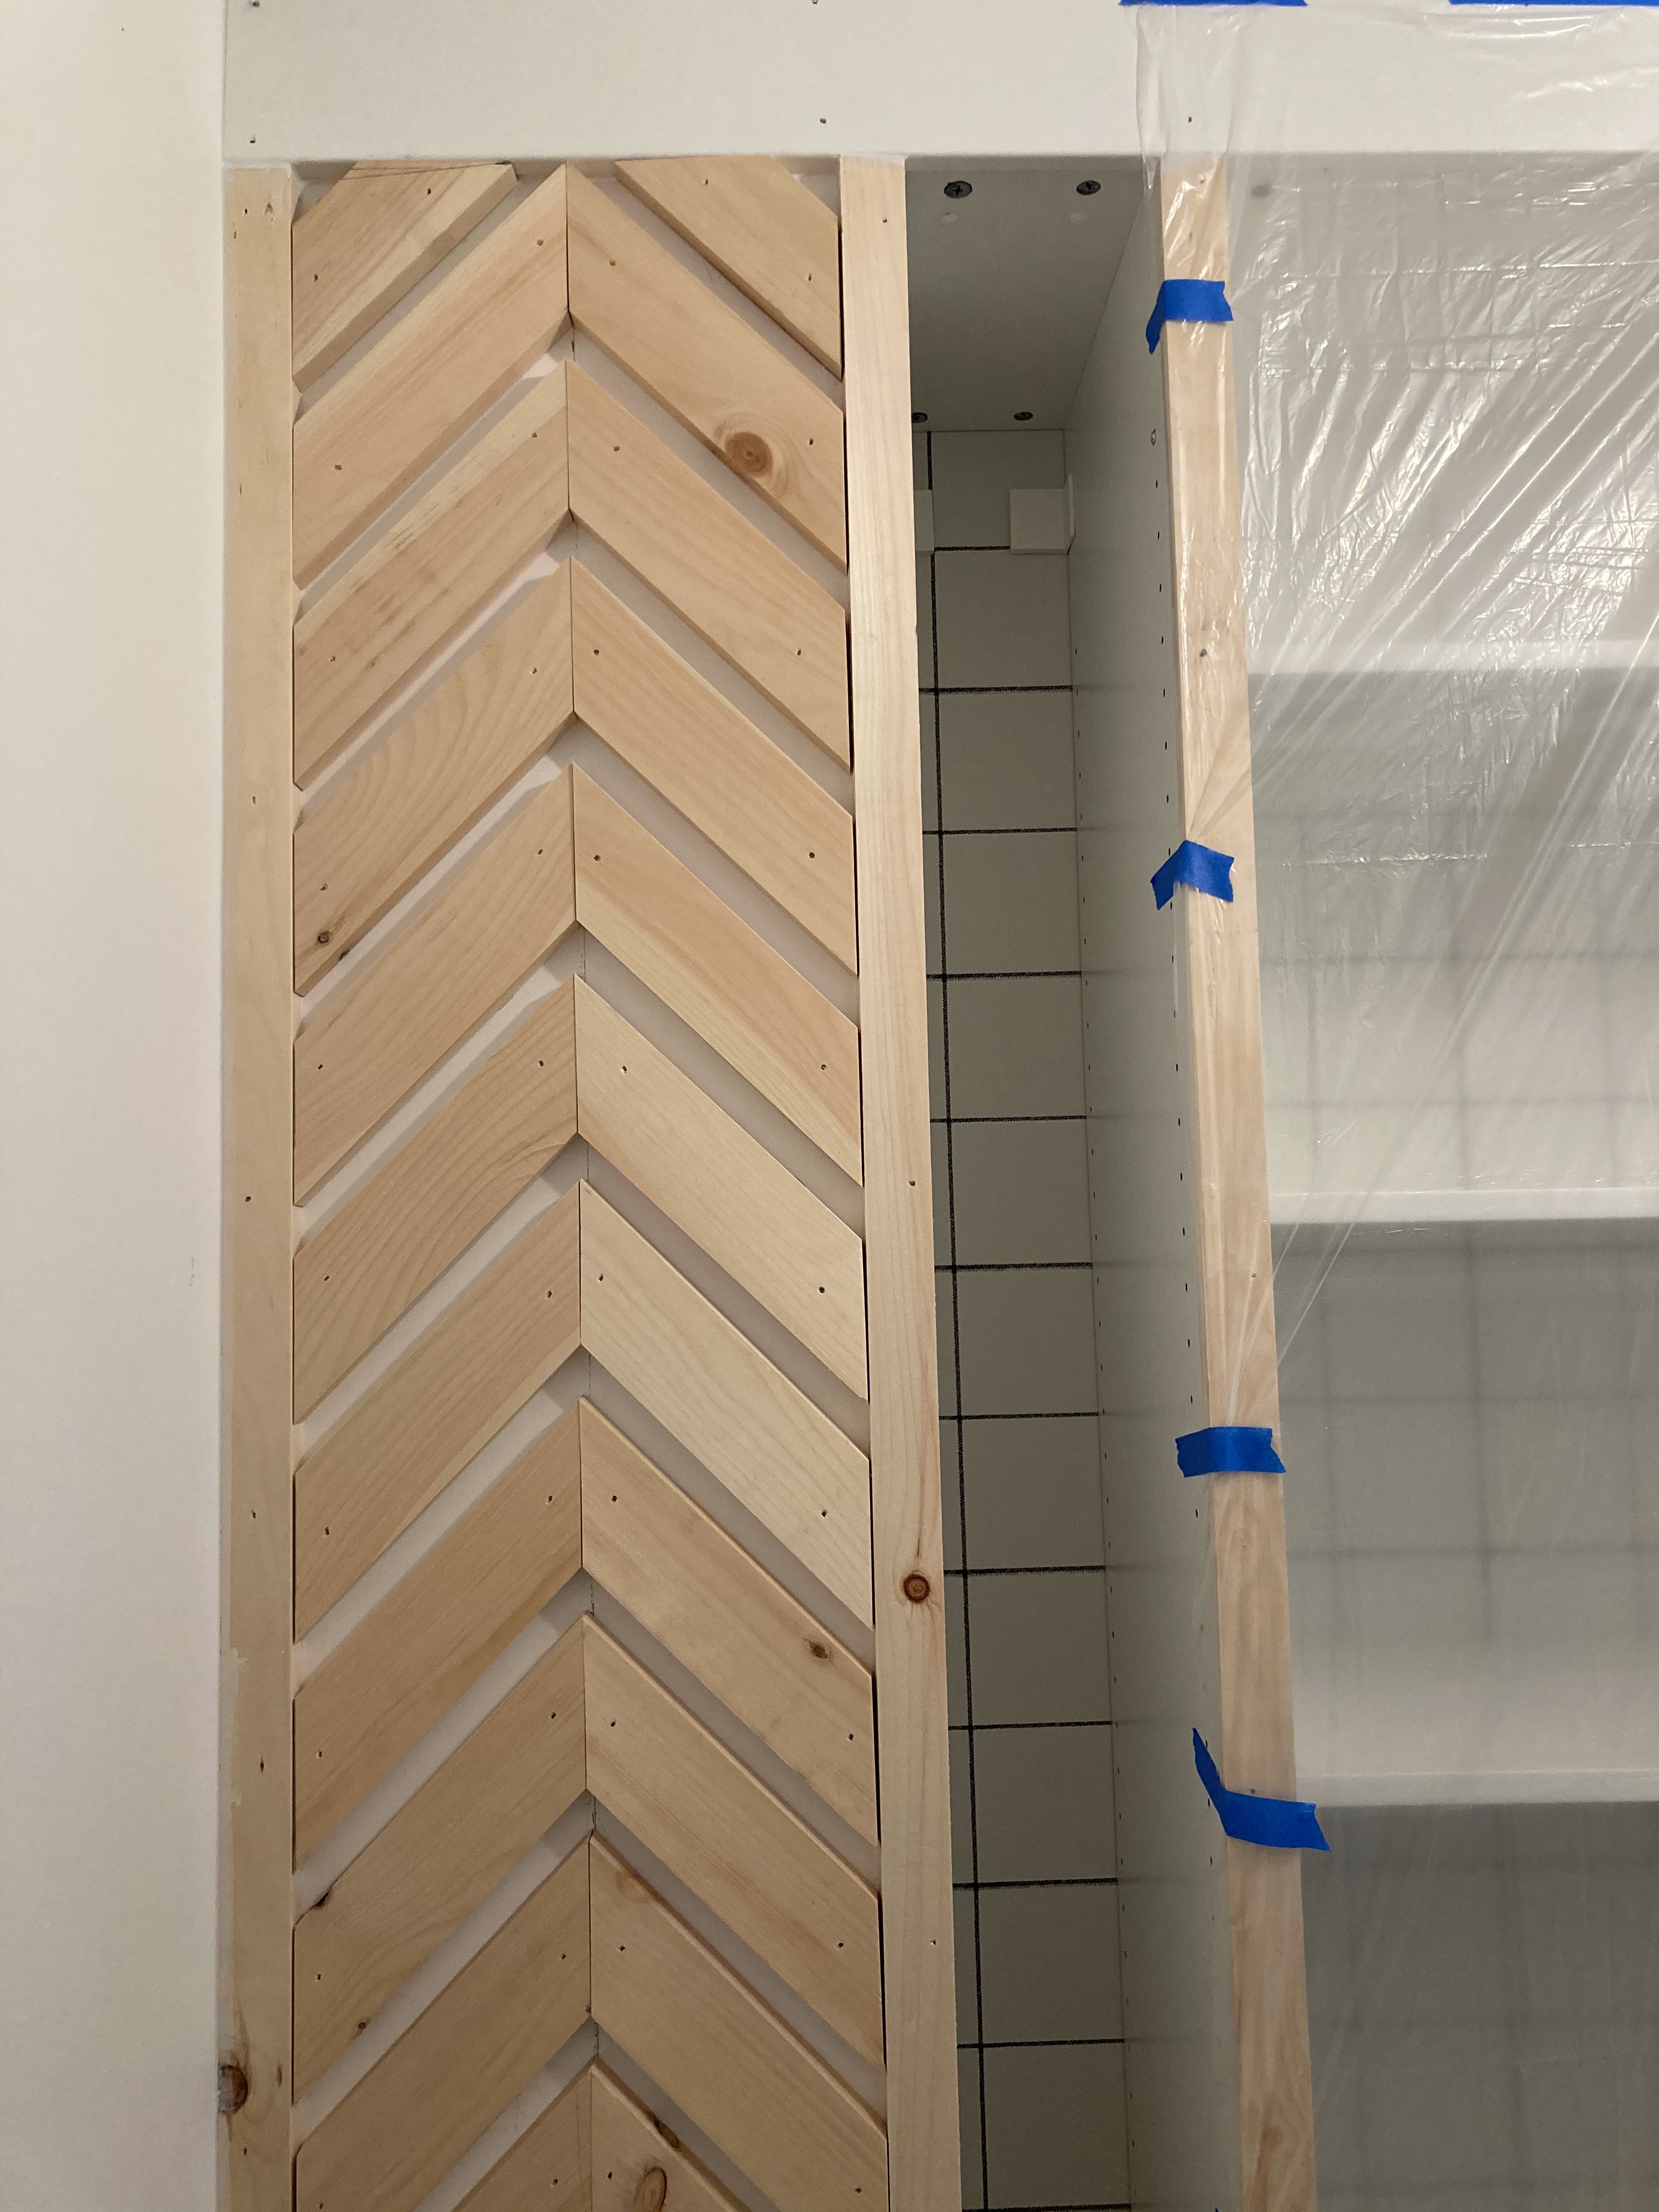
The right side of his closet gave us some opportunities for creative problem solving. so the right side had the aforementioned bump out (or nook). The problem was that the nook was around 38″ in width, so we are just about 1.5 inches short of fitting in the 39.4″ wardrobe. Since we wanted to use a bunch of drawers, we knew that wouldn’t work. So we opted for the 29.5″ wardrobe and installed that one as normal. Now the issue was we had 9 inches of extra space. It seemed like a waste to just not do anything with it. Instead, what we did was we bought an extra 19.8″ wardrobe, and we cut it down to fit into the 9 inch space. Since 9 inches isn’t a ton of space, the thing that made the most sense for us to utilize that space was to make it a shoe storage. So we bought a few shelves and chopped them down to fit in the closet.
Then there was the blank wall. After trimming everything out, I thought it looked a little bit empty by leaving it untouched. So I used scrap wood to create a chevron pattern on his wall. This is a completely cosmetic filler, but it adds so much character and interest to the closet.

To further make this looks really custom, I had Ian pick out a contact paper he liked and stuck it to the back of the closet. This accomplishes two goals, 1) it looks way more expensive and custom instead of a white backboard, and 2) it helps hide the seam in the back of the IKEA wardrobe.
This project did take us a while from start to finish, but seeing how well it functions and how good it looks make it all worth it!
