

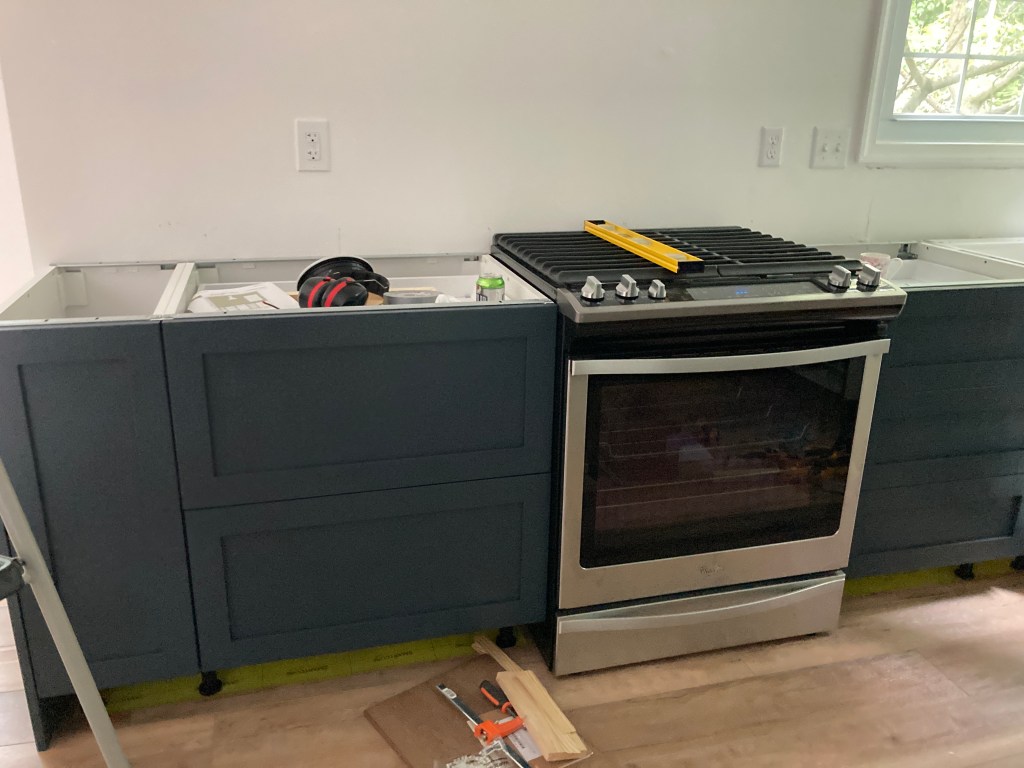
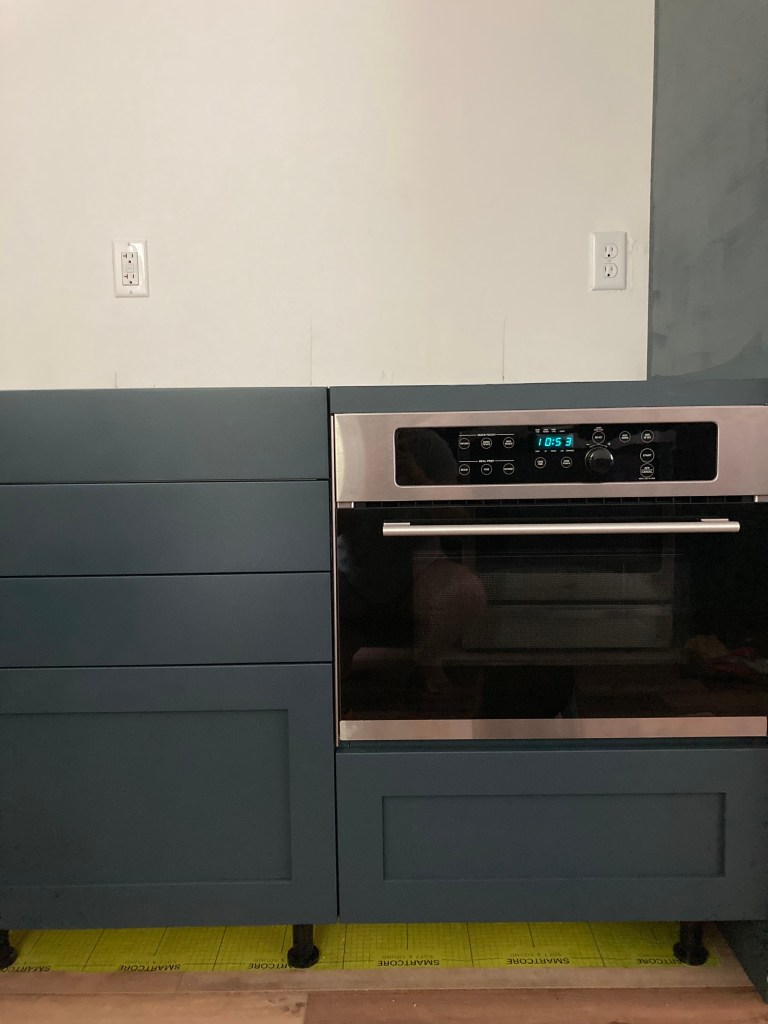
I have to admit, I can be the worst blogger sometimes. This post has been sitting in my drafts for 5 months. I suppose it’s time to let this (in Moira Rose voice) bébé out of the nest. Over two hot weeks in July, I painted our kitchen cabinets, bringing us one step closer to finishing our kitchen remodel. Since the painting of the kitchen cabinets, we had quartz countertops installed, and we installed some easy DIY floating shelves. The backsplash I want is on backorder, so that will be installed once it’s in stock. I also have purchased a range hood and am waiting for the installation for that to happen in the next few weeks.
But now, let’s read about painting cabinets!
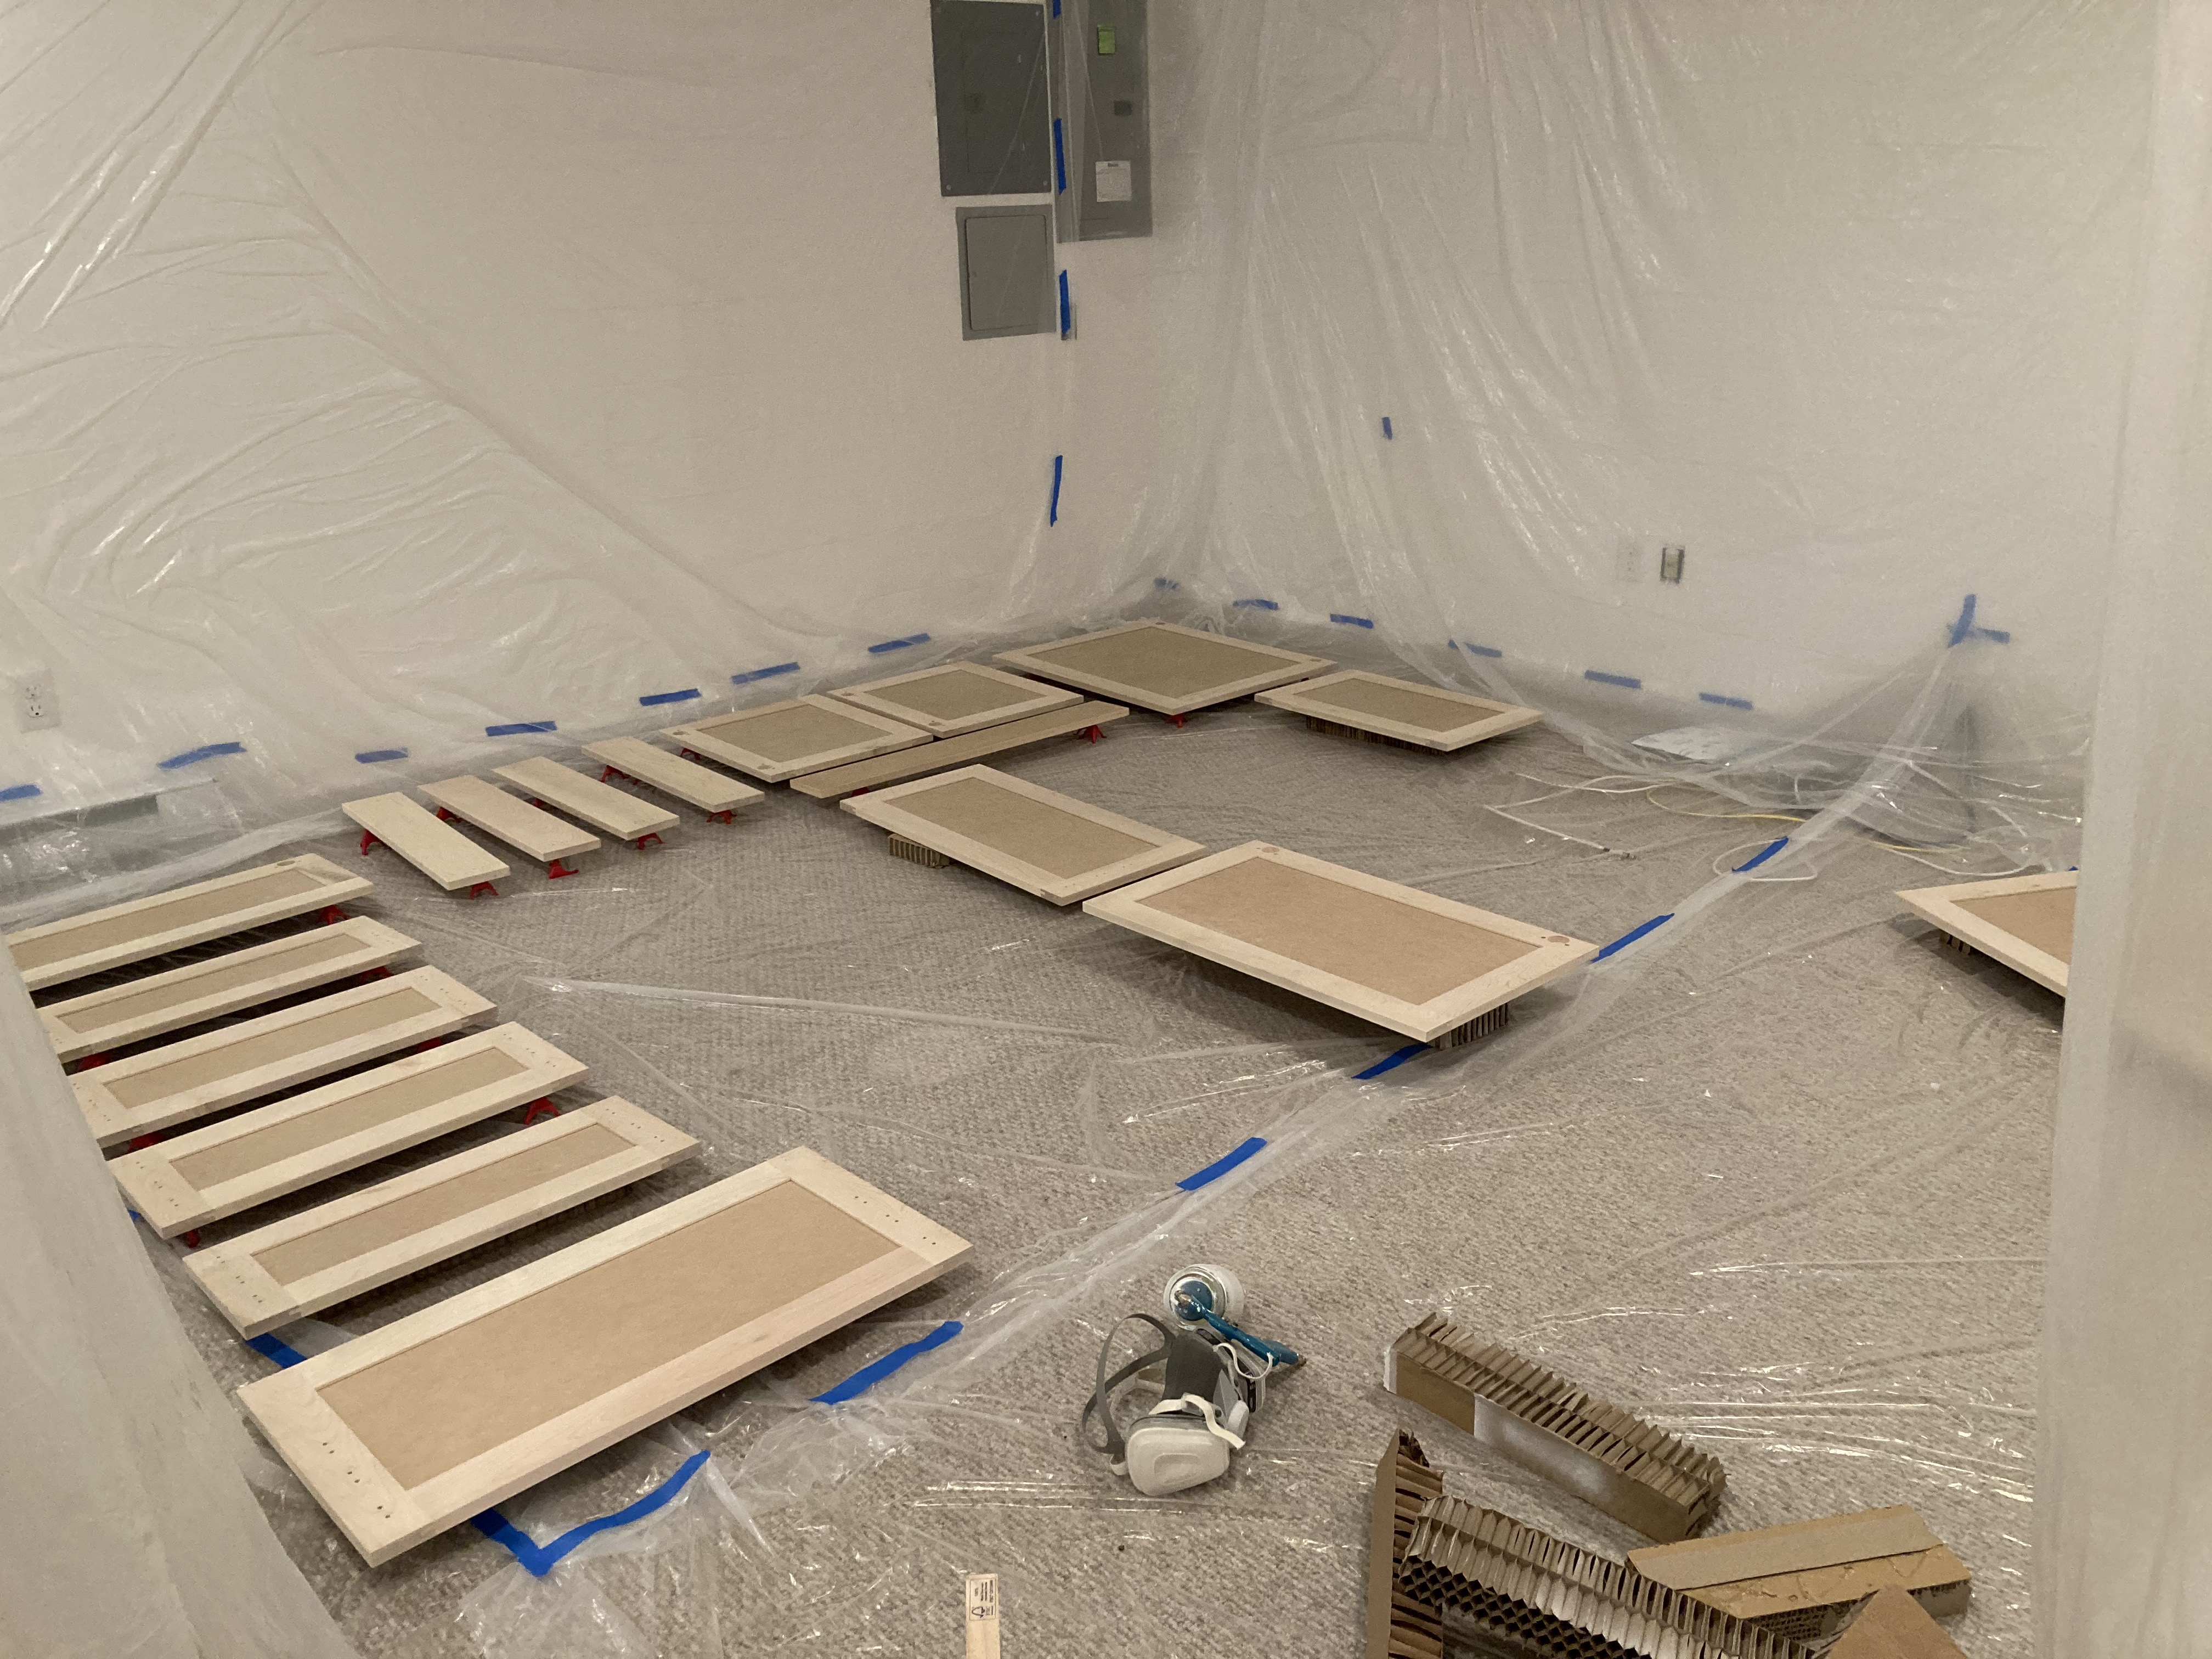
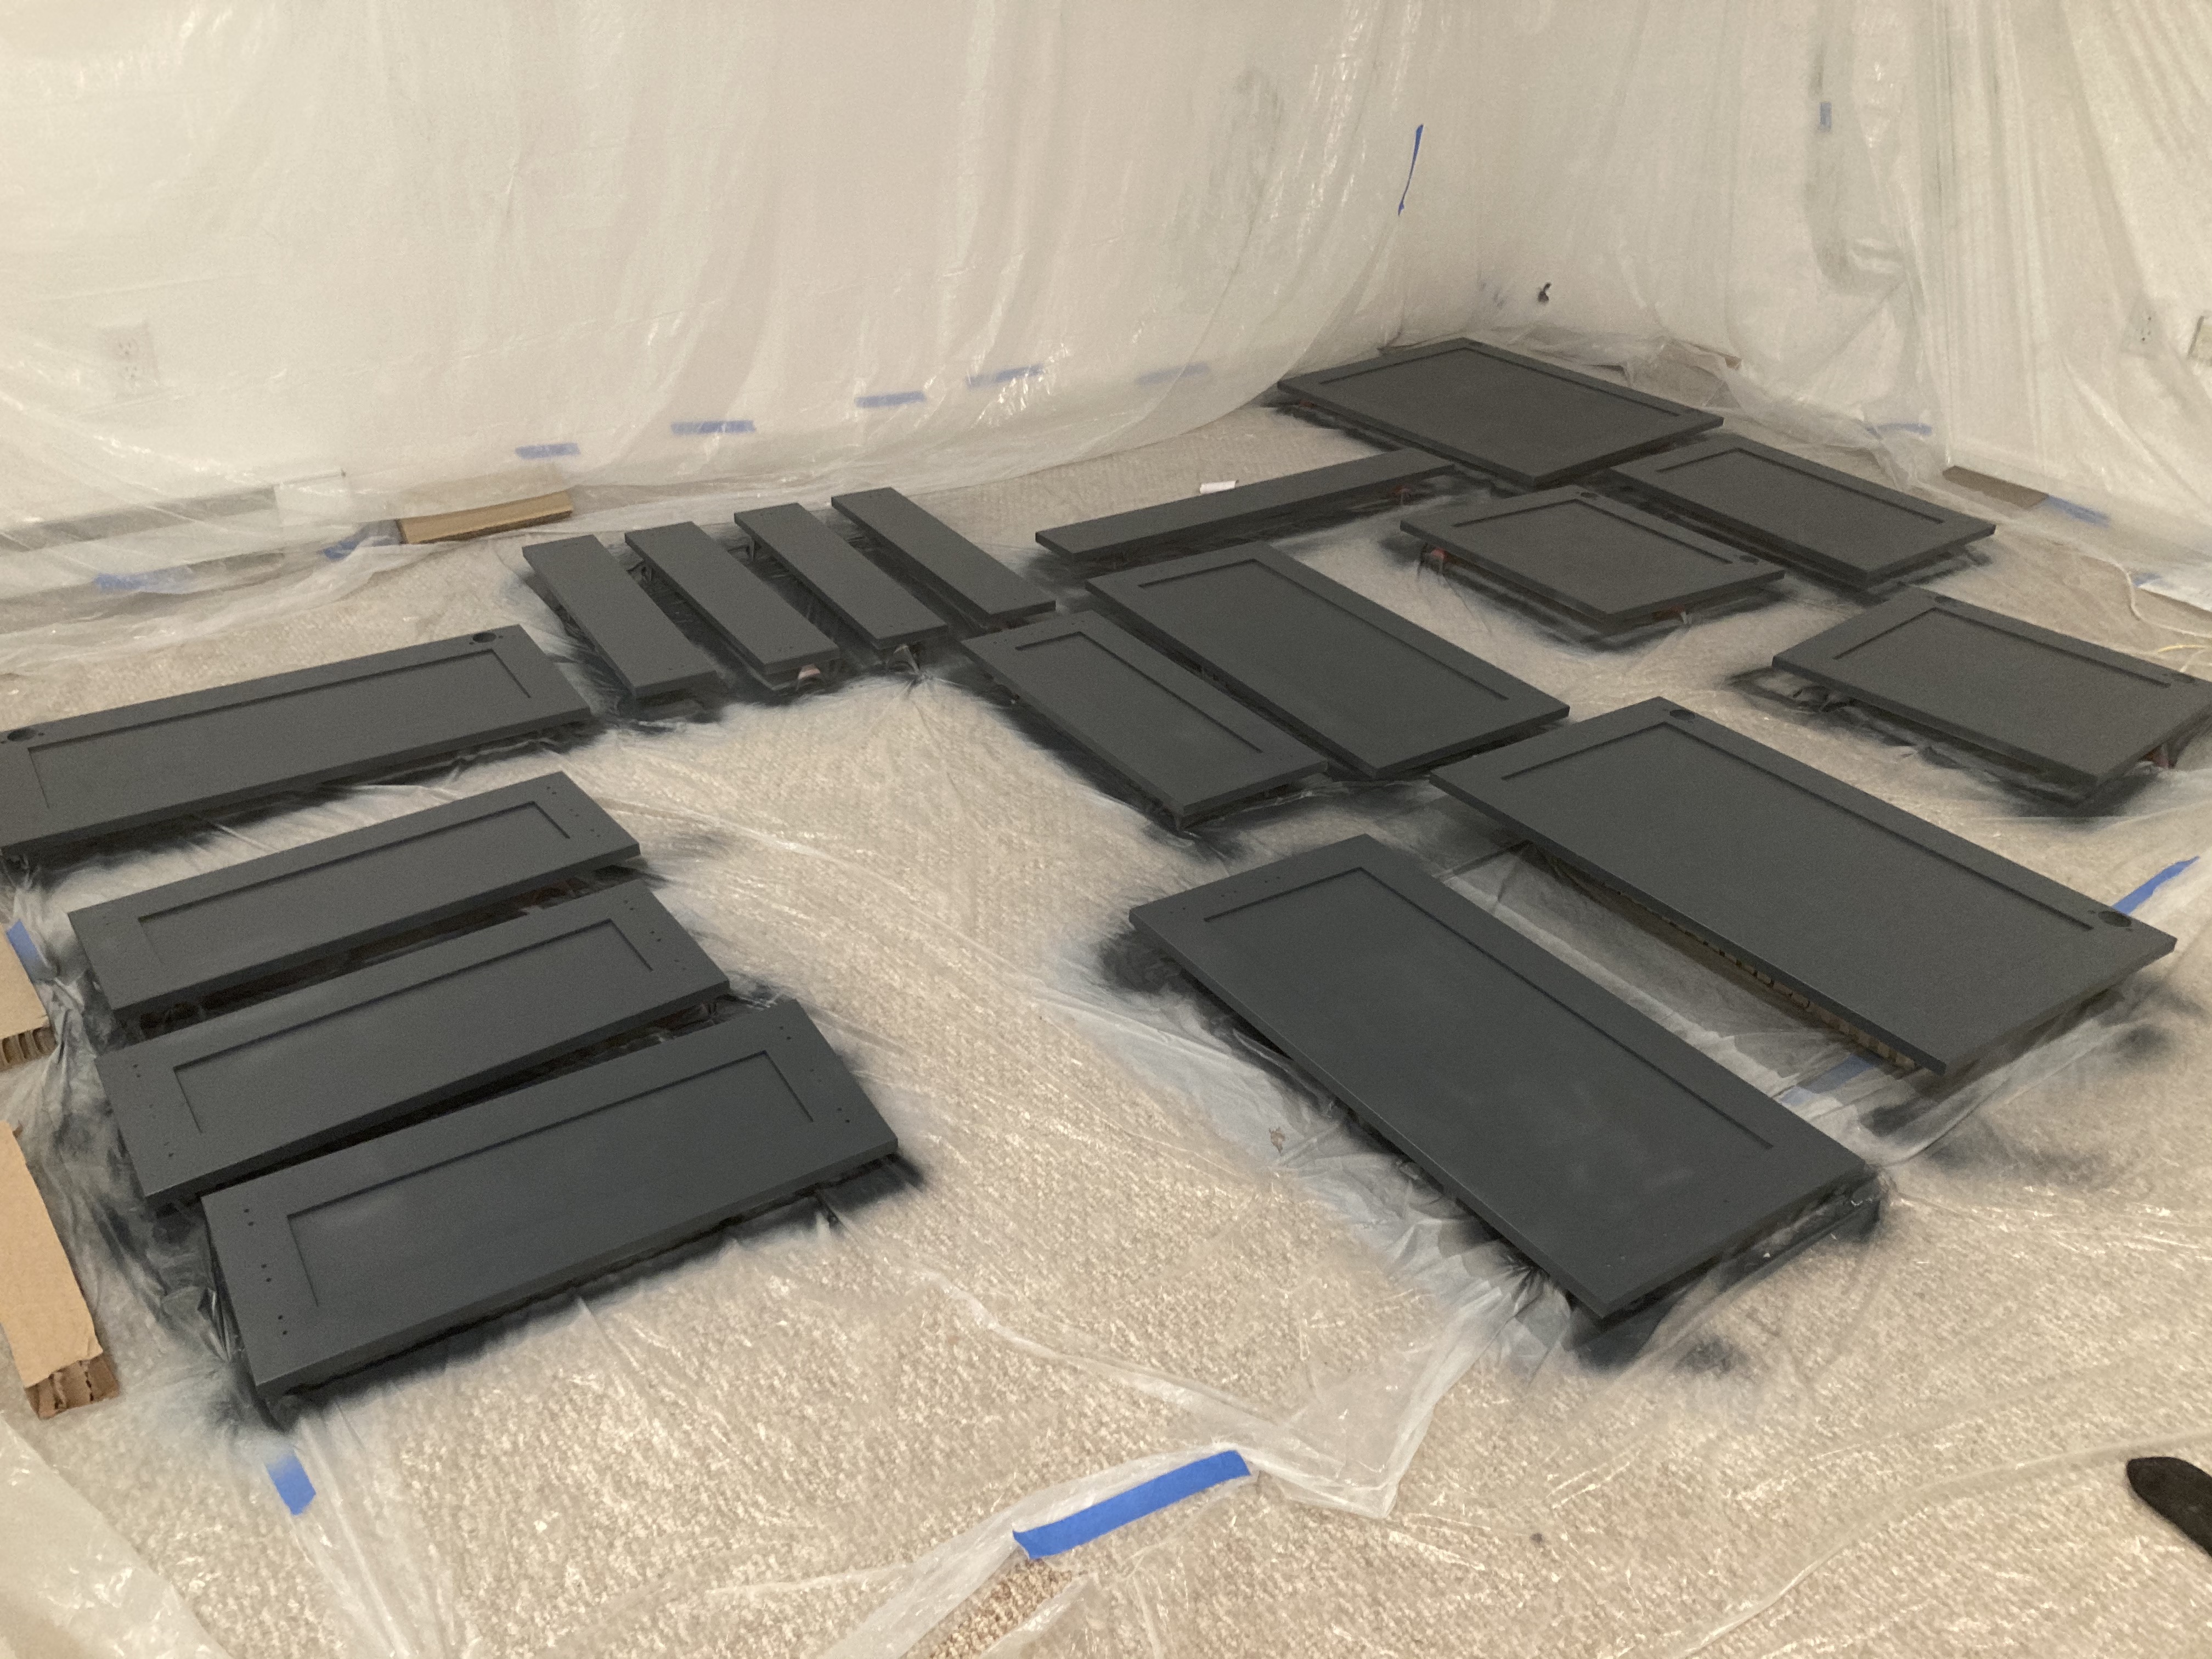
If I’m being completely honest, I definitely underestimated how grueling this process would be. I naively thought it would take a few days, and painting would be really straightforward, but it is smarter to allocate a full week or two from start to finish to get that factory finish on all the cabinetry.
We used IKEA cabinetry for our Philly kitchen remodel and we love the functionality of it. At the time, we just chose everything from IKEA, from the cabinet doors to the hardware, to the sink. A lot of choices were just “good enough”, but not what we absolutely wanted. This time, we are taking our time and really piecing together a kitchen that we 100% love.
I learned about these companies that make custom doors for IKEA cabinets a while ago, companies such as Kokeena, Semihandmade, Scherrs, and Dendra Doors, among others. I knew that this time around, I wanted to go this route. This is, in my opinion, the most affordable way to get the truly custom kitchen look at a fraction of the price. The way IKEA kitchen system works, if you opt for drawers or shelves, over time, the parts that will get the most wear and tear are not going to be the boxes themselves, but probably the shelves and drawers. Since you can buy those items separately, replacing them down the road is relatively simple.
In the end, we decided to go with Semihandmade because they have a DIY shaker-style option. During their end-of-the-year sale, it ended up being much cheaper to buy these doors than the nicer ones at IKEA or other competitors.
Now onto the nitty-gritty part of the painting. Painting cabinets fronts is probably the easiest and most economical way of updating an existing space. In our bathrooms, I have painted the bathroom vanity cabinets to update them and they have held up well. For the kitchen cabinet fronts, I decided to spray them to give it a really professional finish. Let’s go over the basic steps and tips to get a flawless finish.
While I painted the cabinet fronts, I used a roller and rolled all the trims of the actual IKEA cabinets. The cabinets themselves are white, and when the doors and drawers are on them, you can see slivers of white peeking through. So I decided to add this little detail and paint over the cabinet so it looks really cohesive and custom.

Using Paint Brush & Roller
- Wipe down cabinets using a degreasing cleaning agent, such as a diluted vinegar spray or all-purpose cleaning spray. Let dry.
- Apply liquid sandpaper on all sides of the cabinet doors to remove the sheen and allow the paint to adhere well. Wait 30 min before continuing.
- Using a high-quality paintbrush, brush-on primer on any grooves or divets in the doors.
- Using a high-density paint roller, roll over the rest of the cabinet, be sure to smooth out any uneven paint brush marks.
- Repeat steps 3 & 4 for applying the top coat of your choice on both sides. Apply 2-3 coats, or until you are happy with the color. Let dry overnight.
- Apply 2-3 coats of water-based polyurethane.
Using a Paint Sprayer
- Wipe down cabinets using a degreasing cleaning agent, such as a diluted vinegar spray or all-purpose cleaning spray. Let dry.
- Apply liquid sandpaper on all sides of the cabinet doors to remove the sheen and allow the paint to adhere well. Wait 30 min before continuing.
- Thin the primer using the formula of 1 tsp water/1 cup of paint. Stir well.
- Keep the paint sprayer moving and spray a light coat of primer. Let it dry to the touch before flipping over and repeating on the other side.
- Thin the top coat using the same formula. Spray 3 coats of topcoat on each side, making sure to let dry overnight before flipping. In between coats, lightly sand any rough spots with 800-grit sandpaper.
- Spray 2-3 coats of water-based polyurethane.
This is what the kitchen looked like after we had installed all the cabinet door fronts on (before installing the handles and countertop.


We loved reading your experience with IKEA and these custom doors. If you come across any other IKEA projects feel free to reach out, we at Dendra Doors have over 60 different profiles and 550 color/material options including this DIY shaker style front that you used in this project. One thing to note for any reader of this blog, almost every supplier of custom IKEA doors uses the same manufacturer so no matter who you choose to go with, you end up with the same exact product. Your decision should come down to not having to compromise on your style/color, overall cost, and customer service.
LikeLike