
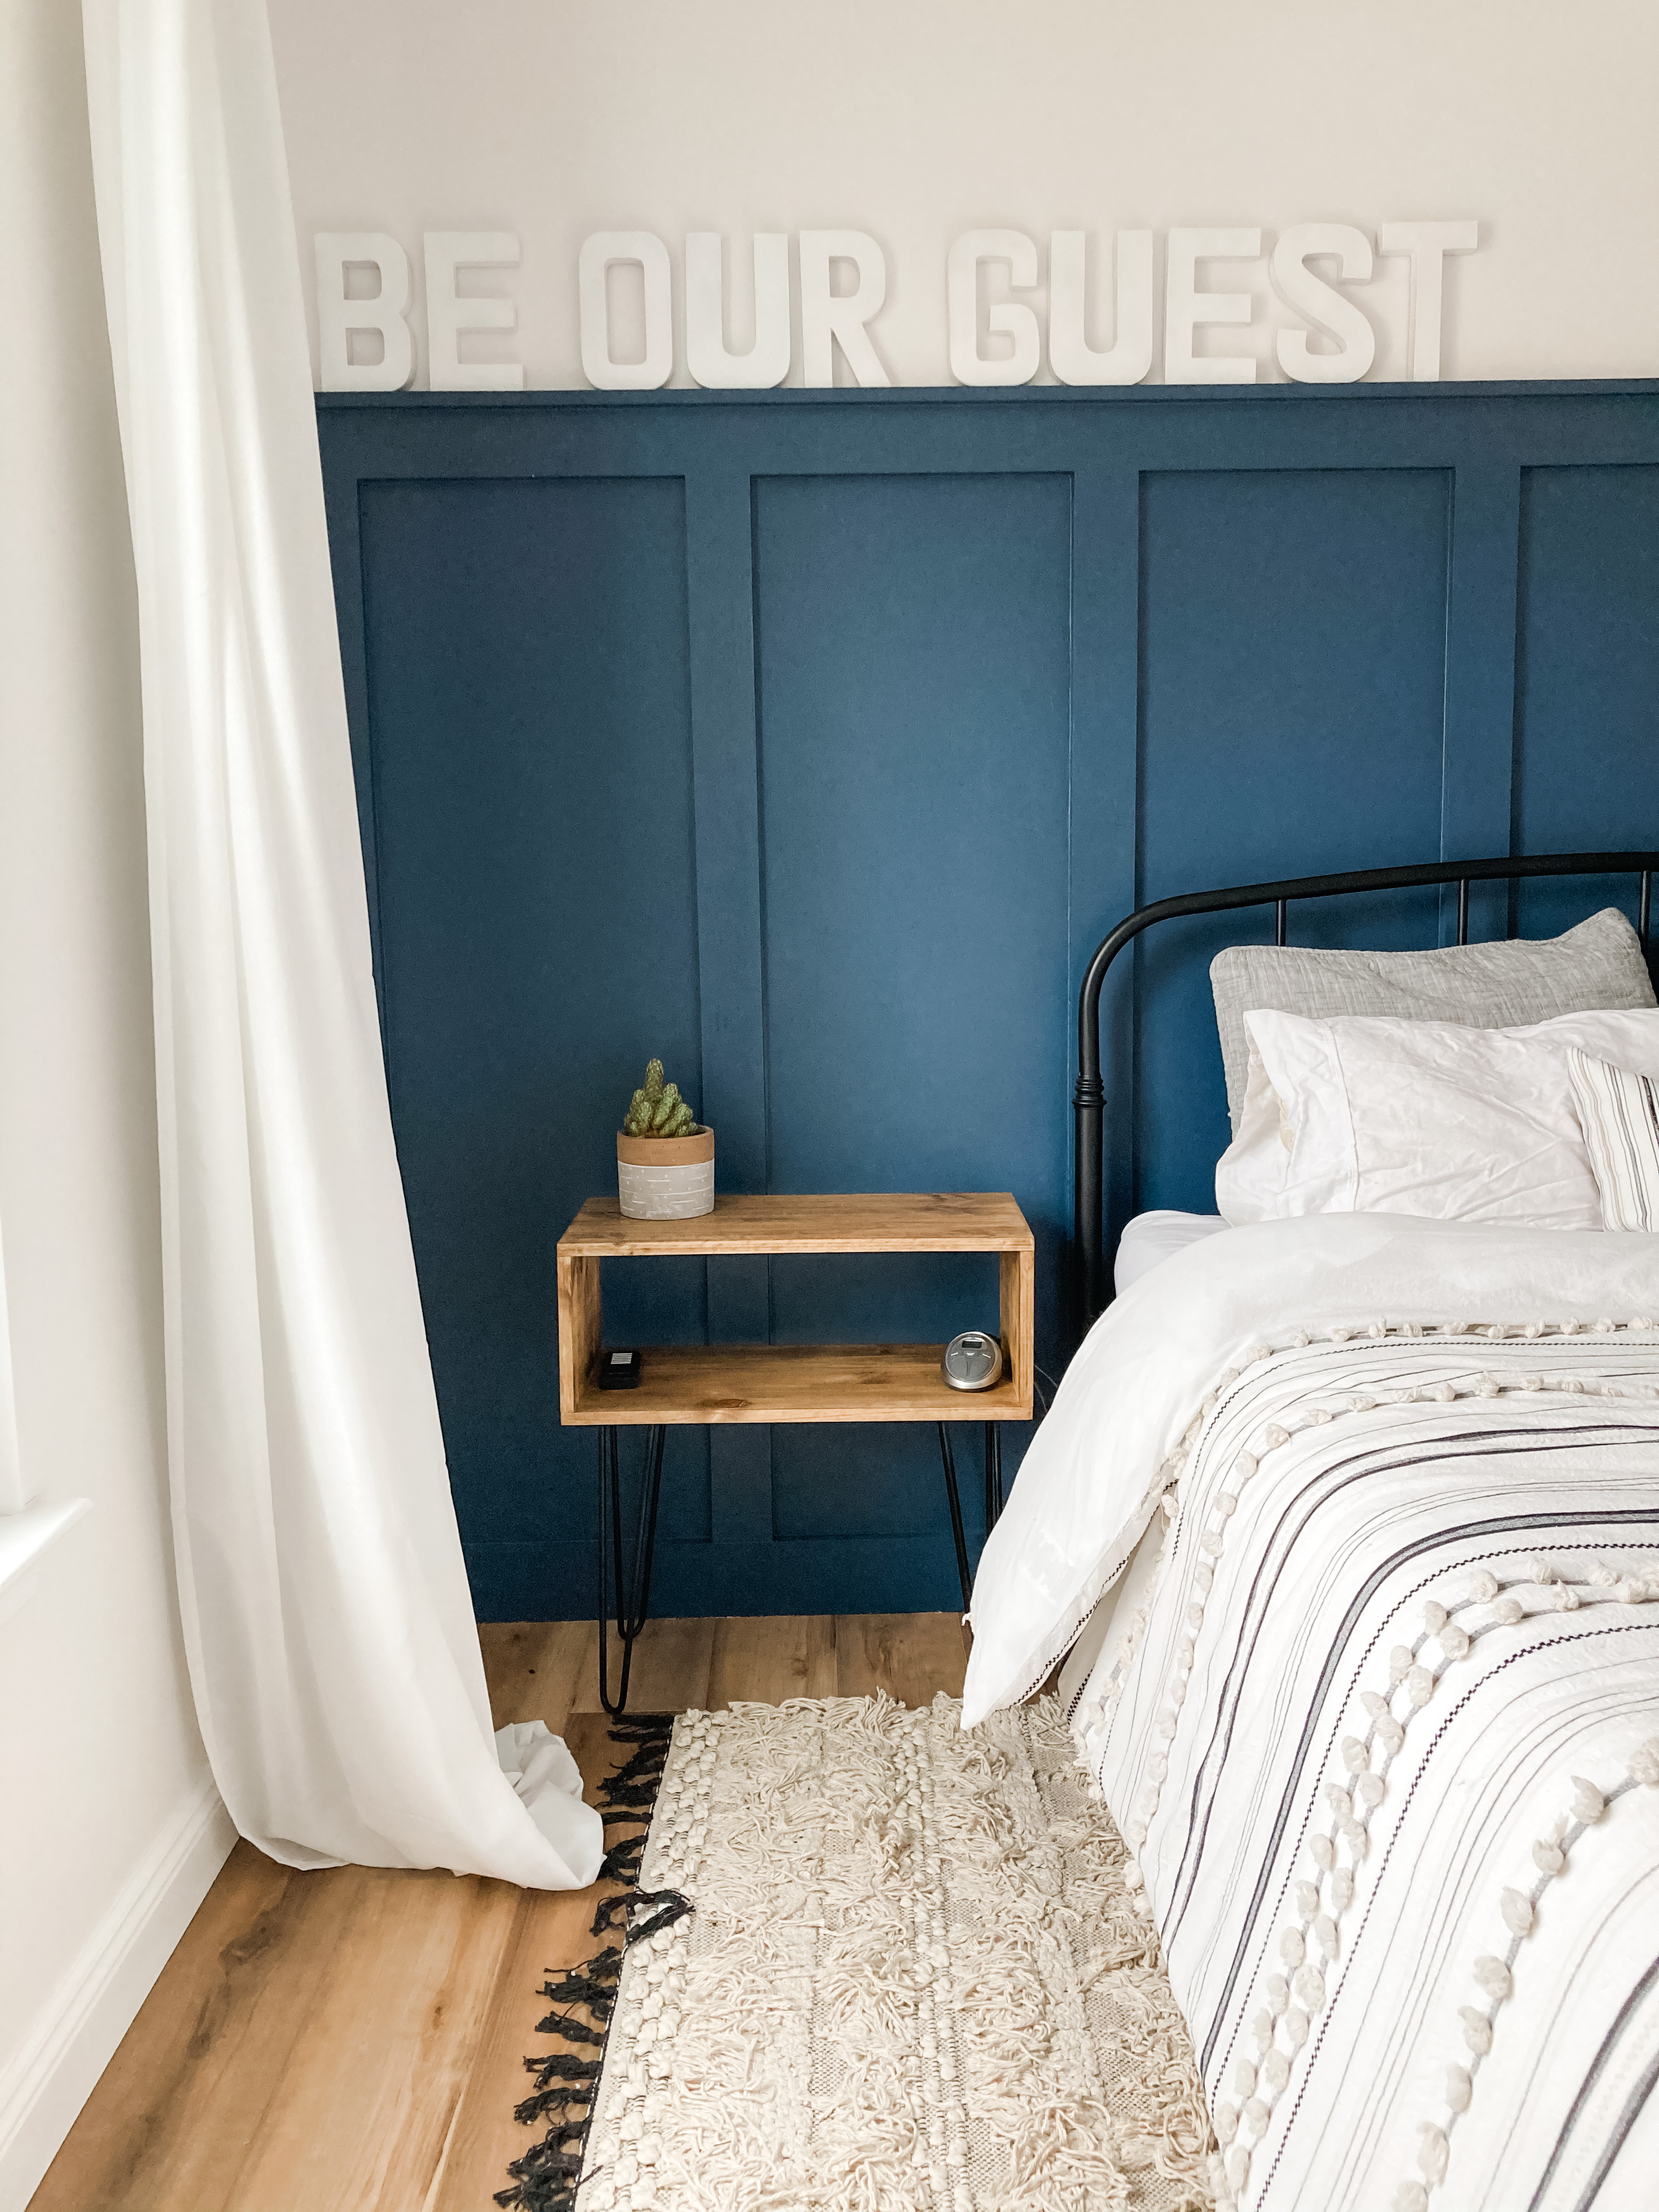
In early November of last year, I was on a mad dash to quickly finish up our guest room. My in-laws were visiting and I needed the guest room to be functional and comfortable for their stay. I had painted the entire room, swapped out the ceiling fan, added a board and batten accent wall, tore out the carpet and replaced it with new flooring, and spray painted the metal bed from a cream color to a matte black. I needed some nightstands to round out the space. I immediately thought about DIY some nightstands to save money.
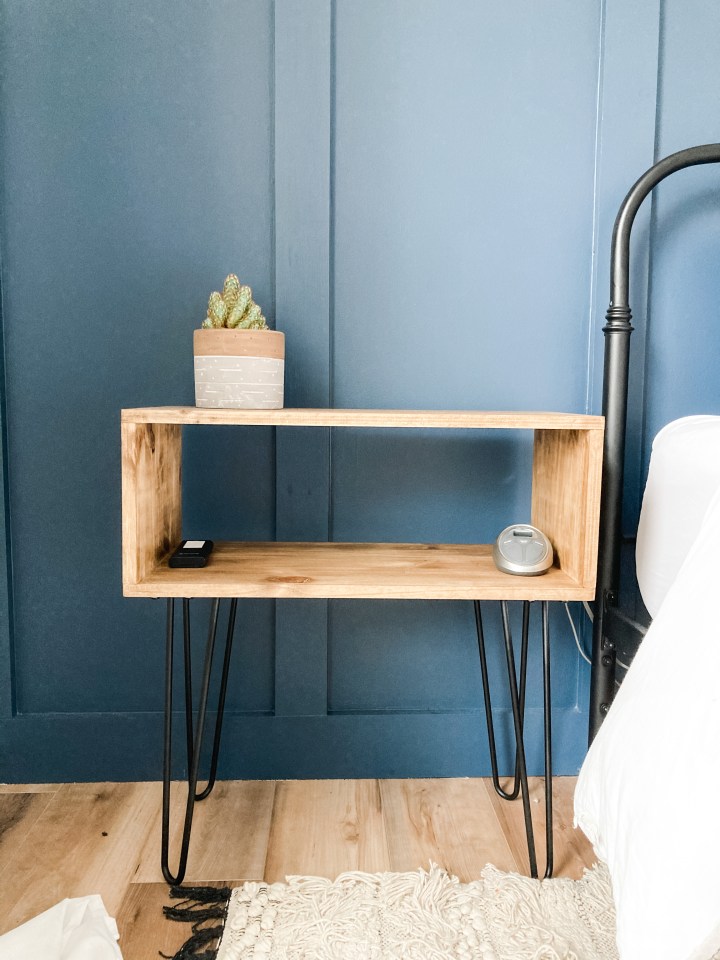
Good nightstands can cost quite a bit of money. I set out a goal to DIY a pair of nightstands that could match a variety of styles and stay under $100 (I ended up spending about $70 total). I decided to make a boxy nightstand and used hairpin legs to make this easy look professional. I bought my hairpin legs off Amazon and set off to the hardware store. I went to the lumber section and looked at my options. Since I was on a budget, I looked at edge-glued project panels. Project panels are pieces that are already cut to specific sizes, and typically are already sanded and ready for finishing. Edge-glued means that instead of one solid piece of wood, manufacturers often glue together smaller pieces to make a larger piece, hence making it more affordable than buying one large piece.
Before I began cutting and assembling, I measured my bed frame and the height of my bed. For ergonomic reasons, typically the nightstand should be at least level with the top of your mattress, and up to 4 inches taller than the top of your mattress. I opted for the nightstand to be on the lower side, about 2 inches taller than the top of my mattress. With that in mind, I measured out the length of my hairpin legs, and figured out how wide and tall I can make my nightstand boxes.
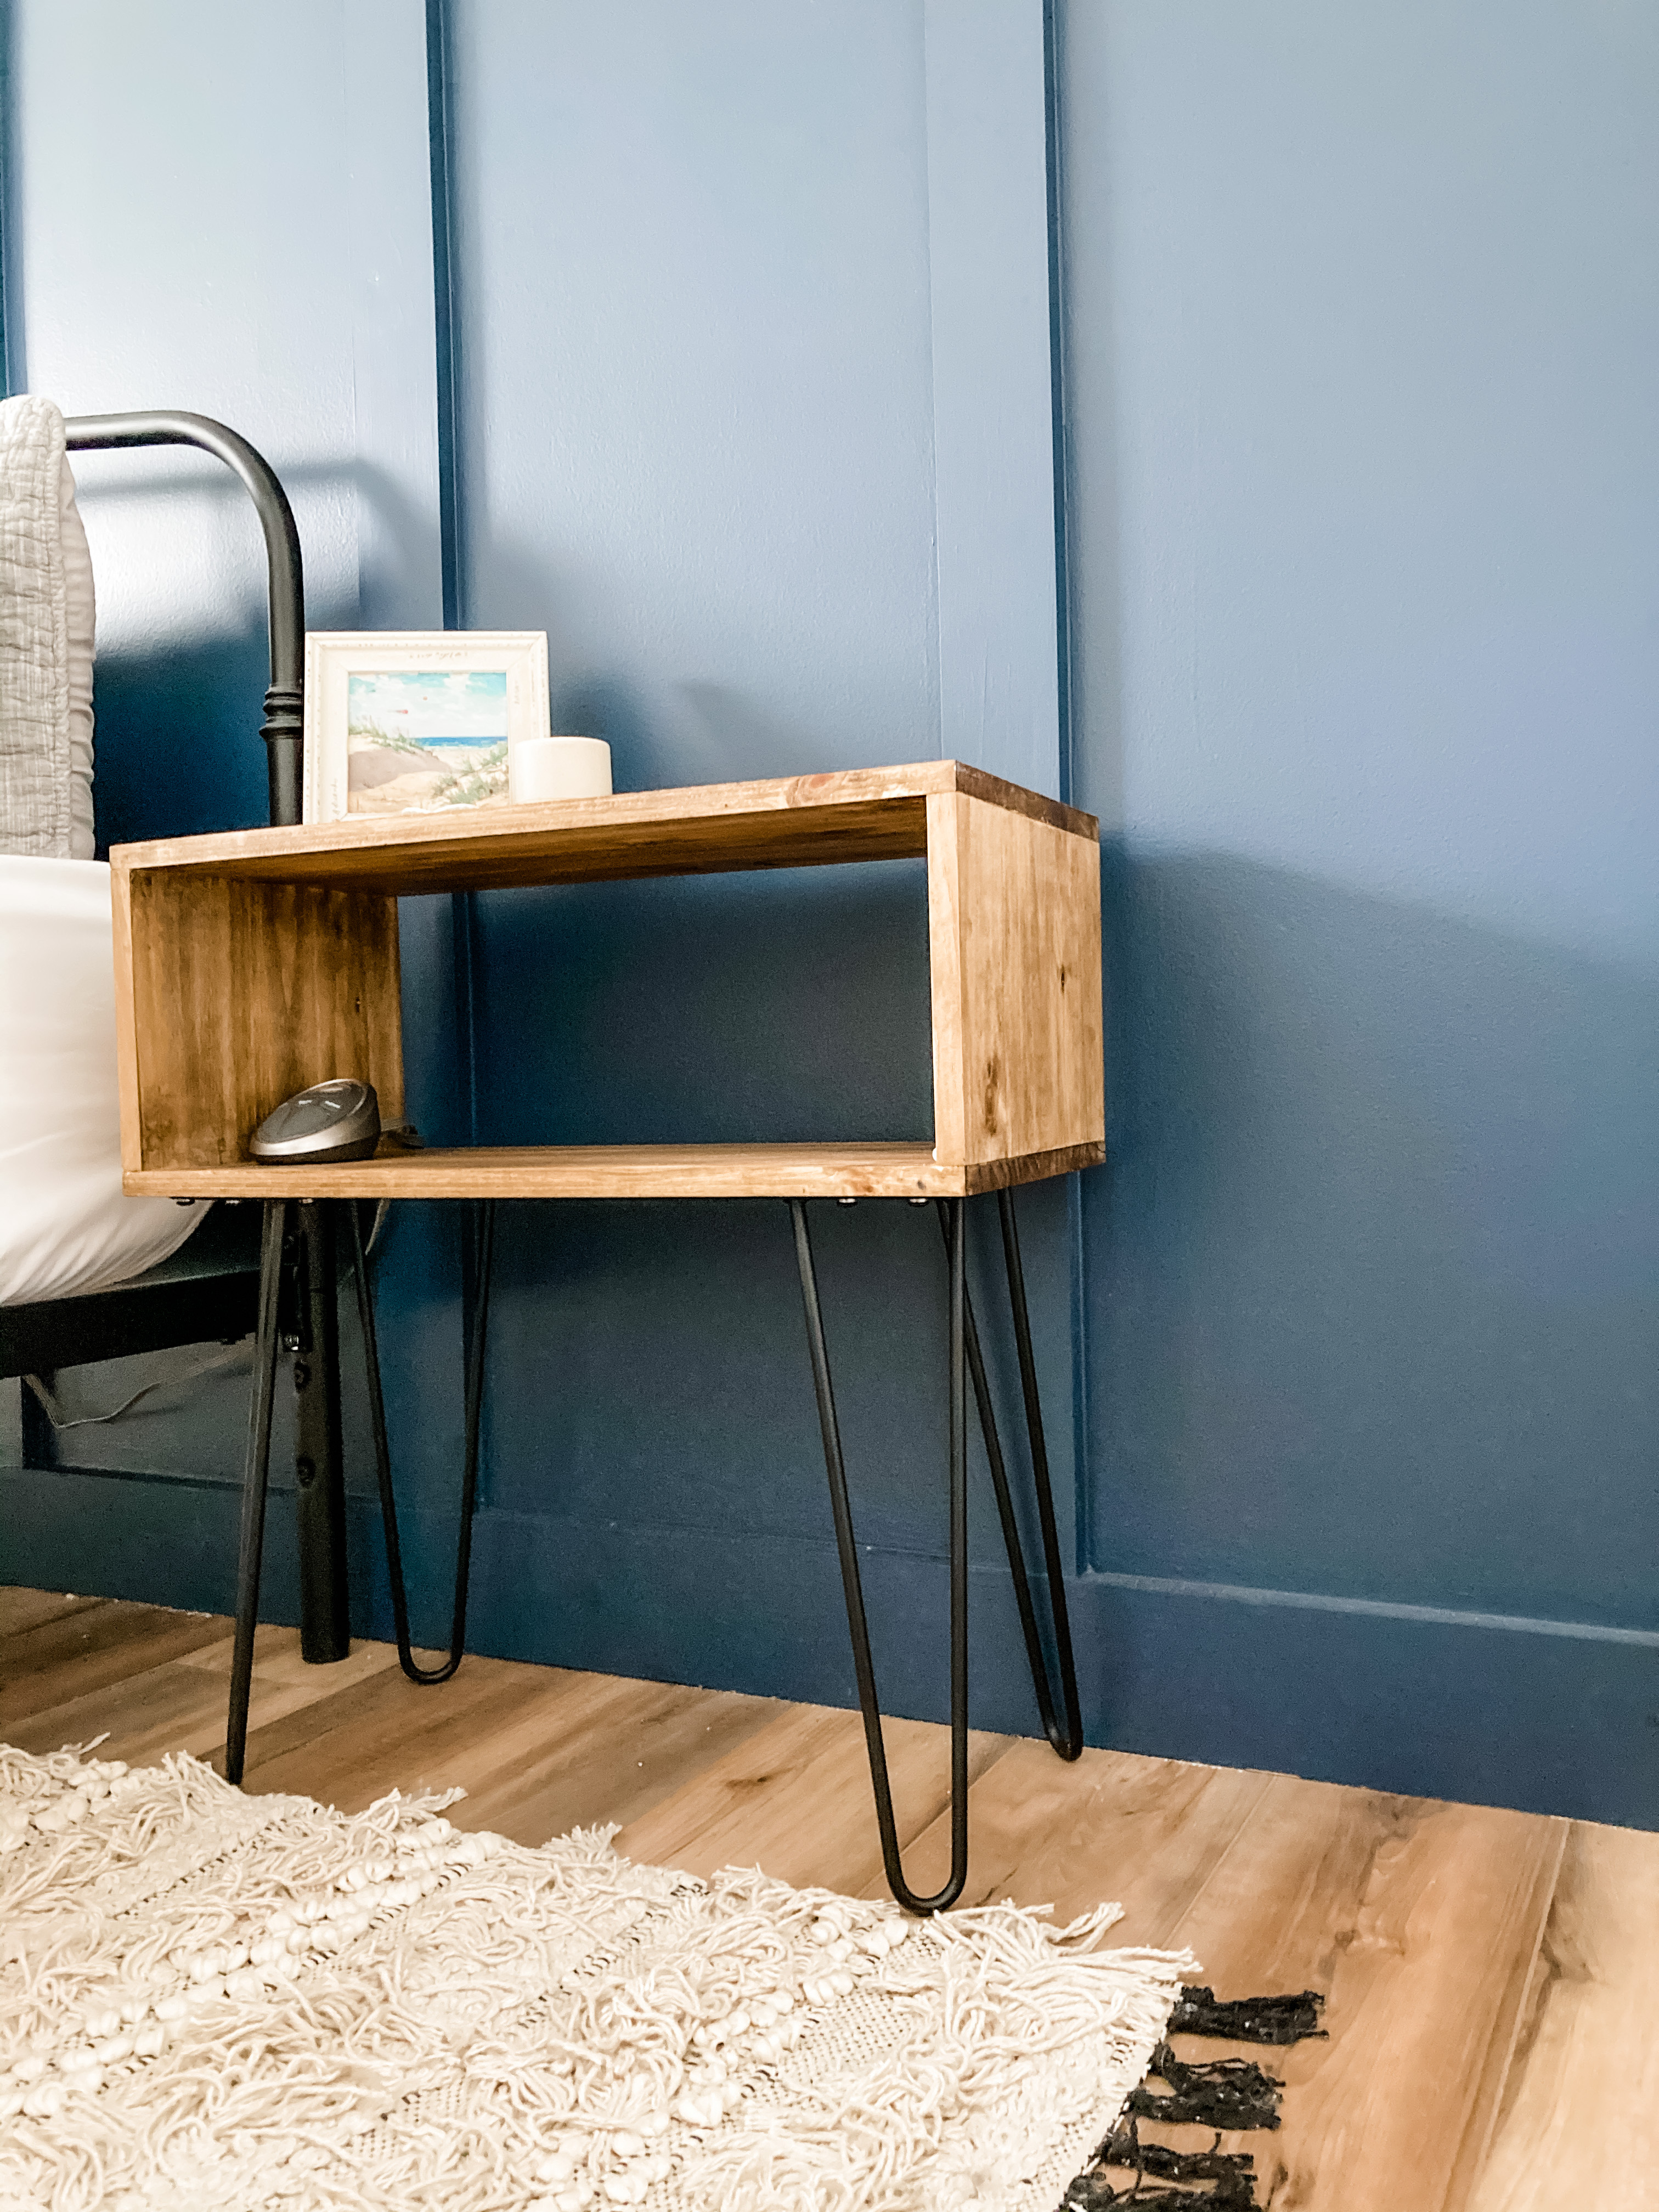
I cut the pieces on my miter saw, and then sanded them down with 400 grit sandpaper. To assemble, I ran a bead of wood glue along the edges of the nightstand, and popped in a few finishing nails to attach. I then wood-filled the holes, sanded it down once dried, and applied 2 coats of Minwax Early American stain. When the stain has dried, I applied 2 coats of polycyclic to give it a more durable finish.
Once the boxes themselves are complete, it’s time to attach the legs! I decided to attach them about 1/2 inch off from the corners, but this part is really up to you. The more you center your legs, the more mid-century modern it’s going to look. The more you space out the legs, the more traditional it’ll look. I added about 2 washer to each of my screws to make sure that the screw didn’t drive through the wood (since the screw was quite long).
After all that, the nightstands were done! It was such a easy project done on a budget, and it gives so much character to the room.

2 thoughts on “DIY Nightstands”